Advertisement
Quick Links
Advertisement

Related Manuals for Caselabs Merlin Pedestal Series

Summary of Contents for Caselabs Merlin Pedestal Series
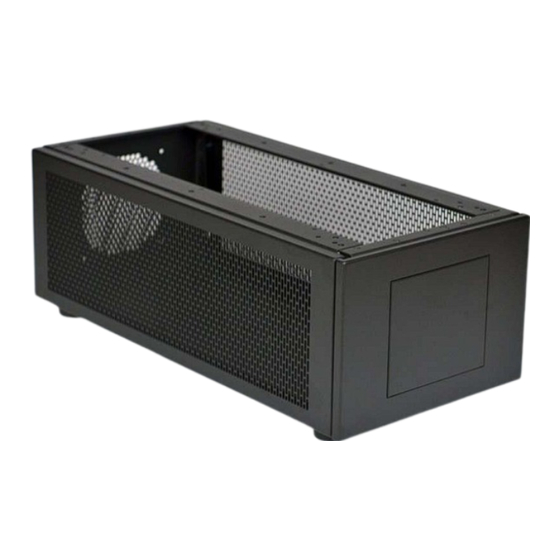
- Page 1 Merlin Pedestal Assembly Guide ...
- Page 2 Steps 1‐6 are instructions to mount the Pedestal below the case. Step 1. Locate the front chassis section and remove the front cover. On top of the front and rear chassis sections there is a “T” which identifies the top of the part/pedestal. Locate the top chassis section. Using the small countersink screws, join the top chassis section to the top of the front chassis section. ...
- Page 3 Step 2. Locate the bottom chassis section, and join it to the bottom of the front chassis section. Step 3. Locate the rear chassis section. There are two versions, 120mm hex‐mesh and dual PSU mounts. Join it to the rear of the chassis, while minding its orientation. ...
- Page 4 Step 4. Locate the front cover and the two side covers. Notice the orientation makers When the Pedestal is mounted below the case these identification markers should both be pointed down. ...
- Page 5 Step 5. The Pedestal is attached to the case with the 4 larger screws. Insert the screws from the bottom of the case into the top of the Pedestal. Below is an image of the top of the Pedestal showing the threaded hole for the screw. ...
- Page 6 Steps 6‐11 are instructions to mount the Pedestal above the case. Step. 6 To mount the Pedestal above the case the top chassis section of the case must be removed. If your case is already unassembled, please disregard this step. Strip the case of all the exterior panels, switch bracket, and motherboard tray. You will also want to remove any hardware as to avoid damaging it. Turn the case onto its backside and remove the front chassis section. Flip the chassis onto its front side. Remove the rear chassis section followed by the removal of the top chassis section. ...
- Page 7 Install the Pedestal top chassis section to the case Reinstall the chassis in reversal of removal Step 7. Locate the front chassis section and remove the front cover. On top of the front and rear chassis sections there is a “T” which identifies the top of the part/pedestal. ...
- Page 8 Locate the top chassis section of the case. It can be identified by the clips on the top. Join it to the top of the front chassis section with the small countersink screws. Step 8. Locate the bottom chassis section, and join it to the bottom of the front chassis section. ...
- Page 9 Step 9. Locate the rear chassis section. There are two versions, 120mm hex‐mesh and dual PSU mounts. Join it to the rear of the chassis, while minding its orientation. Step 10. Place the Pedestal on top of the case. Insert the four large screws from the bottom of the Pedestal into the top of the case. ...
- Page 10 Step 11. Locate the front cover and the two side covers. Notice the orientation makers When the Pedestal is mounted above the case these identification markers should both be pointed up. The top cover to the case then is place on top of the Pedestal. ...
Need help?
Do you have a question about the Merlin Pedestal Series and is the answer not in the manual?
Questions and answers