Table of Contents
Advertisement
Quick Links
- 1 Table of Contents
- 2 How to Replace or Repair the Seat Assembly
- 3 Service Guide
- 4 Introduction
- 5 How to Replace or Repair the Battery Pack Assembly
- 6 To Replace the Lower Cover Assembly
- 7 How to Replace or Repair the Rear Section Assembly
- 8 To Replace the Controller
- Download this manual
See also:
Owner's Manual
Advertisement
Table of Contents

Subscribe to Our Youtube Channel
Related Manuals for Merits S539


Summary of Contents for Merits S539
- Page 1 Merits S539-237 Service Manual Jan.27.2010V1...
-
Page 2: Table Of Contents
Index Introduction ..................P1 Service Guide ..................P1 2.1. Seat Assembly ........... How to replace or repair the 2.1.1. To replace the seat body ................... P1 2.1.2. To replace the armrest assembly................P1 2.1.3. To replace the seat base plate assembly ..............P3 2.2. -
Page 3: Introduction
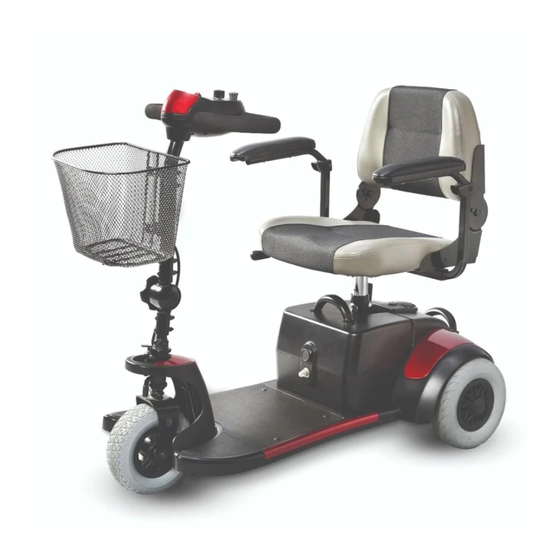
1. Introduction The purpose of this manual is to provide dealers and/or distributors with the product information and instructions that are required for servicing the S237 scooter. 2. Service Guide S237 scooter consists of five main parts: Seat Assembly ... - Page 4 Illus. 01 Illus. 02...
-
Page 5: To Replace The Seat Base Plate Assembly
2.1.3 To replace the seat base plate assembly [See Illus. 01&02] ◆ When to replace the seat base plate assembly? ◇ The seat base plate is deformed or out of shape. ◆ How to replace the seat base plate assembly? ◇... -
Page 6: How To Replace Or Repair The Rear Section Assembly
5. Remove/replace the handle (9.31) or the upper cover (9.21). Illus. 03 How to replace or repair the Rear Section Assembly The rear section assembly is composed of the rear frame, the transaxle assembly, the rear wheel assembly, the fender, the anti-tip wheel, and so on. Press the black clasper (1.09) to separate the front and rear section... -
Page 7: To Replace The Anti-Tip Wheel
[See Illus. 05] 2.3.2 To replace the anti-tip wheel ◆ When to replace the anti-tip wheel? ◇ The anti-tip wheel is worn out. ◇ The scooter can not avoid bumping because of the anti-tip wheel. ◆ How to replace the anti-tipper assembly? ◇... - Page 8 Illus. 04 Illus. 05...
-
Page 9: To Replace The Rear Frame
2.3.5 To replace the rear frame When to replace the rear frame? ◇ If the rear frame is deformed or out of shape. ◇ The scooter can not avoid bumping because of the deformed rear frame. How to replace the rear frame? ◇... -
Page 10: How To Replace Or Repair The Front Section Assembly
How to replace or repair the Front Section Assembly The front section assembly is composed of the front frame, the controller, the shroud, the front wheel assembly, the tiller assembly, the frame clasper, and so on. Press the black clasper (1.09) to separate the front and rear section [See... -
Page 11: To Replace The Controller
1. Hold the screw (3.03) and loosen the nut (3.05), 2. Remove/replace the front wheel (3.02). [see Illus. 10] 2.4.3 To replace the controller ◆ When to replace the controller? ◇ The controller is not working properly. ◆ How to replace the controller? ◇... - Page 12 When to replace the front frame? ◇ The front frame is deformed or out of shape. ◇ The scooter can not avoid bumping because of the deformed front frame. How to replace the front frame? ◇ Please proceeding following steps. 1.
-
Page 13: How To Replace Or Repair The Tiller Assembly
Illus. 10 How to replace or repair the Tiller Assembly The tiller assembly is composed of tiller, upper shroud, lower shroud, horn, indicator light throttle lever, power indicator, and so on . 2.5.1 To replace the tiller assembly [See Illus. 11] ◆... -
Page 14: To Replace The Throttle Lever Or Variable Resistance
[See Illus. 11] 2.5.2 To replace the lower cover ◆ When to replace the lower cover (5.79)? ◇ The lower cover is broken. ◆ How to replace the lower cover? ◇ Please proceeding following steps. 1. Use screwdriver to loosen 6 screws (5.81), and then separate the upper shroud and lower cover assembly. - Page 15 ◇ Please proceeding following steps. 1. Unplug the cable of the power meter (5.55). 2. Loosen screws (5.57) and then remove the clamp (5.56). 3. Remove/replace the power meter (5.55). 2.5.6 To replace the knob or potentiometer [See Illus. 11] ◆...
- Page 16 7. Replace the upper cover (5.51). Illus. 11...
Need help?
Do you have a question about the S539 and is the answer not in the manual?
Questions and answers