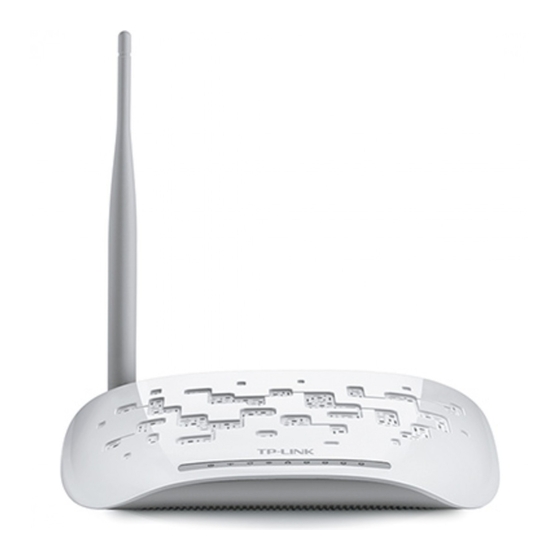
TP-Link TL-WA701ND Quick Installation Manual
Hide thumbs
Also See for TL-WA701ND:
- Manual (133 pages) ,
- User manual (83 pages) ,
- Installation manual (14 pages)
Advertisement
Quick Links
TP-LINK TECHNOLOGIES CO., LTD.
Specifications are subject to change without notice. TP-LINK is a
registered trademark of TP-LINK TECHNOLOGIES CO., LTD. Other brands
and product names are trademarks or registered trademarks of their
respective holders.
No part of the specifications may be reproduced in any form or by any
means or used to make any derivative such as translation, transformation,
or adaptation without permission from TP-LINK TECHNOLOGIES CO., LTD.
Copyright © 2016 TP-LINK TECHNOLOGIES CO., LTD. All rights reserved.
http://www.tp-link.com
Quick Installation Guide
TL-WA701ND
Wireless N Access Point
Advertisement

Summary of Contents for TP-Link TL-WA701ND
- Page 1 Quick Installation Guide TP-LINK TECHNOLOGIES CO., LTD. Specifications are subject to change without notice. TP-LINK is a TL-WA701ND registered trademark of TP-LINK TECHNOLOGIES CO., LTD. Other brands and product names are trademarks or registered trademarks of their respective holders. Wireless N Access Point...
- Page 2 Connect to the Access Point with the Ethernet cable or via wireless. The default SSID of the Access Point is TP-LINK_ XXXXXX. The XXXXXX is the last 6 characters of the Access Point’s MAC address. Plug the provided power adapter into the power jack on the back of the Access Point, and the other end to a standard electrical wall...
-
Page 3: Wireless Settings
If the LEDs display abnormally, please check to see if all the cable Note connectors (power adapter and Ethernet cable) are well connected to your device. Login Open your web browser, type in 192.168.0.254 in the address bar and press Enter A dialog box will prompt you for the User name and Password. - Page 4 The Operation Mode page will appear then. The TL-WA701ND supports up to five operation modes. Select the operation mode based on your need Click Next For Access Point mode, please refer to part A on page 3. For Multi-SSID mode, please refer to part B on page 4.
- Page 5 SSID. Click Next For the configuration of VLAN, please refer to the User Guide on TP-LINK Note official website at http://www.tp-link.com. After the settings above, please go to Network Settings on page 8 to continue the configuration.
- Page 6 Settings Select the repeater mode, for example Universal Repeater. Click Survey The window displaying a list of available SSIDs will appear. Find the SSID of the root Access Point / Router that you want to repeat, and then click Connect in the corresponding row.
- Page 7 D. Bridge with AP mode Introduction In this mode, the product can wirelessly connect two or more remote LANs together. Settings Click Survey on the page of Wireless Settings and the window displaying a list of available SSIDs will appear. Find the SSID of the root Access Point / Router that you want to...
- Page 8 Settings Click Survey The window displaying a list of available SSIDs will appear. Find the SSID of the Access Point / Router or WISP, and click Connect in the corresponding row. You will then return to the previous page. Select the security mode and enter the password that is the same as on the root...
-
Page 9: Network Settings
Click Next For advanced configurations on this page, please refer to the User Guide on Note TP-LINK official website at http://www.tp-link.com. The Finish page will appear then. Here takes the settings for Access Point mode for example. - Page 10 Wait until the router restarts successfully. Congratulations! You have completed the setup. To change to another mode, please refer to T3 in Troubleshooting on page Note 10 to assign a static IP address 192.168.0.100 for your computer first before logging in the management page.
- Page 11 T1. How do I restore my Access Point’s configuration to its factory default settings? With the Access Point powered on, use a pin to press and hold the RESET button on the rear panel for 8 to 10 seconds before releasing it. Hold it in for 8 to 10 seconds Once the Access Point is reset, the current configuration settings will be lost Note...
- Page 12 Click Change adapter settings Right-click Local Area Connection Click Properties Double-click Internet Protocol Version 4 (TCP/IPv4)
- Page 13 Select Use the following IP address Enter the 192.168.0.100 into the IP address field, 255.255.255.0 into the Subnet mask field Click OK Now, try to log on to the Web-based configuration page again after the above settings have been configured. If you still cannot access the configuration page, please restore your Access Point’s factory default settings and reconfigure your Access Point following the instructions of this QIG.
-
Page 14: Appendix A: With Poe Setup
Passive PoE Injector supports a maximum cable length up to 30 meters Note due to the environment. For longer powered cable up to 100 meters, please choose TP-LINK's 48V PoE adapters: TL-POE200 or TL-POE150S & TL-POE10R. Product information can be found on our official website...


Need help?
Do you have a question about the TL-WA701ND and is the answer not in the manual?
Questions and answers