Advertisement
Quick Links
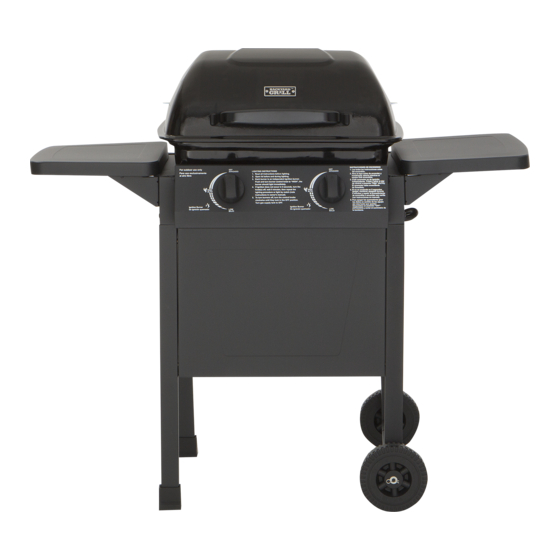
Outdoor LP Gas Barbecue Grill
ASSEMBLY
Before getting started with the assembly:
Select a level surface that does not have cracks or openings to avoid any small
components or hardware from getting lost.
Level surface must be smooth/soft to avoid scratching or damaging any surface finish of
all components.
Ensure the level surface is large enough to layout all components and hardware.
Tighten hardware and connections by hand first, then fully tighten with screwdriver or wrench.
Be cautious to not over tighten which may damage surface or strip hardware.
Follow all steps properly when assembling your grill.
Before starting grill operation:
Perform Leak Test
Fill the LP gas cylinder with type 1 cylinder valve.
After grilling:
Turn off the cylinder valve
Turn both burner control knobs to 'OFF' position.
Loading capacity
Maximum loading weight of side tables: less or equal to 15 lbs (6.8kg)
Maximum loading weight of warming rack: less or equal to 8.8 lbs (4kg)
BY16-101-003-04
INSTRUCTIONS
BY16-101-003-04 / English
1/12
Advertisement

Related Manuals for Backyard BY16-101-003-04


Summary of Contents for Backyard BY16-101-003-04
- Page 1 Turn both burner control knobs to ‘OFF’ position. Loading capacity Maximum loading weight of side tables: less or equal to 15 lbs (6.8kg) Maximum loading weight of warming rack: less or equal to 8.8 lbs (4kg) BY16-101-003-04 / English 1/12...
- Page 2 Exploded View (components you should have) BY16-101-003-04 / English 2/12...
- Page 3 23 Cart front panel Hardware Pack Hardware List 36 pcs M6 x 12 bolt M8 washer 4 pcs 4 pcs Retainer 2 pcs Wing Nut 2 pcs Rolling pin Tools required for assembly (not included): Philips Screwdriver & Wrench BY16-101-003-04 / English 3/12...
-
Page 4: Assembly Instructions
Install Left brace (17) to Left front leg (14) and Left rear leg (15), using M6x12 Bolt (A) to fasten. Step 2 Insert Leg cap (22) to Left legs (14 and 15) and fasten with M6 x 12 bolt (A). BY16-101-003-04 / English 4/12... - Page 5 M8 Washer (B) >> Wheel (21) >> M8 Washer (B) >> Right front leg (12) >> Tank bracket (19) >> Right rear leg (13) >> M8 Washer (B) >> Wheel (21) >> M8 Washer (B) Locked Axle (20) by penetrating Retainer (C) to both ends. BY16-101-003-04 / English 5/12...
- Page 6 Install Rear brace (18) to back of assembled cart frame with M6x12 bolt (A). Hints: If ignition system fails to spark, use Match Holder which attached to (14) Left Front Leg for ‘Match Lighting’. See ‘MATCH LIGHTING THE MAIN BURNERS’ in Operating Instructions for details. BY16-101-003-04 / English 6/12...
- Page 7 Step 7 Place Fire bowl assemble (8) onto assembled cart frame and fasten with M6x12 bolt (A). Step 8 Place the Control knobs (10) onto the shafts. BY16-101-003-04 / English 7/12...
- Page 8 Fully tighten all bolts to secure both side shelves as shown in Figure 9.3 Step 10 Install Lid handle (3) and Lid plastic pad (2) to Lid (1), then secure with Wing nut (D). Fasten Lid hinge (4) to Lid (1) with M6x12 bolt (A). BY16-101-003-04 / English 8/12...
- Page 9 Lid hinge and Fire bowl Hinge, then lock the rolling pin with Retainer (C). Step 12 Place Warming rack (5) to the grill step by step as shown in Figure 12.1 through 12.4 Figure 12.2 Figure 12.1 Figure 12.4 Figure 12.3 BY16-101-003-04 / English 9/12...
-
Page 10: By16-101-003-04 / English
Step 13 Place Heat tent (7) inside Fire bowl on top of burners. Step 14 Place the Cooking grid (6) on fire bowl. BY16-101-003-04 / English 10/12... - Page 11 Installation of gas barbecue completed! Should you encounter any problem and for assistance, contact our customer service at: customercare@henergy-group.com or 1-844-827-7693 Henergy Group (HK) Limited Flat G1, 35/F, Legend Tower, No. 7 Shing Yip Street, Kwun Tong, Kowloon, Hong Kong. BY16-101-003-04 / English 11/12...
- Page 12 Ignition Pin Rear brace Control panel Tank support bracket Manifold, Hose & Regulator ass’y Axle Tank heat shield Wheel Fire bowl support Leg cap Cart front panel – lower Side shelf Control knob Henergy Group (HK) Limited BY16-101-003-04 / English 12/12...
Need help?
Do you have a question about the BY16-101-003-04 and is the answer not in the manual?
Questions and answers