Advertisement
Ceiling Sweep Fan
Assembly Instructions
Installation
Note: This fan must be installed by a licenced
electrical contractor
• Improperly installed ceiling sweep fans can
be dangerous and expensive to repair and
will void guarantee. This fan is designed for
indoor use only. Do not mount in positions
where fan is subject to water or moisture.
The fan must be installed so that the blades
are greater than 2.1 metres from floor.
Model numbers will vary with different styles. e.g. CSF120BL with oyster style light
Please retain this instruction leaflet and give it to the owner for their future reference.
Important! Please read these instructions carefully.
USE AND CARE INSTRUCTIONS FOR THE OWNER BEGIN ON PAGE 5
All wiring must comply with the requirements
of Australian Standard AS3000.
• Use only with the controller supplied.
• The fan blades supplied for this fan are
matched to minimise wobble. If installing
more than one fan do not mix blade sets.
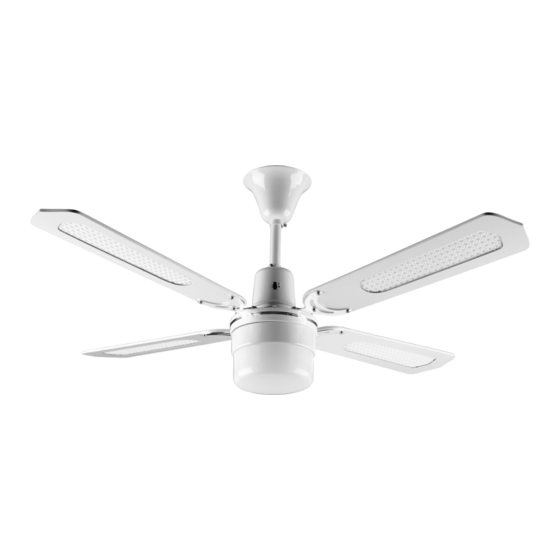
This picture is of a
CSF120BCL 120cm 4 Blade Fan
NOTE TO THE INSTALLER:
CSF Series
Advertisement
Table of Contents

Related Manuals for Arlec CSF120BCL


Summary of Contents for Arlec CSF120BCL
- Page 1 The fan must be installed so that the blades are greater than 2.1 metres from floor. This picture is of a CSF120BCL 120cm 4 Blade Fan Model numbers will vary with different styles. e.g. CSF120BL with oyster style light NOTE TO THE INSTALLER: Please retain this instruction leaflet and give it to the owner for their future reference.
- Page 2 Fig 1a. Fan Motor Assembly with Metal Blades. Part identification 1. Levelling pad 2. Mounting Plate 3. Canopy Fixing Screw and Lock Washer 4. Installation Hook 5. Mounting Screw and Washer 6. Ball Joint and Down Rod 7. Controller Wallplate 8.
- Page 3 1. Choose a location for the fan which will Wiring should be at least 1mm cross section, ensure adequate clearance from all objects the fan must be earthed. and walls and greater than 2.1 metres from Wiring for light adaption shown dotted - the floor.
- Page 4 Fig 5. 6. If the fan is not to be used with light fitted, remove the lamp output wires by unscrewing their terminals at the terminal block under the lower canopy and pulling them out through the hub of the motor. Fit the decorative nut.
- Page 5 measurements vary, loosen screws Information for the Owner connecting blades and brackets (one at a time) then shift blade to proper position and re-tighten screws. Care and Cleaning Periodic cleaning of your new ceiling fan is Normal Wear and Tear the only maintenance that is needed.
-
Page 6: Trouble Shooting Checklist
Arlec Guarantee If any part of the product proves defective within the warranty period, such part will be Arlec guarantees this product against defects repaired or replaced free of charge at the in materials and/or workmanship, under discretion of Arlec. - Page 7 Installation Record Form A warranty claim will only be accepted if accompanied by the following: 1. A completed copy of this form 2. Proof of purchase 3. Proof of installation by a licenced electrical contractor. Please retain all invoices and, if provided, electrical certificate as proof that a qualified installer has performed this installation.
Need help?
Do you have a question about the CSF120BCL and is the answer not in the manual?
Questions and answers