Table of Contents
Advertisement
Advertisement
Table of Contents

Related Manuals for Audio Research Reference 6


Summary of Contents for Audio Research Reference 6
- Page 1 H I G H D E F I N I T I O N ® Reference 6...
-
Page 3: Operation
Thank you for choosing the Reference 6 to be a part of your high performance music listening system. Since 1970, Audio Research has been creating some of the world’s finest audio equipment. Each piece is handcrafted in Minnesota, and has been designed to provide many years of listening enjoyment. -
Page 4: Table Of Contents
Contents Warnings Installation Before Operating the Reference 6 In Your System A Note about Vacuum Tubes Connections Back Panel Connections Operation Input Connectors Front Panel Controls and Display Output Connectors Start-Up Record Output Shut-Down A.C. Power Connection Break-in RS-232, IR Input and 12 V trigger... - Page 5 This unit is RoHS compliant. This unit contains voltages which can cause The Reference 6 has automatic muting to serious injury or death. Do not operate help protect system components in the with covers removed. Refer servicing event of low line voltage.
-
Page 6: Before Operating The Reference 6
Installation Before operating the Reference 6 Remove all screws fastening the top cover. Your Reference 6 preamplifier is shipped Carefully remove each vacuum tube with the vacuum tubes packed in a from its protective foam and match its separate foam-lined carton. These must location ‘V’... -
Page 7: Installation
A Note about Vacuum Tubes surface such as a thick rug or carpet. The vacuum tubes in your Reference 6 have Due to its weight, this preamplifier must been burned in, tested and electrically... -
Page 8: Connections
Connections Back Panel Connections RS-232 connector Main Outputs Control connections Record Outputs Fuse Holder Balanced Inputs Single-ended Inputs A.C. Mains connector... -
Page 9: Input Connectors
Two pairs of BAL/SE main outputs are equipment. Only use the power switch provided. The outputs are connected on the front of the Reference 6 for On/ in parallel. If using both outputs Off control of the preamplifier, or the simultaneously, the combined input IR input, RS232 or remote control. -
Page 10: Front Panel Controls And Display
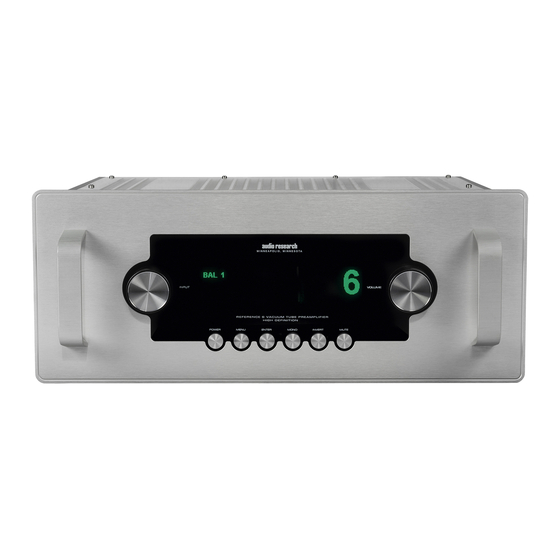
Operation Front Panel Controls and Display Vacuum Flourescent Input Select Display Volume Power On/Off Menu Mute Enter Invert Phase (used with Menu) Mono/Stereo... -
Page 11: Start-Up
The preamplifier will before the amplifier in your system. If the begin the warm-up sequence, which lasts Reference 6 is turned on after the amplifier, approximately 45 seconds, during which it will amplify any extraneous turn-on ‘MUTE’ will flash on the display. After the... -
Page 12: Front Panel Controls
Menu The Reference 6 has two microprocessor- The menu button enters the setup menu driven rotary controls and six buttons of the Reference 6 to allow customizing (Power, Menu, Enter, Mono, Invert, and certain settings of the preamplifier. See Mute). -
Page 13: Remote Only Functions
Reference 6. This is useful to Balance determine the approximate number of hours the vacuum tubes have been in The Balance control adjusts the output from use. -
Page 14: System Settings - Menu Tree
Operation System Settings - Menu Tree... -
Page 15: Settings Menu
Auto Shutdown The Reference 6 is equipped with an auto shut off feature, designed to turn the preamplifier off after a period of time during which it is not used. The auto shut... -
Page 16: Processor Mode
Operation Processor Mode Tube Hours The Reference 6 has the ability to assign The tube hours display shows the unity gain (also called ‘pass through’) to accumulated time the Reference 6 has been one of the eight inputs available in the powered on. -
Page 17: Service 18
‘ENTER’ or any further buttons. Input Naming Note The Reference 6 is pre-loaded with a The remote control offers direct control selection of names which can be assigned of the display brightness via two buttons to the eight inputs of the preamplifier, labeled ‘DISP UP’... -
Page 18: Maintenance
Cleaning It is recommended that you replace the To maintain the new appearance of this 6H30 vacuum tubes of your Reference 6 in preamplifier, occasionally wipe the sets. All of the tubes in your preamplifier front panel and top cover with a soft, have been matched to have similar damp (not wet) cloth to remove dust. - Page 19 Fuse CE Fuse (220-240 V units only) A.C. Mains Fuse The Reference 6 has three replaceable fuses to help protect the unit in the event of a 120 V units: 5A slow blow spurious electrical surge or other situation. 220-240 V units: T4...
-
Page 20: Warranty
Limited Warranty are listed on the Audio Research factory, along with a the warranty card accompanying the photocopy of the dated purchase receipt product in its shipping carton. The... -
Page 21: Specifications
Specifications Frequency Response: +0-3dB, 0.4Hz to 200kHz at rated output (Balanced, 200k ohms load). Distortion: Less than .01% at 2V RMS BAL output. Gain: Main output: 12dB Balanced output, 6dB SE output. Record out: 0dB (Processor input: 0dB BAL output). Input Impedance: 120K ohms Balanced, 60K ohms SE. - Page 22 D E F I N I T I O N ® 3900 Annapolis Lane North Plymouth, MN 55447 www.audioresearch.com Specifications subject to change without notice. ©2015 Audio Research Corporation. Reproduction of this document in part or whole is expressly forbidden without written consent from Audio Research Corporation.
Need help?
Do you have a question about the Reference 6 and is the answer not in the manual?
Questions and answers