Table of Contents
Advertisement
Advertisement
Table of Contents

Related Manuals for Jay-tech VideoShot Full-HD 39


Summary of Contents for Jay-tech VideoShot Full-HD 39
-
Page 2: Table Of Contents
CONTENTS PRECAUTIONS ............................1 DISCLAIMER ............................1 FACTORY DEFAULT SETTINGS ......................1 PREPARATION ............................2 INTRODUCTION ..........................2 INSERTING BATTERY ......................... 4 INSERTING MEMORY CARD ......................4 BASIC OPERATION ..........................5 TURN ON / OFF THE DV ........................5 SET DATE AND TIME .......................... 5 FORMATTING THE MEMORY CARD .................... -
Page 3: Precautions
Thank you for purchasing this camera. Please read these operating instructions carefully in order to use the camera correctly. Keep the instructions in a safe place after reading so that you can refer to them later. PRECAUTIONS Before using the camera, please ensure that you read and understand the safety precautions ... -
Page 4: Preparation
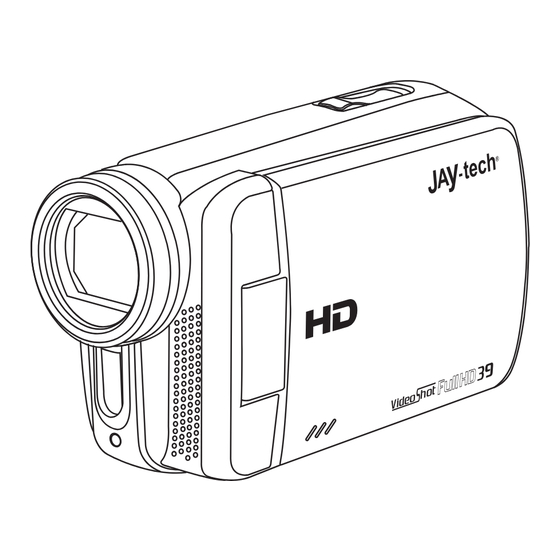
PREPARATION INTRODUCTION 1. LCD touch screen 9. OK / MENU button 2. Up / Playback button 10. Right / LED lamp button 3. Power button 11. USB jack 4. T / Zoom in button 12. HDMI jack 5. W / Zoom out button 13. - Page 5 16. Lens 18. Self-timer LED 17. Built-in microphone 19. LED lamp 20. Wrist strap eyelet 23. Memory card slot 21. Tripod slot 24. Battery/Memory card cover 22. Battery compartment VS-FHD39N EN/1501.V01...
-
Page 6: Inserting Battery
INSERTING BATTERY 1. Slide-open the battery/memory card cover. 2. Insert the battery by correct direction until the battery latch locks up the battery. 3. To remove battery, slide the battery latch and the battery will pop up from the battery compartment. NOTES: To charge battery, when the battery ... -
Page 7: Basic Operation
BASIC OPERATION TURN ON / OFF THE DV There are two ways to turn on and off the DV. 1. The DV can be turned on by either flip-opening the LCD screen or pressing the power button. 2. The DV can be turned off by either flip-closing the LCD screen or pressing the power button. SET DATE AND TIME 1. -
Page 8: Switching Between Modes
SWITCHING BETWEEN MODES There are three modes: DISPLAY TITLE DESCRIPTION Capture Mode For taking photos Video Mode For recording video clips Playback Mode For playback Press the Mode button can switch between the modes (directly press on have the same access). DISPLAY ON THE LCD SCREEN Video Mode 1. -
Page 9: Capture Mode
Capture Mode 1. Capture mode icon 6. ISO value 2. Exposure value Auto 3. White balance ISO 100 4. Self-timer ISO 200 Single ISO 400 2s timer 7. Anti-shake icon 5s timer 8. Time 10s timer 9. Date 5. Scene 10. -
Page 10: Playback Mode
Playback Mode For Photo 1. Playback mode icon 2. Date 3. Time 4. Battery power level 5. File sequence number/total file number 6. Photo resolution For Video Clip 1. Playback mode icon 2. Video clip symbol 3. Battery power level 4. -
Page 11: Menu
MENU SETUP MENU 1. Press the OK/MENU button to enter the Setup menu. 2. Use Up and Down buttons to select the preferred item and press the OK/MENU button again to enter the setting and exit the setting. ITEM DESCRIPTION To have date/time imprint Date (Date and time... -
Page 12: Video Mode Menu
VIDEO MODE MENU Press the Mode button repeatedly or press on the mode icon repeatedly for to enter the video mode. Press the OK/Menu button to enter the menu. ITEM DESCRIPTION 1080P 1920X1080 @ 25 fps 720P 1280X720 @ 30 fps Size (Video size) 640 x 480 @ 30 fps... -
Page 13: Playback Mode Menu
Auto / 100 / 200 / 400 Scene Mode Auto / Scenery / Portrait / Night Scenery / Night Portrait / High Sensitivity / Beach To cancel the face detection and smile shutter Face Detect (Face Detection and Face Detect To activate Face detection Smile Shutter) Smile Capture... -
Page 14: Video Recording
VIDEO RECORDING 1. Insert the memory card into the DV. 2. Turn on the DV and set it at video mode by pressing the Mode button or pressing directly on the model icon on the screen. 3. Press the shutter button to start or stop recording. NOTES: Use the zoom in and zoom out buttons for zooming. -
Page 15: Playback Photos
PLAYBACK PHOTOS If you would like to explore details of a photo: 1. First press T/zoom in button to enlarge the photo. 2. Use T/zoom in and W/zoom out buttons to adjust the photo size. 3. Press OK/MENU button to enter. 4. -
Page 16: Software Installation
SOFTWARE INSTALLATION The bundled software CD has the drivers and software that come with video camera. Insert the CD into your CD-ROM drive and open it, then double click the “start”, so it will pop up an installation MENU as below: The following software is listed: User manual ... -
Page 17: Specifications
SPECIFICATIONS Sensor 5.0 Megapixels CMOS Display 7.6 cm (3.0") TFT touch screen Focus Range 150 cm ~ infinity Lens F / 2.8, f = 5.3 mm Shutter Electronic Shutter: 1/2 ~ 1/2000 sec. [12M]: 4000x3000 [10M]: 3648X2736 [9M]: 3456X2592 Photo Resolution [8M]: 3264x2448 [7M]: 3072X2304 [5M]: 2592x1944... -
Page 18: Ec Declaration Of Conformity
SERVICE PROCEDURE If you have reason for complaint, or your device is defective, please contact your dealer or the service division of JAY-tech GmbH to make arrangements for service procedures. Service Hours: Monday - Thursday from 8:00 am to 5:00 pm Friday from 8:00 am to 2:00 pm.
Need help?
Do you have a question about the VideoShot Full-HD 39 and is the answer not in the manual?
Questions and answers