Table of Contents
Advertisement
Quick Links
Advertisement
Table of Contents

Related Manuals for Jay-tech VideoShot HD7


Summary of Contents for Jay-tech VideoShot HD7
-
Page 2: Table Of Contents
INDEX INDEX............................1 Function Description ......................2 Notice for Use..........................2 System Requirements ......................4 Start to Use..........................6 1. Appearance and Buttons.....................6 2. Basic Operation ......................8 3. Delete Files .......................13 4. Connect to PC......................13 5. Download Files from Camera to PC................14 Application of Attached ArcSoft MediaImpression ............15 Introduction Interface for Software Installation ..............15 MediaImpression Installation and Use ................16 Product Specifications: ......................22... -
Page 3: Function Description
Function Description Welcome to purchase and use this digital video camera. Before use, please read this user manual carefully. With this digital video camera, you can take video clips and still photo. With the playback function, you can playback the taken video with this digital video camera; in addition, you can download the video from the digital video camera into your PC. - Page 4 When this switch is pushed to the bottom and locked, the data in the card will be protected. However, when the card is in write-protect state, it cannot be used for shooting or deletion etc. These memory cards cannot be used for permanent storage of data. You must copy the documents in the digital video camera to the proper storage position.
-
Page 5: System Requirements
therefore, without prior permission, the shooting/use of these resources may violate copyright laws and regulations related. Please note that the resources under the protection of copyright can be used within the permission of related laws and regulations. System Requirements When operating and using this digital video camera, be sure to meet the requirements on the basic system for computer. - Page 6 Accessories The following major accessories will be seen after the camera is unpacked. USB Cable Software CD User’s Manual A/V Cable HDMI Cable Lithium Battery...
-
Page 7: Start To Use
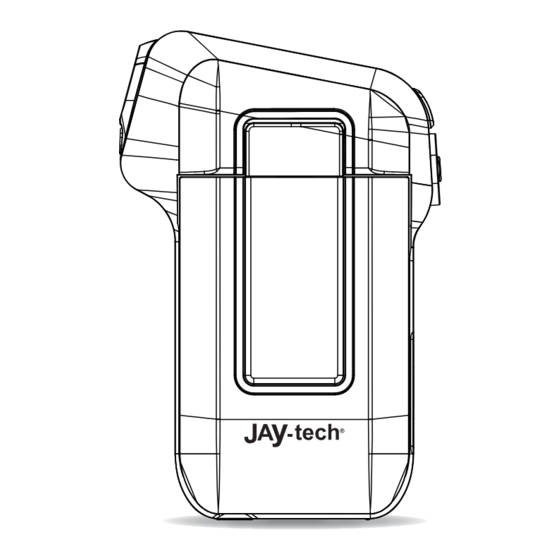
Start to Use 1. Appearance and Buttons Shutter Key Lens REC Key Zoom-in (Up) LED Light Fill Light (Right)) Zoom-out (Down) OK Button AV Interface Switch Resolution (Left) Charging Indicator SD Card Slot... - Page 8 Strap Eyelet HDMI Interface Playback Power Key Tripod Mount USB Port Two Foot Pads...
-
Page 9: Basic Operation
2. Basic Operation 2.1 Install Battery Press / slide down the Battery Cover and insert lithium battery. Align with correct polarity of battery terminals. Close the Battery Cover. 2.2 Charge Battery 1. Power off the camera. 2. Connect the camera to the computer USB port with USB cable to charge the battery. 3. - Page 10 2.3 Use SD/MMC/SDHC Card Insert the SD Memory card into the SD/MMC/SDHC Card Slot. Push it down until the card stays latched. Do not force – check card’s position according to the position mark on the camera. Push and release inserted card if you wish to remove or replace the card. Turn your power OFF before inserting / removing the SD Card.
- Page 11 2.5 Setup Menu Under photo mode or video mode, enable menu by pressing the OK button, exit from the menu by pressing left key, select the option required by pressing up and down keys, enter the subdirectory by pressing the OK button, return the pre-directory by pressing the left key and confirm the setting by pressing OK button.
- Page 12 Note: While the memory is full or the SD card was locked, when you press the Shutter key, the camera will not recording. Before inert or remove the card, please turn off the camera first. 2.8 Playback Videos or Photos Press playback key to enter playback mode, press ◄...
- Page 13 2.9 TV Output After the camera is powered on, insert the terminal of the TV cable into the TV output port of the camera, the yellow port of the other terminal should be connected to VIDEO IN port of TV,red (or white) port of the other terminal should be connected to AUDIO IN port of TV.
-
Page 14: Delete Files
3. Delete Files Under playback mode, press the OK key to enter Delete menu mode, use the left and right key of five-way key to select “All”, ”No” or “Yes”. Select “Yes” and press OK key to delete current image; select “All” and press OK key to delete all images;... -
Page 15: Download Files From Camera To Pc
5. Download Files from Camera to PC After connecting to computer, go to "My Computer” and open the "Removable Disk." The videos will be saved in the \DCIM\ 100MEDIA folder in the removable disk. Choose the desired video in folder the 100MEDIA and copy (drag with mouse) it into the target folder in the HDD of the computer. -
Page 16: Application Of Attached Arcsoft Mediaimpression
Application of Attached ArcSoft MediaImpression There are two programs in CD provided for image processing: Xvid codec, MediaImpression. Introduction Interface for Software Installation Put the CD attached into the CD-ROM of the computer, the following menu will appear: Note: If the CD driver does not automatically carry out or close such function, please double click autorun.exe program under the root directory of the CD. -
Page 17: Mediaimpression Installation And Use
MediaImpression Installation and Use Install MediaImpression: Click “Install MediaImpression” button and complete the installation as per the tips. - Page 18 After installation, please restart the computer. Start to use MediaImpression: icon on the desktop or follow “Start → Programs” to launch MediaImpression. Double click the...
- Page 19 After starting MediaImpression, click the “Import” to import the media.
- Page 20 Choose the video camera storage and choose the output location. Choose require file and click the “import”, selected file will be stored in the output location.
- Page 21 Click “Go to start page” to return the main screen; click the “Video” or “All media” to use the “YouTube” function.
- Page 22 Choose file and click the “upload to YouTube. Enter you username and password to login the YouTube, execute upload.
-
Page 23: Product Specifications
Product Specifications: Image Sensor 5.0 Mega Pixels CMOS Function Mode Record video, Record still photo, playback, External memory Lens F/3.0, f=5.7 mm Focus Range 120 cm ~ infinite Digital Zoom 8 X Digital zoom Shutter Electronic LCD Display 2.7” (6.1 cm) TFT Display Video: HD (1280x720), D1 (720x480), VGA (640x480) Resolution Still photo: 12M (4032x3024), 5M (2592x1944), 3M...
Need help?
Do you have a question about the VideoShot HD7 and is the answer not in the manual?
Questions and answers