Table of Contents
Advertisement
Quick Links
Advertisement
Table of Contents

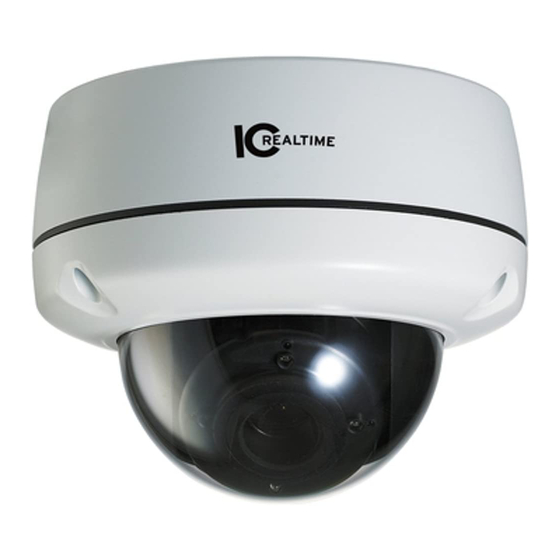
Summary of Contents for ICRealtime ELIP-470
- Page 1 2Megapixel Vandal-Proof FULL HD IP Camera QUICK INSTALLATION GUIDE ELIP-470...
- Page 2 Please read this manual carefully before installation and operation of the product.
-
Page 3: Dear Customers
DEAR CUSTOMERS! By selecting this product, you have decided to use a professional device that guarantees highest quality and reliability. We would like to thank you very much for your confidence and kindly ask you to read the following instructions carefully before installation and operation in order to take full advantage of all quality features regarding this product. -
Page 4: Limitation Of Liability
PRECAUTIONS Please read the manual carefully before the installation in order to set up the camera correctly and to obtain the best picture quality. Please keep the manual in good condition for your future reference and service application. ... -
Page 5: Product Overview
1. PRODUCT OVERVIEW Key Features 2.0 Mega pixel 1/2.8" SONY progressive scan CMOS image sensor for excellent image quality Vandal Proof, fire resistant and tamper resistant Perfect tool-free 3-Axis mechanism inside Extended IR life cycle Dust and Moisture free (IP66 Waterproof), IK10 Certified ... - Page 6 Auto Exposure Privacy Mask Effect - Color, Sharpness, Mirror / V-Flip, etc. Output BNC x1, 1.0Vp-p, 75 ohm Composite Video, NTSC / PAL Audio Streaming Two-way, full duplex Audio G.711 Compression Sample Rate 8KHZ Audio Data Rate 64Kbps Audio Input Microphone input / 1 x Line-In (Mono) Audio output Line output / 1 x Line-Out (Mono)
-
Page 7: Name And Function Of Each Part
2. NAME AND FUNCTION OF EACH PART 2.1 Package Contents APPEARANCE DESCRIPTION IP Camera x 1 Installation Guide x 1 Drilling Template x 1 Torx L-Wrench x 1 Tapping Screws x 4 Plastic Anchor x 4 LED Cap x 1 CD x 1 2.2 Name and Function... -
Page 8: Installation Overview
ITEM DESCRIPTION - RED LED : Power On - GREEN LED : Network connection and Status LED Video transmission - GREEN LED Blinking : Motion Detection Lens 3 ~ 10.5mm Vari-focal Megapixel Lens Illumination sensor Control IR LED by sensing light IR LED Infrared Hi-power LED 3. -
Page 9: 3-Axis Adjustment
① Paste a Drilling Template on the ceiling or wall and drill screw points which will be dome for installation. ② Fix the Surface Mounting Base by using Tapping Screws provided. ③ Fix the Flush mount Base on Surface Mounting Base. ④... - Page 10 LAN Switch Router Internet Remote Access Local Access E-Mail / FTP 3.3.2 Connecting Network 1) Run IPScan Utility program in the packaged CD. 2) Click “Scan” button. Once IPScan Utility program scanned, the panel shows every camera or video server connected on the local network. 3) The MAC address can be found on the label of the camera or video server.
-
Page 11: Dimension (Mm)
3.3.3 Accessing the Camera or video server’s Homepage 1) After you assign IP address to your IP camera or video server and enter that camera or video server address on the Web Browser, you will be connected to the login page of the camera or video server as shown below.

Need help?
Do you have a question about the ELIP-470 and is the answer not in the manual?
Questions and answers