Advertisement
Quick Links
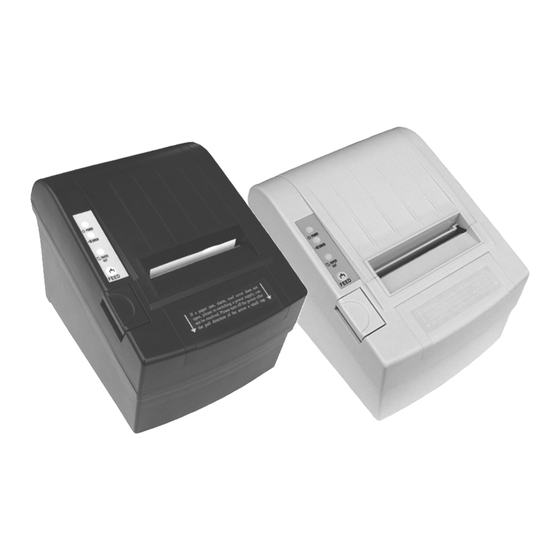
SUP80230C Series
Thermal Printer
Manual
VERSION 1.1.01
August 2010
Copyright of this manual remains with Sunphor, reproduction of any section of this manual is prohibited
without prior written permission of Sunphor.
While all care has been taken to ensure the accuracy of this user manual, the continual development of
this product may reflect some inaccuracies.
Sunphor takes no responsibility for the inaccuracies and will endeavour to update this user manual
periodically. Further assistance can be supplied by your local dealer..
1
Advertisement

Related Manuals for Sunphor SUP80230C

Summary of Contents for Sunphor SUP80230C
- Page 1 VERSION 1.1.01 August 2010 Copyright of this manual remains with Sunphor, reproduction of any section of this manual is prohibited without prior written permission of Sunphor. While all care has been taken to ensure the accuracy of this user manual, the continual development of this product may reflect some inaccuracies.
-
Page 2: Application Area
Notes 1. The printer is to be installed on a flat dry surface. 2. Do not store the printer in hot and humid conditions. 3. The printer’s power adapter is to be connected to a stable power supply of 240-Volts, please do not use other devices on the same power socket, to avoid voltage fluctuations. -
Page 3: Main Feature
Main Feature ² Print high-quality, low cost ² Low-noise, high-speed printing ² Supports cash drawer release ² Small and lightweight ² Easy paper loading, ease of use and maintenance ² Built-in data buffer (when printing can receive print data) ² Communication interface optional parallel port or serial port ²... - Page 4 Printer Input Voltage DC 24V/2.5A Cashbox Control DC 12-24V/1A Operating Temperature 0-45℃, Humidity:10-80% ℃ :10-90% Storage Temperature -10-60 , Humidity Connection the printer (Switch off first) a. Connect the power adapter cable to the printer power interface b. Connect the data cable from the PC to the printer port interface c.
- Page 5 Installation of Printer drive 1. Insert the driver CD, open the driver folder ”SUP80230C Driver”. Double-click the “setup.exe”. Select your operating system. Click next to continue installation. See the following image:...
- Page 6 2. Select ”SUP80230C” and click OK to finish the installation. See the following image: 3. Auto open the “SUP80230C Properties” panel at the last step of installation, or Click Start> Control Panel> Printers and faxes> to open the printer properties window, and select the appropriate “Port”...
- Page 7 4. Choose “Standard TCP/IP Port”, and click “New Port”, See the following image: 5. Select “Add Standard TCP/IP Printer Port Wizard”, click “Next” to continue the installation. See the following image:...
- Page 8 6. Print the Self-Test to obtain the original IP Address of the Printer. Follow these steps to print the Self-Test: 1. Correctly load the thermal paper. 2. Press the “FEED” button, then turn on the power switch, when both the “ERROR” light and the “PAPER”...
- Page 9 8. Add the standard TCP / IP Printer Port Wizard, select the device type, and then click “Next” to continue the installation, See the following image: Click “Finish” to complete the installation, as shown:...
- Page 10 10. Select "Properties", click on the port, and then select the correct IP port address, click Apply, you can now print a test page, as shown: Note: 1> The first three numbers of IP address should be the same between computer and printer. The last number should be different.
- Page 11 Clean of printer When the printer has the following conditions, you should clean the print-head: 1. The printer does not print clearly and the thermal paper is Ok 2. The page-test printing is not crisp and clear 3. Paper feed is noisy Printer cleaning steps are as follows: 1.
Need help?
Do you have a question about the SUP80230C and is the answer not in the manual?
Questions and answers