Ericsson PCS Series Maintenance Manual
Hide thumbs
Also See for PCS Series:
- Maintenance manual (8 pages) ,
- Operator's manual (40 pages) ,
- Operator's manual (48 pages)

Subscribe to Our Youtube Channel
Related Manuals for Ericsson PCS Series


Summary of Contents for Ericsson PCS Series
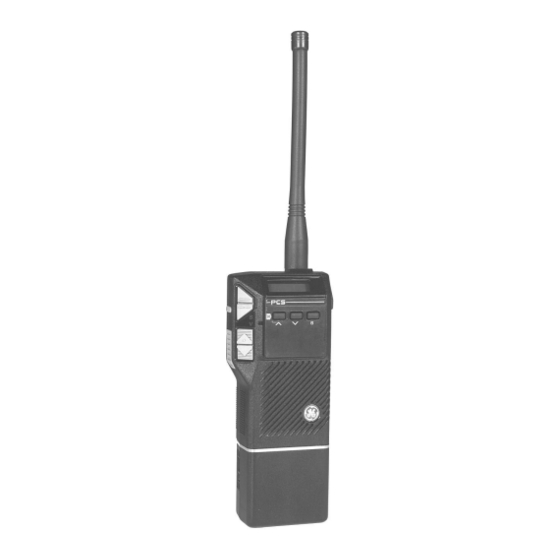
- Page 1 LBI-38623A Maintenance Manual Service Section for PCS Personal Radios Ericsson Inc. Private Radio Systems Mountain View Road Lynchburg,Virginia 24502 1-800-528-7711 (Outside USA, 804-528-7711) Printed in U.S.A.
-
Page 2: Transmit Circuit
= sum of voice + Channel Guard, modulation). 5. Frequency Counter performed the following procedure is intended to be used by a Copyright © April 1991, Ericsson GE Mobile Communications Inc. 5. Slowly turn R608 counterclockwise until audio appears. -
Page 3: Preventive Maintenance
LBI-38623 Procedure PROCEDURE TROUBLESHOOTING To remove the battery pack DISPLAY PROBLEMS CAUTION DOCUMENTATION REQUIRED 1. Pull the latch toward the battery pack. Wiggle the battery The squelch adjustment must be made in this sequence 1. Verify Programming. pack from side to side to release it from the wedge in the •... - Page 4 LBI-38623 • 1. Check to see if the programming is correct. 2. Check to see if filtered noise is present at the high pass filter 7. Check to see if the spring J101 is contacting the center pin Monitor CAS signal at J701-5. output.
-
Page 5: Component Replacement
LBI-38623 3. Check to see if the RX low pass filter output is being gated waveform is not present, oscillator module U203 is probably TRANSISTOR Q201 to the post limiter filter by the TX CG switch. defective. After checking for the proper operation, measure the gain 4. - Page 6 LBI-38623 the pad with a well "tinned" soldering iron while pressing the component down on the board. 3. Place the "tinned" soldering iron on the other end of the component and the pad simultaneously. Apply solder to the top of the end of the component until the solder starts to flow. Use as little solder as possible while getting a good joint.
-
Page 7: Interconnection Diagram
LBI-38623 INTERCONNECTION DIAGRAM PCS SCAN RADIO (19D438710, Sh. 3, Rev. 1) - Page 8 ADJUSTMENTS LBI-38623 TUNING CONTROLS AND TEST POINTS...
Need help?
Do you have a question about the PCS Series and is the answer not in the manual?
Questions and answers