Sign In
Upload
Download
Table of Contents
Contents
Add to my manuals
Delete from my manuals
Share
URL of this page:
HTML Link:
Bookmark this page
Add
Manual will be automatically added to "My Manuals"
Print this page
×
Bookmark added
×
Added to my manuals
Manuals
Brands
oticon Manuals
Hearing Aid
Alta 2
Instructions for use manual
oticon Alta 2 Instructions For Use Manual
Hide thumbs
Also See for Alta 2
:
Instructions for use manual
(43 pages)
1
2
3
Table Of Contents
4
5
6
7
8
9
10
11
12
13
14
15
16
17
18
19
20
21
22
23
24
25
26
27
28
29
30
31
32
33
34
35
36
37
38
39
40
41
42
43
44
45
46
47
48
49
50
51
52
53
54
55
56
57
58
59
60
61
62
63
64
page
of
64
Go
/
64
Contents
Table of Contents
Troubleshooting
Bookmarks
Table of Contents
Intended Use
Table of Contents
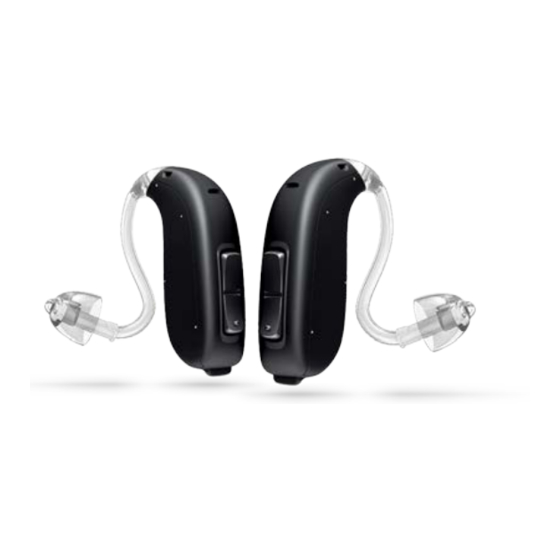
Identify Your Hearing Instrument Style and Ear Piece
Sound Hook and Mould
Thin Tube (Corda Minifit)
Identify Left and Right Hearing Instrument
Battery (Size 13)
Turn the Hearing Instrument on and off
When to Replace the Battery
How to Replace the Battery
Caring for Your Hearing Instrument
Sound Hook with Mould
Put on the Hearing Instrument with Mould
Clean the Mould
Wash the Mould
Thin Tube (Corda Minifit)
Put on the Hearing Instrument with Thin Tube
Clean the Thin Tube
Thin Tube with Dome
Replace the Dome
Thin Tube with Micro Mould
Clean the Micro Mould
Options Optional Features and Accessories
Mute the Hearing Instrument (Optional)
Change Volume (Optional)
Change Programs (Optional)
Other Options (Optional)
Wireless Accessories (Optional)
Tamper-Resistant Battery Drawer (Optional)
Warnings Warnings
More Info Troubleshooting Guide
Water Resistant (IP58)
Conditions
Warranty Certificate
International Warranty
Mobile Phone
Technical Information
Advertisement
Quick Links
1
Identify Your Hearing Instrument Style and Ear Piece
2
Turn the Hearing Instrument on and off
3
Change Volume (Optional)
Download this manual
INSTRUCTIONS FOR USE
BTE13 PP
Table of
Contents
Previous
Page
Next
Page
1
2
3
4
5
Advertisement
Table of Contents
Need help?
Do you have a question about the Alta 2 and is the answer not in the manual?
Ask a question
Questions and answers
Related Manuals for oticon Alta 2
Hearing Aid oticon RITE Alta2 Instructions For Use Manual
(43 pages)
Hearing Aid oticon miniRITE Alta2 Instructions For Use Manual
(64 pages)
Hearing Aid oticon miniRITE Alta2 Instructions For Use Manual
(35 pages)
Hearing Aid oticon Alta2 Instructions For Use Manual
Minibte (31 pages)
Hearing Aid oticon Alta2 Instructions For Use Manual
(72 pages)
Hearing Aid oticon Alta2 Instructions For Use Manual
Designrite (60 pages)
Hearing Aid oticon Alta2 Instructions For Use Manual
Iic-cic-mic-itc-hs-fs (29 pages)
Hearing Aid oticon Alta2 Instructions For Use Manual
(33 pages)
Hearing Aid oticon Alta2 Instructions For Use Manual
(41 pages)
Hearing Aid oticon Nera2 Instructions For Use Manual
(32 pages)
Hearing Aid oticon alta2 Instructions For Use Manual
Bte (35 pages)
Hearing Aid oticon Alta2 Instructions For Use Manual
(31 pages)
Hearing Aid oticon Alta2 Pro Instructions For Use Manual
(34 pages)
Hearing Aid oticon miniRITE Series Instructions For Use Manual
(29 pages)
Hearing Aid oticon miniRITE Alta2 Pro Ti Instructions For Use Manual
(35 pages)
Hearing Aid oticon Alta2 Pro Instructions For Use Manual
(26 pages)
This manual is also suitable for:
Nera 2
Ria 2
Table of Contents
Print
Rename the bookmark
Delete bookmark?
Delete from my manuals?
Login
Sign In
OR
Sign in with Facebook
Sign in with Google
Upload manual
Upload from disk
Upload from URL


Need help?
Do you have a question about the Alta 2 and is the answer not in the manual?
Questions and answers