Sign In
Upload
Download
Table of Contents
Contents
Add to my manuals
Delete from my manuals
Share
URL of this page:
HTML Link:
Bookmark this page
Add
Manual will be automatically added to "My Manuals"
Print this page
×
Bookmark added
×
Added to my manuals
Manuals
Brands
Water Factory Systems Manuals
Water Filtration Systems
SQC3 Series
Owner's manual
Water Factory Systems SQC3 Series Owner's Manual
Hide thumbs
1
2
3
4
Table Of Contents
5
6
7
8
9
10
11
12
13
14
15
16
17
18
19
20
page
of
20
Go
/
20
Contents
Table of Contents
Troubleshooting
Bookmarks
Table of Contents
Safety Information
Table of Contents
Installation Instructions
Determine the Appliance Location
Prepare the Area for Installation
Prepare the Appliance for Installation
Make the Faucet Mounting Hole
Mount the Faucet
Install Stem Adapter with 1/4" Feedwater Tube Outlet
Prefill and Sanitize the Storage Tank
Install the Drain Connection
Install the Filtration Assembly and Storage Tank
Make the Tubing Connections
Install the Icemaker Hookup (Optional)
Start up the Appliance
Flush the Appliance of the Preservative and Check the Operation
Cleanup & Paperwork
Appendix For Basement Installations
Installation Troubleshooting
Operation & Maintenance Instructions
Important Water Quality Assurance Requirements
Replacing the Filter Cartridges
Replacing the RO Membrane Cartridge
Sanitizing the RO Appliance
Long Term Non-Use
Advertisement
Quick Links
1
Installation Instructions
2
Prefill and Sanitize the Storage Tank
3
Install the Filtration Assembly and Storage Tank
4
Installation Troubleshooting
5
Replacing the Filter Cartridges
6
Replacing the Ro Membrane Cartridge
Download this manual
™
SQC Series
Owner's Manual
This Manual is for the Installation, Operation,
and Maintenance of the
WATER FACTORY SYSTEMS
™
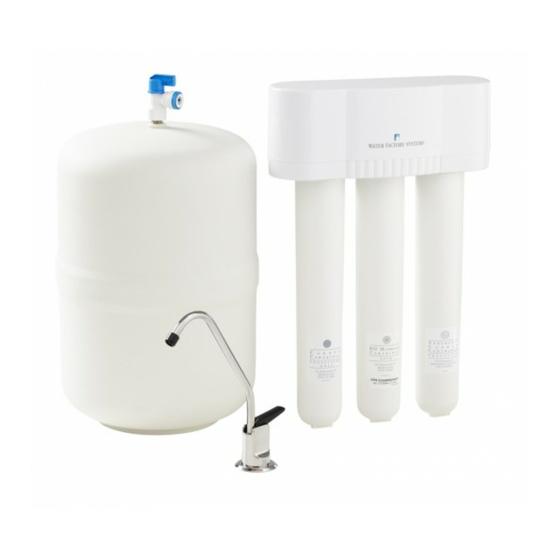
SQC3 and SQC4 Series
Reverse Osmosis (RO) Drinking Water Appliance
Installer: Leave with homeowner.
Table of
Contents
Previous
Page
Next
Page
1
2
3
4
5
Advertisement
Table of Contents
Need help?
Do you have a question about the SQC3 Series and is the answer not in the manual?
Ask a question
Questions and answers
Subscribe to Our Youtube Channel
Related Manuals for Water Factory Systems SQC3 Series
Water Filtration Systems Water Factory Systems SQC Helpful Information For Owner
(13 pages)
Water Filtration Systems Water Factory Systems SQC4 Series Owner's Manual
(20 pages)
Water Filtration Systems Water Factory Systems SteamerGard WT-400 Use And Care Instructions, Installation
(11 pages)
Water Filtration Systems Water Factory Systems 40T Owner's Manual
(16 pages)
This manual is also suitable for:
Sqc4 series
Table of Contents
Save PDF
Print
Rename the bookmark
Delete bookmark?
Delete from my manuals?
Login
Sign In
OR
Sign in with Facebook
Sign in with Google
Upload manual
Upload from disk
Upload from URL


Need help?
Do you have a question about the SQC3 Series and is the answer not in the manual?
Questions and answers