Table of Contents
Advertisement
Available languages
Available languages
Quick Links
Advertisement
Chapters
Table of Contents

Subscribe to Our Youtube Channel
Related Manuals for Sylvania SDPF651-BLACK-C


Summary of Contents for Sylvania SDPF651-BLACK-C
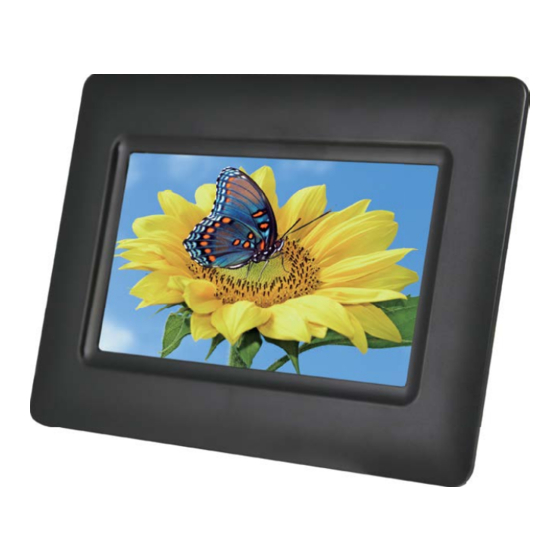
- Page 1 Digital Photo Frame Operation Manual Model NO.:SDPF651-BLACK-C...
- Page 3 Cautions Precautions and maintenance ● For indoor use only. ● To avoid risk of fire or electric shock, do not expose the unit to moisture or condensation. ● To avoid overheating, do not block the ventilation holes on the back of the Digital Photo Frame.
-
Page 4: Packaging Check List
Introduction: Thank you for your purchase of the Digital Photo Frame. It is designed to allow quick and easy view of photos taken from your digital camera, mobile phone, or from a memory storage card. Please read this User Manual carefully to learn the correct way to use the Digital Photo Frame. -
Page 5: Table Of Contents
CONTENTS 1. Product Diagram ························································································ 4 1.1 Left Side ····························································································· 4 1.2 Rear side buttons·················································································· 4 2. Getting Started··························································································· 4 3. Operating Instruction·················································································· 5 3.1 Card and USB······················································································ 5 3.2 Picture Mode ······················································································· 5 3.3 Save/Copy & Delete function··································································· 5 4. -
Page 6: Product Diagram
1. Product Diagram 1.1 Left Side 1. Card slot:SD/SDHC/MMC 2. USB PORT 3. DC IN 1.2 Rear side buttons 1. Power on/off 2. Up 3. Play/pause/OK 4. Right/Forward/Next 5. Left/Back/Previous 6. Down 7. Menu/Exit 2. Getting Started 2.1 Extend the digital photo frame bracket on the back of the frame to the widest position for greatest stability, and then plug one end of the included AC/DC adapter into a standard 100-120V AC electrical outlet and the other end into the right side the frame. -
Page 7: Operating Instruction
3. Operating Instruction 3.1 Card and USB After turning on the unit, it will show the startup picture, press MENU to get to the card select interface. It supports SD/SDHC/MMC and USB 2.0. After inserting a card or USB device, slideshow will play automatically, then press MENU twice to access to photo, file, calendar and setup. -
Page 8: File
Delete pictures in built-in memory or memory card: In six-picture mode, use to select the picture you want to delete in the built-in memory, then Long press MENU to enter delete interface, press to confirm. 4. File Press MENU to choose "MEMORY CARD" in the main menu. - Page 9 6.1 Language: English、French、Italian、German、Spanish、Portuguese、Swedish、 Dutch 6.2 Photo Sequence: Sequence,Random 6.3 Slide mode: Single Window, Two Windows, Four Windows, Triple Windows 6.4 Slide speed: 3/5/15/30seconds, 1/5/15/30minutes and 1hour 6.5 Photo Effect :Color,Mono,Sepia 6.6 Slide Effect: Random, Split Horizontal in/out, Jalousie, Split Vertical in/ out, Radiation, Surround, Fade, Right refresh, Next refresh, On Pan, Roll From Down To / Down, Brick 6.7 Photo mode: Auto Fit, Optimal, Full...
-
Page 10: Stand Instruction
7. Stand Instruction Extend the bracket from the slot of the digital photo frame,rotate the bracket to choose standing horizontally or vertically until it is locked in place. Please refer to the illustration shown below. 8. Technical Specifications Adapter: Input: AC 100-120V 50/60HZ Output: DC 5V/1A ... -
Page 11: Troubleshooting Guide
9. Troubleshooting Guide If you have problems with your player, please consult both this guide and manual.If you need further assistance, please contact Technical Support. No power: Please check whether the plug is inserted correctly. Can not read the CARD or USB: Please confirm whether there is storage in the card or USB device. - Page 13 Cadre Photo Numérique Opération Manuel Modèle NO.:SDPF651-BLACK-C...
- Page 15 Avertissements Precautions and maintenance ● À n'utiliser que dans les pièces intérieures. ● Ne pas exposer l'appareil à de l'humidité ou à de la condensation, afin de contrecarrer le risqué d'incendie ou les électrochocs. ● Ne bloquez pas les ouvertures de ventilation se trouvant sur la face arrière du cadre numérique pour éviter tout surchauffement.
- Page 16 Introduction: Nous vous remercions de l'achat de ce cadre photo numérique. Il a été conçu pour la visualisation rapide et simple de photos, lesquelles ont été prises avec votre appareil photo numérique ou votre telephone portable ou se trouvant sur une carte mémoire. Veuillez s'il vous plaît lire le manuel d'utilisateur soigneusement, afin d'apprendre l'utilisation correcte de ce cadre photo.
- Page 17 Table des matières ································ 1. Diagramme du produit ················································································ 4 1.1 Partie gauche······················································································· 4 1.2 Boutons en arrière ················································································ 4 2. Premiers pas ····························································································· 4 3. Mode d'emploi ··························································································· 5 3.1 Carte et USB ······················································································· 5 3.2 Mode de l'image ··················································································· 5 3.3 Fonction sauver/copier&supprimer ···························································...
-
Page 18: Diagramme Du Produit
1. Diagramme du produit 1.1 Partie gauche 1. Emplacement de carte: SD/SDHC, MMC 2. Port USB 3. Entrée de courant 1.2 Boutons en arrière 1. Mise en marche/arrêt 2. Vers le haut Up 3. Start/Pause/OK 4. Vers la droite / Avant / Suivante 5.Vers/la/gauche/Arrière/Précédente 6. -
Page 19: Mode D'emploi
3. Mode d'emploi 3.1 Carte et USB L'écran de démarrage apparaît après la mise en marche de l'appareil. Appuyez trois fois sur la touché MENU, afin de vous rendre sur le masque de selection de la carte. Supporte les cartes SD/SDHC/MMC et USB 2.0. -
Page 20: Fichier
Indication: Système Hint "Mémoire pleine" si en restant intégré dans la taille de la mémoire n'est pas suffisante pour stocker la photo. Supprimez des photos dans la mémoire intégrée ou la carte mémoire: En mode six image, utiliser pour sélectionner l'image que vous souhaitez supprimer dans la mémoire, puis appuyez sur MENU long pour entrer dans l'interface de suppression,... - Page 21 6.1 Language: Anglaish, Français, Italien, Allemand, espagnol, Portugais, Swedish, Néerlandais 6.2 Photo Séquence: Séquence, aléatoire 6.3 Mode diaporama: Fenêtre simple, Deux fenêtres,Quatre fenêtres,Triple fenêtre 6.4 Vitesse dia: 3/5/15/30 secondes,1/5/15/30 minutes et 1 heure 6.5 Effets photo: Couleur,Mono,Sépia 6.6 Effet dia: hasard, marche/arrêt division horizontale, jalousie, marche/arrêt division verticale, cadre, estompage, actualisation de la droite,prochaine actualisation, On Pan, rayons,...
-
Page 22: Tenez Mode D'emploi
6.13 Remise à zéro des réglages: Appuyez sur entrée, procédez au marquage ou annulez-le avec la touche afin de remettre toutes les valeurs standard à zéro. Appuyez ensuite sur pour confirmer. 6.14 Quitter: Appuyez ici pour quitter le masque des réglages. 7. -
Page 23: Instructions De Dépannage
9. Instructions de dépannage En cas de problème rencontré avec votre appareil de lecture, nous vous prions de lire ce mode d'emploi et le manuel. Veuillez contacter notre support technique, si vous nécessitez une aide particulière. Pas de courant: Veuillez contrôler, si la prise est bien enfichée.
Need help?
Do you have a question about the SDPF651-BLACK-C and is the answer not in the manual?
Questions and answers