Table of Contents
Advertisement
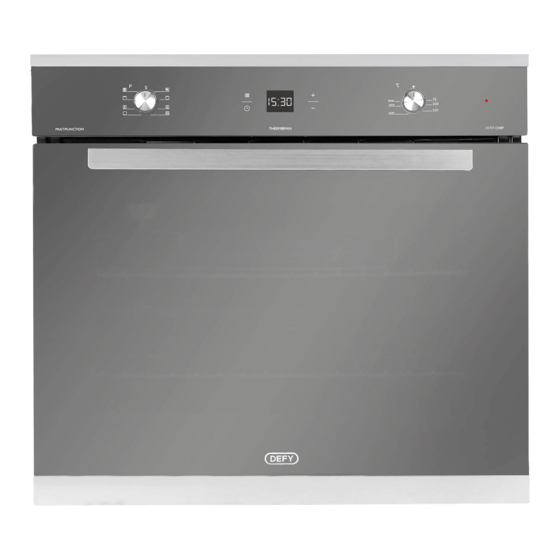
DBO474 - Black
DBO475 - Mirror
OVEN DEFY GEMINI
PETIT CHEF PLUS
MULTI FUNCTION
Users Manual
Record in the space below the listed information for future reference. The rated current is
printed on the serial number label attached to the oven side trim.
SERIAL NUMBER...............................................................................................
DATE OF PURCHASE..........................................................................................
PURCHASED FROM............................................................................................
.........................................................................................................................
The manufacturer strives for continuous improvement. For this reason, the text and
illustrations in this manual are subject to change without notice.
Page 1
Part Number: 069489
Advertisement
Table of Contents


Need help?
Do you have a question about the DBO474 and is the answer not in the manual?
Questions and answers