Advertisement
Advertisement
Table of Contents

Subscribe to Our Youtube Channel
Related Manuals for AmazonBasics B00B7GV4JC


Summary of Contents for AmazonBasics B00B7GV4JC
- Page 1 B00B7GV4JC...
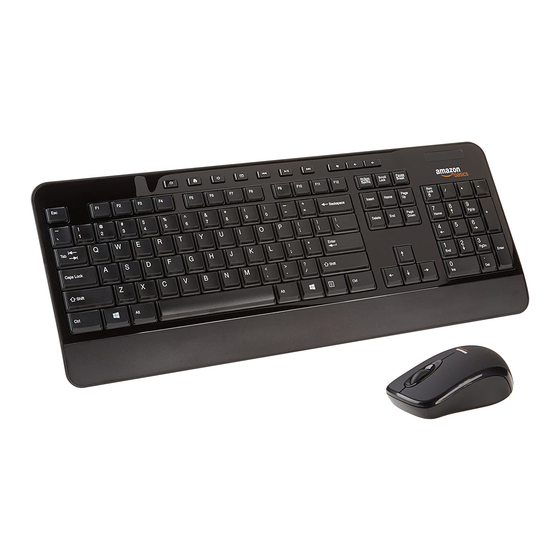
- Page 3 Instruction Manual English • AmazonBasics Wireless Keyboard & Wireless Mouse Combo Contents • Wireless Keyboard • Wireless Mouse with receiver (inside battery compartment) • 4 AAA batteries • Quick start guide • This instruction manual...
- Page 4 Setup: Keyboard 1. Remove the battery cover on the bottom of the keyboard. 2. Insert two batteries. Make sure that the + and - symbols on the batteries align with the + and - symbols inside the battery compartment. 3. Replace the battery cover. 4.
- Page 5 batteries. 3. Remove the receiver stored between the two batteries. 4. Replace the battery cover. 6. Insert the receiver into a USB port on your computer. Note: The LED on top of the mouse lights when the batteries need to be replaced.
- Page 6 Note: When not in use, turn the mouse OFF and store the receiver inside the battery compartment. Keyboard Hot Keys Function Internet Browser Launch Decrease Home Email volume Play/Pause Next Previous Increase Track Go forward Track volume Mute Go back Mouse Overview Left-click Right-click...
- Page 7 Troubleshooting The mouse does not operate or is not recognized and the optical sensor on the bottom of the mouse does not light • Make sure the batteries are installed correctly. Match the +/- symbols on the battery to the +/- symbols in the battery compartment.
- Page 8 The LED on the top of the mouse is lit • This indicates the batteries are low. Replace the batteries. Keyboard is not working • Position the keyboard closer to the receiver. • Replace the batteries. Cleaning the keyboard and mouse Use a damp cloth or gentle cleaning wipes intended for keyboard/mouse cleaning.
- Page 9 Battery Warning Statement: • Keep batteries out of the reach of children. • Insert the batteries in the proper direction as indicated by positive (+) and negative (-) markings in battery compartment. • Do not mix old and new batteries or batteries of different types (for example, carbon and alkaline batteries). •...
- Page 10 Responsible party: AmazonBasics • 410 Terry Avenue North, Seattle, WA 98109-5210, U.S.A. 1-866-216-1072 © 2013 Amazon.com, Inc. or its affiliates. All Rights reserved. Amazon and the AmazonBasics logo are trademarks of Amazon.com, Inc. or its affiliates. Made in China...
- Page 12 13-0147...
Need help?
Do you have a question about the B00B7GV4JC and is the answer not in the manual?
Questions and answers
@ how do you get it up on screen as will not show if hold shift or control