Advertisement
Quick Links
Advertisement

Summary of Contents for Sanyo DW-M600F
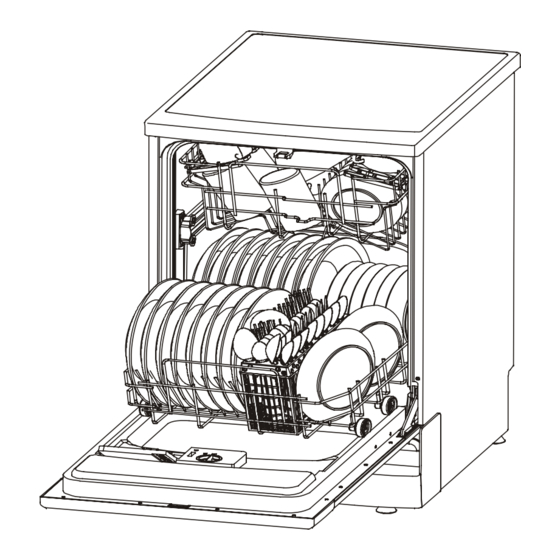
- Page 1 INSTRUCTION MANUAL DW-M600F DW-MS600F DISHWASHER...
- Page 2 This manual contains sections of Safety Instructions, Operating Instructions, Installation Instructions and Troubleshooting Tips etc,. Carefully reading it before using the dishwasher will help you to use and maintain the dishwasher properly. About Electricity connection..............11 Before calling for service..............12-13 Assembly instructions............14...
- Page 4 Use the dishwasher only for its intended function. 1----Power Switch: Turns the power supply on or off. 2----Half load washing light:To come on when select the Half load wash.(option) Do not open the door when washing. You maybe burnt by hot water.
- Page 5 Assembly instructions - Free-standing model Product dimensions Drain pipe Inlet pipe connector connector Turn BACK VIEW (All sizes are given in millimetres) Once the appliance is positioned, adjust the feet (screwing 2. With a little force to ensure the door is properly closed. We reserve the right to make technical Note: A click could be heard when the door is closed perfectly.
- Page 6 To remove spots from glassware: Extremely hard water □ Low inlet temperature Overloading the dishwasher Improper loading Old or damp powder Pre-wash For the heaviest soiled loads, ℃ Wash (50 ) detergent such as pots, pans, casserole ℃ Wash (50/60/70 ) 5/25 g.
- Page 7 Fuse blown, or the circuit breaker acted Power supply is not turned on Overflow Some audible sounds are normal Utensils are not secure in the baskets or something small has dropped into the basket Motor hums from the dishwasher. Improper detergent up on the lower rack of the dishwasher.
-
Page 8: Dimensions (Mm)
To open the dispenser, turn the cap to the "open" (left) arrow and lift it out. Pour the rinse aid into the dispenser, being careful not to overfill. Replace the cap by inserting it aligned with "open" arrow and turning it to the closed (right) arrow. - Page 9 Always use salt intended for use with dishwashers. Filter assembly The salt container is located beneath the lower rack and should be filled as follows: For best performance and results, the filter assembly must be 1. Remove the lower basket and then unscrew and remove cleaned.
- Page 10 1---Forks 4---Teaspoons 2---Soup spoons 5---Knives 1---Cups 3---Dessert spoons 6---Gravy ladle 3---Saucers 4---Dessert plates Do not let any item extend through bottom. Pots, serving bowls, etc, must always be placed top down. Deep pots should be slanted to allow water to flow out. 5---Dessert plates 6---Dinner plates 7---Soup plates...

Need help?
Do you have a question about the DW-M600F and is the answer not in the manual?
Questions and answers