
Subscribe to Our Youtube Channel
Related Manuals for COMPANION Ezywash COMP444


Summary of Contents for COMPANION Ezywash COMP444
- Page 1 Owners Manual 2.5kg sIngle wasHer Part No. ComP444 OWNERS MANUAL Australia’s original Outdoor brand...
-
Page 2: Table Of Contents
Index Important Parts identification Accessories Specifications Important precautions Installation Drain hose Control panel design Operation method Volume guide Program time Transporting Error codes Functions Troubleshooting Maintenance Images for illustrative purposes. -
Page 3: Important
Owners Manual IMpOrtant • This appliance is not intended for use by persons (including children) with reduced physical, sensory or mental capabilities, or lack of experience and knowledge, unless they have been given supervision or instruction concerning use of the appliance by a person responsible for their safety. -
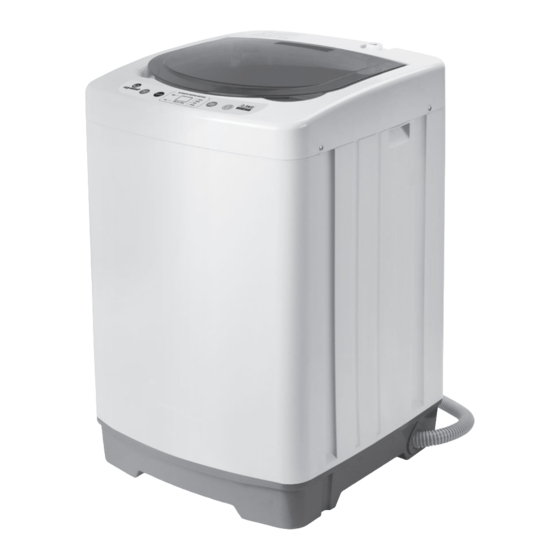
Page 4: Parts Identification
parts IdentIFICatIOn water inlet & Filter Inner tub pulsator lint filter power cord Control panel drain hose Cabinet leg adjuster aCCessOrIes Foam water inlet Base cover (1) transport hose assembly (1) self-tapping screw (1) insert (1) SPECIFICATIONS size 410 x 420 x 640 mm rated input power 235W rated voltage... -
Page 5: Important Precautions
Owners Manual IMpOrtant preCautIOns saFe use OF pOwer dOn't Install In daMp areas This washing machine is to be used on Australian To reduce the risk of electric shock, do not place the and New Zealand 3pin 240V outlets only. washing machine in extremely high areas of moisture. -
Page 6: Installation
InstallatIOn preparing the washing machine for use 1. All packaging materials including the foam transport insert (Do not dispose of) & fixing frame located in the base of the machine must be removed before use. 2. Lay the washing machine down on a soft protective surface, remove fixing frame and then fit the base cover using the single screw supplied before repositioning in an upright position. - Page 7 Owners Manual Connection of water 5. Attach the 90 Degree end of the water hose to the inlet on the top of the washing machine and secure tightly (Note: Check that the inline filter is positioned correctly). 6. Connect the other end of the hose to a suitable Cold Water Only outlet and secure tightly. 7.
-
Page 8: Drain Hose
draIn HOse location of drain hose Note: The location of the drain hose can be positioned to exit the washing machine on the opposite side if required. 1. Remove the inspection cover located on the rear of the washing machine and locate the drain hose. -
Page 9: Control Panel Design
Owners Manual COntrOl panel desIgn AUTOMATIC WASHING MACHINE 2.5KG HIGH WASH START AUTO POWER OFF WATER PROGRAM RINSE LEVEL PAUSE SPIN TIME LEFT (Min) QUICK MINI AUTOMATIC WASHING MACHINE MINI AUTOMATIC WASHING M HIGH WASH HIGH START Press the button to select Press the button WATER WATER... -
Page 10: Operation Method
OperatIOn MetHOd program selection and Operation 1. Load the clothes and detergent into the washing machine and press the Power button to turn the washing on. AUTOMATIC WASHING MACHINE 2.5KG HIGH WASH START AUTO POWER OFF WATER RINSE PROGRAM PAUSE LEVEL SPIN TIME LEFT (Min) -
Page 11: Program Time
Owners Manual VOluMe guIde weIgHt OF wasHIng water leVel water VOluMe wasHIng pOwder 2.0-2.5kg High Approx 26L 1.0-2.0kg Approx 20L <1.0-2kg Approx 15L Please follow the above as a guide, always read the usage and dosage instructions on the detergent used. prOgraM tIMe prOCess wasH tIMe (MIn) -
Page 12: Error Codes
errOr COdes FunCtIOn OF Fault alarM prOBleM pOssIBle sOlutIOns the display flashes and shows “e1” No water flow • Check that the water tap is open • Check mains pressure connection to RV • Check the water inlet filter screen After the above is rectified, open and close the lid to reset the washing machine. -
Page 13: Troubleshooting
Owners Manual trOuBlesHOOtIng syMptOM Cause sOlutIOn no indication in • The power lead may • Check the power lead to the machine and power point is on controller be disconnected • Check the Main safety switch in RV or power supply •... -
Page 14: Maintenance
MaIntenanCe Prior to any maintenance or service, please ensure that the power and water have been correctly isolated to the machine. aFter endIng OF tHe wasHIng prOgraM MaIntenanCe OF CaBInet At the end of a complete washing program, the Use a damp cloth to wipe clean the washing machine will sound to alert you that the cycle machine. - Page 15 Owners Manual...
- Page 16 Distributed by Companion Brands Bundoora VIC 3083 www.companionbrands.com.au...
Need help?
Do you have a question about the Ezywash COMP444 and is the answer not in the manual?
Questions and answers