Table of Contents
Advertisement
Advertisement
Table of Contents

Related Manuals for IK Multimedia iRig Mic HD


Summary of Contents for IK Multimedia iRig Mic HD
-
Page 1: User Manual
Digital microphone USER MANUAL... -
Page 2: Table Of Contents
Register your iRig Mic HD iRig Mic HD Overview Installation and setup iOS Devices Cable Lock iRig Mic HD status LED Setting optimal gain on iRig Mic HD Usage Note Signal Flow Cardioid unidirectional pickup pattern Proximity effect Recording Applications... -
Page 3: English
The sequel to the widely popular iRig Mic, iRig Mic HD is a versatile digital microphone for iPhone, iPod touch, iPad, Mac and PC. iRig Mic HD is the ideal mic solution for a wide range of applications including live and recorded vocal performances, speech, acoustic instruments, guitar amps and more. -
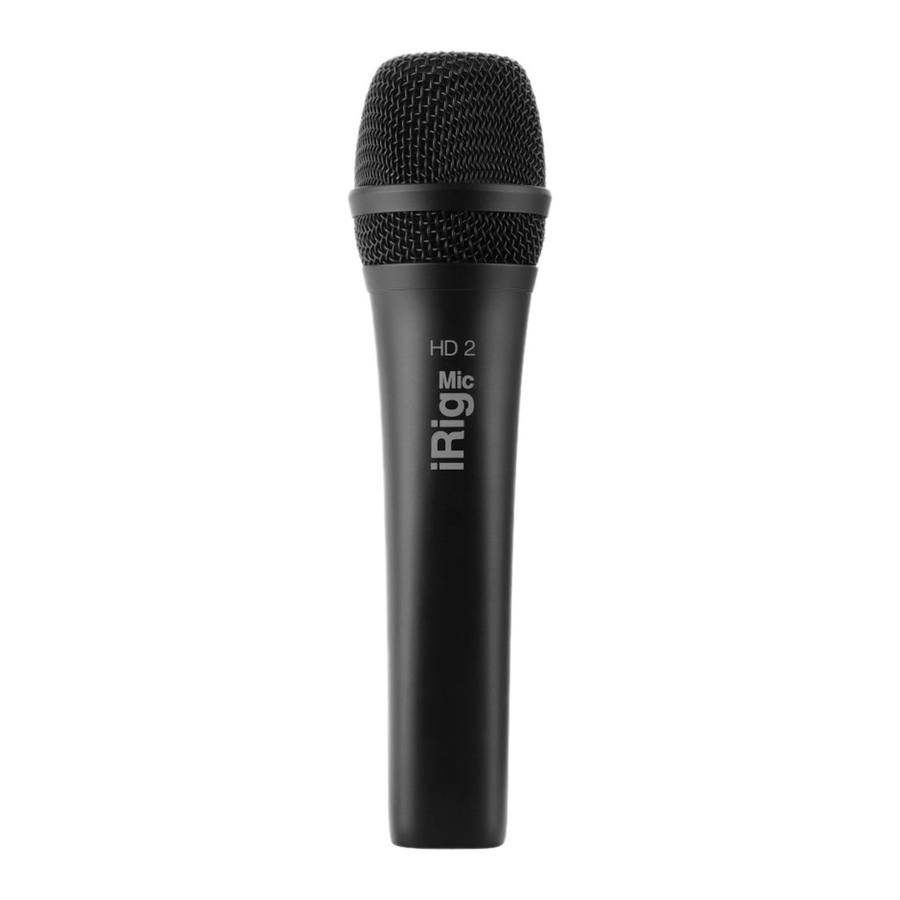
Page 4: Irig Mic Hd Overview
2. Status LED: gives you important information about iRig Mic HD’s operating status. 3. Microphone Gain: to increase the gain of iRig Mic HD turn the knob clockwise. To reduce the gain, turn the knob counterclockwise. The Status LED gives you information about the input signal level. -
Page 5: Installation And Setup
Devices 1. Connect the included Lightning cable to the Micro USB port on iRig Mic HD. 2. Connect the Lightning cable to the connector on your iOS device. The status LED on iRig Mic HD will turn dark blue. - Page 6 3. Download your preferred audio processing or recording app like VocaLive, AmpliTube or iRig Recorder, and launch it. VocaLive EZ Voice ikdownloads.com/irigmichd 4. The status LED on iRig Mic HD will turn bright blue. 5. Start talking or singing into iRig Mic HD, then adjust the input level as required using the gain knob.
-
Page 7: Mac
1. Connect the included Micro USB to USB cable to iRig Mic HD. 2. Connect the USB cable to a free USB port on your Mac, the status LED on iRig Mic HD will turn dark blue. 3. Launch any Core Audio-compatible application and select iRig Mic HD as the input device from the audio preferences. -
Page 8: Cable Lock
Mic HD. To install the cable lock make sure the Micro USB connector is firmly attached to iRig Mic HD. Insert the cable lock and allow the cable to pass through the vertical slot, then tighten the cable lock by turning it clockwise towards the microphone body. -
Page 9: Irig Mic Hd Status Led
Mic HD input gain by rotating the level control clockwise. • If the LED is sometimes flashing RED you should decrease the iRig Mic HD input level by rotating the gain control counterclockwise. • When your level setting is optimal, the LED should alternate between GREEN and ORANGE while you talk or sing. BLUE GREEN ORANGE Please note the iRig Mic HD gain control is intentionally slightly recessed to minimize the risk of accidental level changes during usage. -
Page 10: Usage Note
The mid and lo-mid range of iRig Mic HD features a smooth and linear response that‘s very well suited for recording voices as well as acoustic instruments, giving an accurate recording of the sound source. -
Page 11: Recording Applications
Vocals and speech iRig Mic HD is a great microphone for recording voice and speech — like interviews. As said, the proximity effect allows you to model the sound of your recording. The closer you get to the mic, the more warmth and bass you’ll get. -
Page 12: Acoustic Instruments
Sound is distorted. Check that the input level on iRig Mic HD has been set properly. If the red LED is lighting when you talk or sing decrease the input level as described in this guide. The iRig Mic HD status LED is always dark blue and I don’t get any sound. -
Page 13: Specifications
English Specifications Microphone Type: condenser, electret Polar Pattern: cardioid Interface Type: USB digital microphone with a built-in low-noise, high-definition preamp. Frequency Response: 40 Hz - 18 kHz, -3dB Maximum Sound Pressure: 134 dB Distortion: 3% THD at 134 dB, 1 kHz Windscreen: built-in Sensitivity: adjustable over a 40 dB range Built-in low profile gain control... - Page 14 Mic HD, AmpliTube®, EZ Voice™, iRig® Recorder, VocaLive® are trademarks property of IK Multimedia Production Srl. iPad, iPhone, iPod touch, Retina, Mac and GarageBand are trademarks of Apple Inc., registered in the U.S. and other countries. iPad Air, iPad mini, and Lightning are trademarks of Apple Inc. All other trademarks are property of their respective owners.
Need help?
Do you have a question about the iRig Mic HD and is the answer not in the manual?
Questions and answers