
Related Manuals for ZMODO CM-P21223SV


Summary of Contents for ZMODO CM-P21223SV
- Page 1 User’s Guide Vandal-proof Indoor Dome CM-P21223SV 1201-1205 ,Sangda Mansion, High Technology Park, ShenZhen, Guangdong, China Tel: 0755-3363-1636 Fax: 0755-3363-1639...
-
Page 2: Safety Precautions
Never attempt to modify CAUTION: TO REDUCE THE RISK OF ELECTRIC SHOCK, DO this product in any way. (ZMODO is not liable for NOT REMOVE REAR COVER. NO USER SERVICEABLE PARTS INSIDE. REFER TO QUALIFIED SERVICE PERSONNEL. -
Page 3: Product Overview
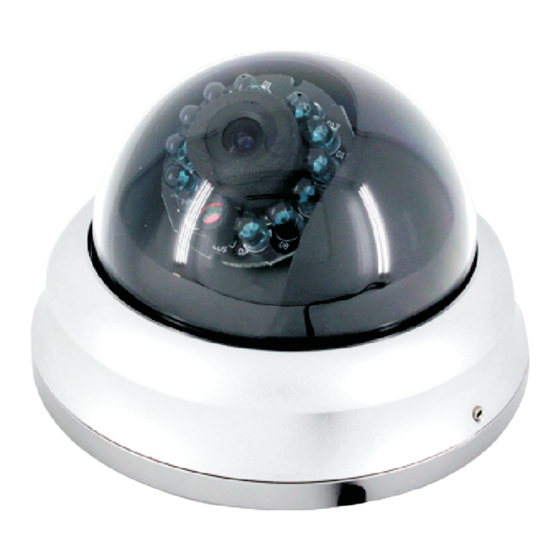
O .C Signal: NTSC Screws Package Box Vandal-proof: Yes Iris: Auto 1) CM-P21223SV Color IR Vandal Dome Camera Night Vision Min. Light: 0 Lux (IR On) IR Irradiation Distance: 50' (15m) 1) A Card Operation Temperature: 0F ~ 110F 3) Screws... -
Page 4: Schematic Diagram
SCHEMATIC DIAGRAM Dome Cover Main Body Lens Tilt Fixing Screw LEDs 1201-1205 ,Sangda Mansion, High Technology Park, ShenZhen, Guangdong, China Tel: 0755-3363-1636 Fax: 0755-3363-1639... -
Page 5: Connecting Cables
CONNECTING CABLES RCA Cable Video Balun Monitor BNC Cable To connect cables 1. Connect the BNC cable to the video connector attached on your camera 2. Connect the BNC cable to the Video Input on a monitor, DVR or Video Balun. 3. -
Page 6: How To Install
HOW TO INSTALL Before installation Please read the following instructions before installing your camera: You have to check whether the location (ceiling or wall) can bear five times the weight of your camera. Do not allow the cable to be caught in a pinched area, otherwise the electric line cover may be damaged. - Page 7 HOW TO INSTALL step Fix the Main Body to the mounting location using the 3 screws supplied in your package. As shown in the picture, push the three screws into the three holes on the Main Body, then twist the screws into the holes using the screwdriver.
-
Page 8: Camera Specification
CAMERA SPECIFICATION Specifications for NTSC & PAL Standard Item Details Product type Color CCD IR Vandal Dome Camera Power input DC 12V Vandal-proof NTSC Standard color system PAL Standard color system Broadcast type (525 Lines, 60 Fields) (625 Lines, 50 Fields) Power Consumption Approx. -
Page 9: Fcc Statement
Operation of this equipment in SKU: CM-P21223SV a residential area is likely to cause harmful interference in which case the user will be required to correct the interference at his own 4 6 6 5 5 0 0 0 2 9 expense.
Need help?
Do you have a question about the CM-P21223SV and is the answer not in the manual?
Questions and answers