
Related Manuals for Richmond 550DF

Summary of Contents for Richmond 550DF
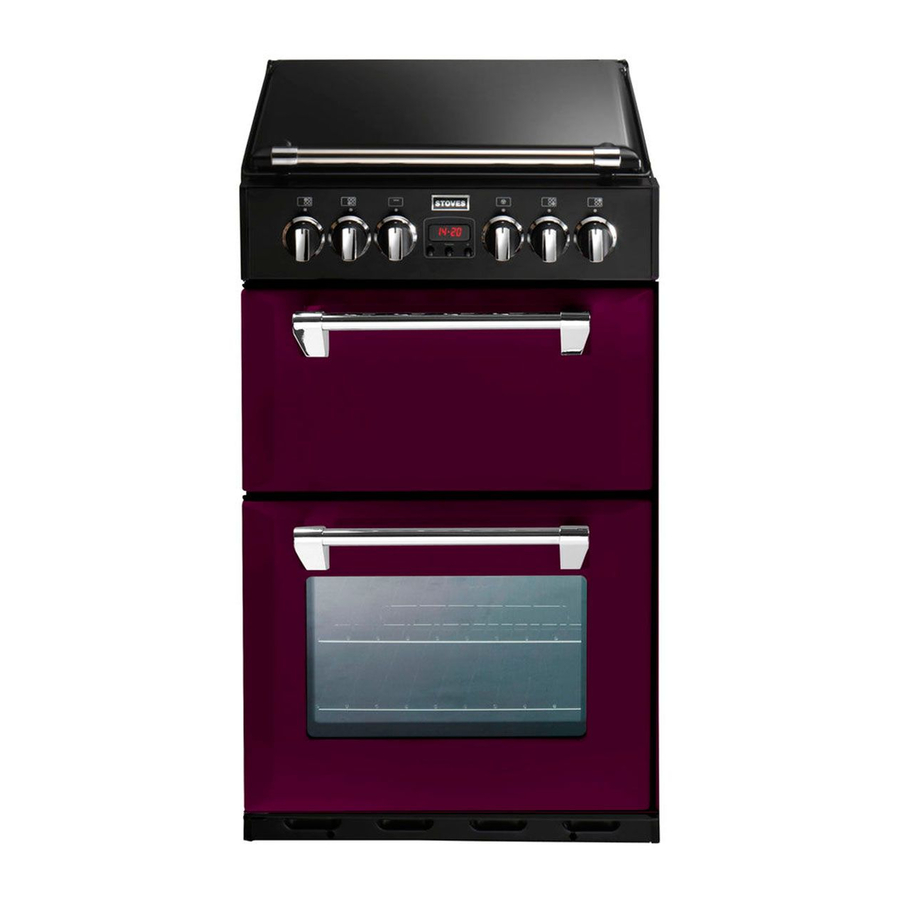
- Page 1 www.flavoursbystoves.co.uk www.stoves.co.uk Mini Range 550mm Dual Fuel Freestanding Cooker Gas hob, Electric Top Oven & Grill with Fanned Main Oven Installation & Users Guide...
- Page 2 Our Warranty Inside the paperwork which has come with this appliance, there is a leaflet and card explaining the terms of our extended warranty and guarantee. In order to apply for our five year guarantee, simply fill in the details on the card and post it off, this will register your appliance.
-
Page 3: Table Of Contents
Contents User’s Section ............Before using your cooker . -
Page 4: Before Using Your Cooker
Before Using Your Cooker This appliance is for Before using this appliance please make sure that use in a domestic you have removed all packaging and wrapping. kitchen only, it is not Some of the furniture inside this designed, or intended, for commercial use. -
Page 5: Hob And Cooker Safety
Hob & Cooker Safety WARNING: Parts of Always ensure that pan bases are dry, and flat before the appliance may using them on the hob. become hot while in use, always make sure Always position pans over the centre of the burner, and that children are turn the handles to a safe position so they cannot be supervised when they... -
Page 6: Chip Pan Fires
Chip Pan Fires What causes a chip pan fire? Chip pan fires start when oil of fat overheats and catches fire, or when oil or fat spills on to the cooker because the pan has been filled too high. They can also start when wet chips are put into hot oil, making it bubble up and over flow. -
Page 7: Using The Programmer/Clock
Using The Programmer/Clock What your timer symbols Through your programmer you will be able to set the time mean. of day, set the minute minder, and use the semi and fully automatic cooking functions. The programmer is vital to the working of your appliance, and reading this section will Automatic Cook Pot symbol... - Page 8 Using The Programmer/Clock Setting the minute minder To set the Minute Minder, press the Function button once. The bell symbol will appear and start flashing. The flashing only lasts for 5 seconds so the time must be set within this time frame. Use the Plus and Minus button to set the length of time required.
- Page 9 Setting the Programmer Fully Automatic Cooking Switch on and off automatically This requires both the duration and the end time to be entered. The timer will work out the start time and begin cooking. Press the Function button twice, which will skip past the Minute Minder.
-
Page 10: Using Your Gas Hob
Using Your Gas Hob Hob Ignition To turn on auxiliary and semi-rapide burners , push in and turn the control knob to the full on position (large flame symbol). Your hob has an ignition switch on the fascia, press it in until your burner lights. In the event of a power Hold the control knob in for 15 seconds. -
Page 11: Using Your Top Cavity Grill
Using Your Top Cavity Grill Warning: Accessible Before you start grilling..parts may become hot Before you use the grill, make sure you have placed the when the grill is in use. grill shelf in the position you need as once the grill is on Children should be kept away. -
Page 12: Grilling Guide
Grilling Guide As with any cooking Food Time Approx guide, all times are Type (mins) approximate and can be adjusted to suit personal taste. Bacon 8 - 15 Sausages 12 - 15 Chops Lamb 10 - 15 Pork 15 - 25 Toast 2 rounds 1 - 2 (per side) -
Page 13: Using Your Conventional Top Oven
Using Your Conventional Top Oven Important: Never Switching on the oven place food, or dishes on Turn the control knob towards the conventional oven the base of the main setting. oven - the element is here and it will cause Select the temperature you require. -
Page 14: Using Your Main Oven
Using Your Main Oven Important: Never Switching on the main oven place food, or dishes on the base of the main Use the fanned oven control to turn your oven on, and oven, the element is select your temperature. here and it will cause The thermostat indicator will come on to show that the over heating. -
Page 15: Fanned Oven Guide
Fanned Oven Guide Pre-heating Conventional ‘A’ Efficiency To get the best results from your oven, we temp oven mark recommend: (˚C) (˚C) u Pre-heating for around 5 to 15 minutes before placing your dishes in. u This is especially important for items which are chilled, frozen, batter based, yeast based or whisked sponges. -
Page 16: Roasting Guide
Roasting Guide Roasting times depend on the weight, shape and texture of the meat and personal preference. In order to calculate the roasting time, weigh the meat or poultry, including the stuffing, and follow the times given below. Meat joints (including chicken) should be roasted at 180 - 200˚C Conventional/ 160 - 180˚C Fanned for 20 - 30 mins per 450g/1lb, plus 20 minutes on shelf position 2. - Page 17 Roasting Guide Roast turkey Roasting turkey perfectly involves cooking two different types of meat - the delicate light breast meat, which must not be allowed to dry out, and the darker leg meat, which takes longer to cook. The turkey must be roasted long enough for the legs to cook, so frequent basting is necessary.
-
Page 18: General Baking Guide
General Baking Guide Trouble-shooting - Fruit Cakes PROBLEM POSSIBLE CAUSE Fruit sinking to the bottom Low oven temperature which may cause the cake to take longer to set, allowing the fruit to sink. Or, too much liquid, or raising agent. The fruit may not have been properly washed and dried. -
Page 19: Cooling And Defrosting Function
‘Cooling & Defrosting’ Function To cool foods quickly straight after cooking, but before refrigerating or freezing, turn the oven control to the defrost position, and open the door. To defrost frozen foods, turn the oven control to the defrost position, place the food in the centre of the oven and close the door. -
Page 20: Cleaning Your Gas Hob
Cleaning your Gas Hob Always allow your Sometimes when a hob is not working well, it is because appliance to cool it needs cleaning. down, and switch off the electricity before you clean any part of Enamel parts Use a mild cream cleaner for example ‘Cif’. Stubborn marks can be removed with a soap filled pad. -
Page 21: Cleaning Your Cavities
Cleaning your Cavities Always allow your Cleaning the oven cavities appliance to cool Some foods can cause fat to spit, especially if you have down, and switch off open roasted, this leaves the inside of the cavity the electricity before you clean any part of greasy. -
Page 22: Cleaning Your Appliance
Cleaning your Appliance Always allow your Painted & Plastic parts appliance to cool Only use a clean cloth wrung out in hot soapy wa t e r. down, and switch off Do not use abra s i ve cleaners, such as “Cif”, wire or ny l o n the electricity before you clean any part of cleaning pads on these parts. -
Page 23: Cook Shop
Cook Shop To order or enquire about any Product Product Quantity Where used of these products, please call description code the Spares Sales team on: 0871 22 22 506 Rectangular 082612620 Hoods carbon filters Round carbon 082611571 Hoods filters Ceramic hob 082606781 All ceramic glass scraper kit... -
Page 24: Before You Call
Before you call. . Problem? Advice Check there is a spark when the The ignition won’t work. ignition button is depressed. If there is no spark, check the electricity supply is switched on at the socket. Check that the gas supply is switched on. -
Page 25: Changing Light Bulbs
Changing Light Bulbs Warning: There is a risk of electric shock, so always make sure you have turned off and unplugged your appliance. Not all appliances have the same number and type of bulbs. Before replacing your bulb, open the top/main oven door and see which type you have. -
Page 26: Installing Your Cooker
Installing Your Cooker Always make sure that your appliance is fitted correctly, by a competent installer. Before you start Always make sure that you have carefully read through the installation pages of this book - careful planning at the beginning will ensure a quick and easy installation. Take care when moving this appliance, it may be heavier than it looks! If you need to lift the appliance, make sure you use an appropriate lifting method. -
Page 27: Dimensions And Clearances
Dimensions & Clearances Letter Clearance (mm) from back of hotplate to (this dimension cannot be rear wall reduced) 1450 - 1465 full height with lifted lid Flush fitted from surrounding units* *Please note: This appliance has side opening doors. There must be space allowed in order to open the doors fully during use. -
Page 28: Fitting The Infill Piece (Optional)
Fitting the Infill Piece (optional) A 55mm clearance is required from the back of the hotplate to the rear wall, to allow the lid to be opened fully. An infill piece may be purchased to be fitted into this clearance. Fix spacer Fitting the infill piece between the rear of the hob to wall with... -
Page 29: Requirements And Regulations
Installing Your Cooker The information below is crucial to installing this appliance correctly and safely. Ventilation Requirements The room containing the appliance should have an air supply in accordance with BS 5440:Part 2. All rooms require an openable window, or equivalent, and some will require a permanent vent as well. - Page 30 Installing Your Cooker The information below is crucial to installing this appliance correctly and safely. UK Regulations & Standards always refer to the most recent issue of the standards Gas Safety Regulations. Building Regulations - issued by the DEFRA. Building Standards (Scotland) (Consolidated) - issued by the Scottish Development Department.
-
Page 31: Connection To The Gas & Electric
Installing Your Cooker Connecting the electricity supply Warning: This appliance must be earthed! Live This appliance must be fitted using a double pole unit (Red or Brown) of 30 ampere minimum capacity with 3mm minimum Neutral contact at all poles. (Black or Blue) Access to the mains terminal is gained by opening the terminal block cover at the rear of the appliance - use... -
Page 32: Technical Data
Technical Data - Notes Type of gas: Natural Gas I Please see data badge your for specified gas type. Never attempt to convert an appliance - unless the data badge states that you can. Burner Aeration: Fixed Pressure setting: G20 Natural Gas @ 20mbar Electrical supply: 220 - 240V ~ 50Hz Injectors used (hotplate) - Page 33 Technical Data - Notes Fuel Type Hotplate Burner / Nominal Rate Element Hob - small 1.0kW Natural Gas Hob - medium 2.0kW Hob - wok 3.0kW Total heat input Fuel Type Fanned Dual Conventional Oven Fans oven grill top oven lamps Electric 2.3kW...
- Page 34 Contact Us Should you need to get in touch with us (UK and Northern Ireland only), please call Stoves Customer Care Centre Helpline on: 0871 22 22 502 For customers outside the UK and Northern Ireland, please contact your local supplier.
- Page 35 Service Record Please record your model number and serial number in the space below. Where are my model and serial numbers? Freestanding HL appliances: base of storage drawer Freestanding appliances: front frame near oven cavity Built in oven: front frame near oven cavity Hobs: base plate of the hob Having these numbers to hand will help us to help you, quickly and more efficiently.
- Page 36 Glen Dimplex Home Appliances Limited is the owner of the Stoves brand and is part of the Glen Dimplex group of companies. 08 27363 01 © 11.2007 Dual Fuel Mini Range (Richmond & Flavours) Model Names: Jalapeno, Sushi, Aubergine, Papaya, Black & Champagne.
Need help?
Do you have a question about the 550DF and is the answer not in the manual?
Questions and answers