Advertisement
Advertisement
Table of Contents

Subscribe to Our Youtube Channel
Related Manuals for Hisense 55K220PWG


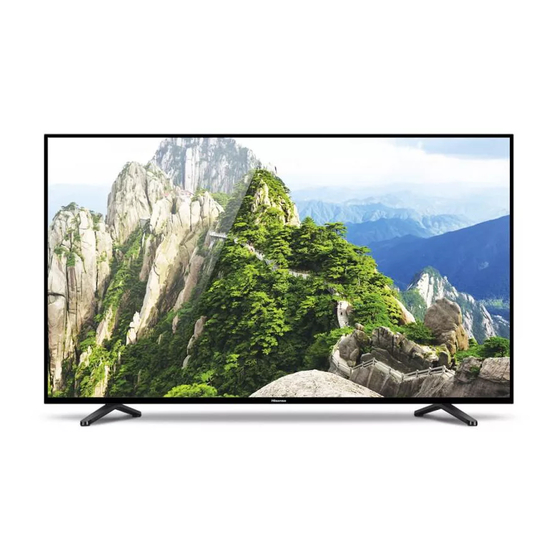
Summary of Contents for Hisense 55K220PWG
-
Page 1: Quick Setup Guide
55K220PWG QUICK SETUP GUIDE Before using the TV, please read this guide thoroughly and retain it for future reference. For more detailed instructions, please see the User Manual. English ES-A153508-1... -
Page 2: Table Of Contents
Contents Contents Accessories List......................1 Installing the Stand ......................2 TV Front..........................3 TV Rear ..........................4 Making Connections .......................4 Remote Control ......................10 Turning the TV on for the First Time ................12 Specifications .......................15 Accessories List The following accessories are included with TV: Base Stand User Manual MUTE Anyview Cast... -
Page 3: Installing The Stand
Installing the Stand Installing the Stand CAUTION Be sure to disconnect the A/C power cord before installing a stand or Wall-Mount brackets. The LED display is very fragile, and must be protected at all times when installing the base stand. Be sure that no hard or sharp object, or anything that could scratch or damage the LED display, comes into contact with it. -
Page 4: Tv Front
TV Front TV Front CH + MENU VOL + VOL - Source CH - Power Remote sensor Power switch Power indicator Item Description Power switch Turn the main power ON or OFF. Receives remote signals from the remote control. Remote sensor Do not put anything near the sensor, as its function may be affected. -
Page 5: Tv Rear
TV Rear & Making Connections TV Rear TV Side View TV Bottom Panel HDMI 2 / ARC HDMI3 SERVICE VIDEO COMP/AV IN NOTES Check the jacks for position and type before making any connections. Loose connections can result in image or color problems. Make sure that all connections are tight and secure. -
Page 6: Making Connections
Making Connections HDMI/COMP/AV Connect a HDMI / Comp / AV cable from an external A/V equipment. No sound connection is needed for HDMI to HDMI connection. If the signal resolution does not match the specification table, you need to change the setting of device according to the table. - Page 7 Making Connections TV JACK Audio Amplifier/Speaker HDMI HDMI2/ARC HDMI cable (not included) Connect an MHL cable (not provided) from your MHL-enabled device, such as a cell phone. HDMI 1 (MHL) MHL-enabled Device OPTICAL Connect an optical cable from an external digital audio system Optical S/PDIF—is a type of digital audio interconnect cable used in consumer audio equipment to output audio over reasonably short distances.
- Page 8 Making Connections Connect the USB1.1 and USB2.0 devices such as hard drives, USB sticks and digital cameras for browsing photos, listening music and watching recorded movies. You can record live TV program (refer to PVR in user Manual). At the same time update is also an easy thing and will be done just by plugging the USB with the updating files into the USB interface.
- Page 9 Making Connections LAN (Wired setup) Connect your TV to your network by connecting the LAN port on the back of your TV to an external modem or router using a LAN (Ethernet/Cat 5) cable. See the illustration below. · We recommend to use a modem or router that supports Dynamic Host Configuration Protocol (DHCP).
- Page 10 Making Connections NOTES You must use the built-in Wireless LAN Adapter to use a wireless network because the set doesn’t support external USB network adapter. If the wireless router supports DHCP, your TV can connect more easily to the wireless network. If you apply a security system other than the systems listed below, it will not work with the TV.
-
Page 11: Remote Control
Remote Control Remote sensing Window Power Standby button Mute button MUTE Fast access to the Digital Anyview Cast SOURCE Media Player (DMP) Turn on/off Anyview Cast Available source selection Play, Pause, Stop, etc. are used in media mode Fast access to your saved Record the current program favorite programs (DTV mode) -
Page 12: Installing Batteries In The Remote Control
Remote Control Installing Batteries in the Remote Control 1. Slide the back cover to open the battery compartment of the remote control. 2. Insert two AAA size batteries. Make sure to match the (+) and ( - ) ends of the batteries with the (+) and ( - ) ends indicated in the battery compartment. -
Page 13: Turning The Tv On For The First Time
Turning the TV on for the First Time Turning the TV on for the First Time 1. Connect the mains cable to the mains socket after you have completed all the connections. 2. Switch on the power switch at the bottom of the TV. 3. - Page 14 Turning the TV on for the First Time On the Network Configuration screen, press the [▲/▼] buttons to select Wired Network, then press the [OK] button to enter the submenu. On the Wired Network screen, press the [▲/▼] buttons to select Configuration and press the [OK] button to enter the submenu.
- Page 15 Turning the TV on for the First Time If you have a wireless network around, all the existing wireless network will appear on the screen. When connecting to certain network, press the [▲/▼] buttons to select the wireless network you want to connect and press the [OK] button to confirm.
-
Page 16: Specifications
Features, appearance and specifications are subject to change without notice. If you encountered difficulty when setting up your TV, we suggest you refer to the troubleshooting tips in the User Manual. Model Name 55K220PWG Width: 1239 Without Height: 717 Stand(mm)
Need help?
Do you have a question about the 55K220PWG and is the answer not in the manual?
Questions and answers