
Related Manuals for Goodmans GSR1885DAB


Summary of Contents for Goodmans GSR1885DAB
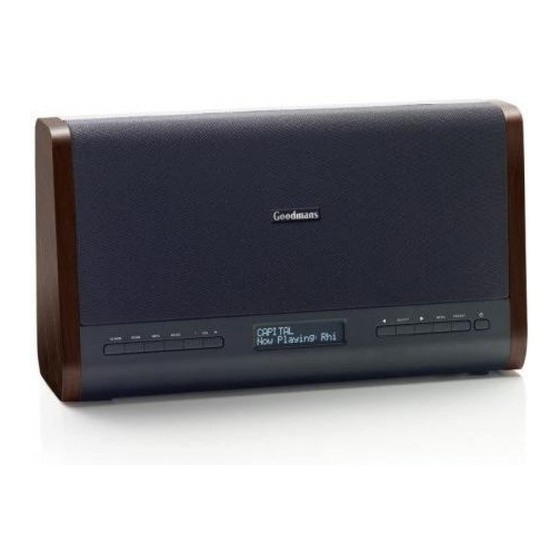
- Page 1 GSR1885DAB Digital Radio User Guide IMPORTANT: Please read all instructions carefully before use and keep for future reference.
- Page 2 Introduction Thank you for buying this Goodmans digital radio, which also features an FM radio and auxiliary input connection. You may already be familiar with using a similar unit, but please take time to read these instructions. They are designed to familiarise you with the unit’s many features and to ensure you get the very best from your purchase.
-
Page 3: Table Of Contents
What’s in the box? Power Adaptor Digital Radio - main unit GSR1885DAB Digital Radio User Guide IMPORTANT: Please read all instructions carefully before use and keep for future reference. Quick Start Guide USER Guide Remote Control The above images are for illustrative purposes only and may differ to the items supplied. -
Page 4: Your Digital Radio
Your Digital Radio Front view SPEAKER Left SPEAKER Right DISPLAY ALARM Button ON/OFF Button PRESET Button SCAN Button MENU Button INFO Button > Button MODE Button SELECT Button VOL- Button < Button VOL+ Button Rear view AERIAL POWER On/Off DC POWER In AUx In BATTERY COMPARTMENT hEADPhONE Out... - Page 5 Your Digital Radio Remote control POWER PRESET MODE SELECT ON/OFF Button Button Button Button MUTE Button MENU Button Button SELECT/SNOOZE Button CLOCK Button Button STEREO/MONO Button INFO Button ALARM Button Button SLEEP Button BASS +/- Button DIMMER Button VOLUME+/- Button TREBLE +/- Button...
-
Page 6: What Is Digital Radio
What is Digital Radio What is Digital Radio? DAb (Digital Audio Broadcasting) is the next generation of radio. DAB was developed in Europe by a consortium of broadcasters and manufacturers. DAB uses digital compression techniques to transform the source material, i.e. music and speech, into digital computer code before it is transmitted. -
Page 7: Getting Started
Getting Started Fitting batteries in the main unit Alkaline batteries are recommended for best performance. Referring to the diagram below, slide off the battery compartment lid and fit six type AA batteries into the battery compartment, observing the polarity shown in the compartment;. SLIDE LID TO OPEN BATTERY COMPARTMENT... -
Page 8: Power Control
Getting Started Connecting Power Before connecting power to the Digital Radio, check that the mains voltage on the rating plate of the AC Adaptor is the same as the voltage in your area. Plug the power connector on the AC Adaptor lead into the DC IN connector on the rear panel of the Digital Radio, see below. -
Page 9: Remote Control Battery
Getting Started Remote Control battery before first Use To prepare the remote control for first use, pull out the safety strip to activate the battery, see below. Replacing the battery When replacing the battery in the remote control, refer to the diagram below right. - Page 10 Getting Started Initial scan When you turn your radio on for the first time the scanning display will be shown while the scanning process takes place, see example below. Number of Scanning stations found Progress bar The radio scans for all usable stations (full scan) and stores them alphanumerically:1 Radio, 2 Radio, AA Radio, AB Radio...
-
Page 11: Using Dab Radio
Using DAb Selecting Input Mode during the scan will be shown at the right side of the display. Your Digital Radio has three input modes: After the scan ,the radio will re-tune to the last station playing if it is available. •... -
Page 12: Dab Display Modes
Using DAb The radio will re-tune and the stored Signal Strength: This setting will station will be displayed. display a signal strength bargraph. The longer the bar graph, the stronger the DAb Display Modes signal. Setting the display to show signal strength is useful when setting Display Mode Options up the aerial for the strongest signal. -
Page 13: Using Fm Radio
Using DAB DAB Settings Menu SELECT button to confirm your choice and enter the sub- Your Digital Radio has additional menu. features and options available through the Settings Menu. or Button to move to the required option in the sub- A complete map of the menu is shown menu. - Page 14 Using DAb Choose the ‘Menu’ menu option to Time: Select the Time option to set the open the sub-menu of system options clock manually. This may be useful if you shown on the menu map. are in an area where it is not possible to receive digital radio broadcasts.
-
Page 15: Listening To Fm Radio
Using FM SW Version: This option will display Stereo/Mono Reception the version number of the control You can set your radio to switch software currently installed in your automatically between stereo and mono radio. FM reception (Stereo allowed) or to receive in mono only (Forced mono). -
Page 16: System Settings
Using FM switched to show different items of A map of the menu is shown below, information that may be transmitted left. The menu is navigated in the same with an FM station. way as the DAB Settings Menu. The range of display options is shown More Detail of the FM Settings below. - Page 17 Using FM Choose ‘Sleep Off’ to cancel the sleep Factory Reset Setting: Select the mode. ‘Yes’ sub-option to reset all the settings of your radio to factory original settings. Display Settings: Select “Display set” then the “Active Backlight” sub-option The station list will also be cleared and to change the backlight brightness any stored preset memories will be erased.
-
Page 18: Setting The Alarms
Setting the Alarms Setting The Alarms To make a change to a setting: You can set two completely separate Press the ƒ or „ Button to scroll alarm times (ALARM 1 and ALARM 2) through the options available for and activate either or both of them to a setting (or times when clock wake you with a buzzer / FM or DAB. -
Page 19: Aux And Headphones
Setting the Alarms After you have set the alarm with your The radio will switch off and the required time and wake-up mode, set time and the Alarm Symbol will be the radio to Standby. If the alarm is displayed active, the alarm symbol will show on the display . -
Page 20: Troubleshooting
Troubleshooting Problem Possible Cause What to do No sound Volume may not be Increase the Volume level. adjusted. Disconnect your Headphones are headphones if they connected. are connected to the headphone output. Power is not correctly connected. Check and connect the power properly. -
Page 21: Specifications
Specifications Power Supply, main unit • DC 9V, 600mA via supplied 230VAC/DC Adaptor, 9V, 6 x 1.5V batteries type AA/ UM03 Remote control • 3V lithium battery type CR2025 Power Consumption • Tuner Frequency Coverage • DAB: 174 - 240MHz (BAND III) •... -
Page 22: Warnings
Warnings WEEE General Safety This Digital Radio is labelled This Digital Radio has been designed in accordance with European and manufactured to meet European Directive 2002/96/EG safety standards, but like any electrical concerning used electrical and equipment, care must be taken if you electronic appliances (Waste are to obtain the best results and safety Electrical and Electronic... -
Page 23: Electrical Safety
Warnings on the Digital Radio, for example with The mains adaptor is a sealed unit. curtains or soft furnishings. There are no user serviceable parts inside and it does not require any Overheating will cause damage and electrical adjustments. shorten the life of the product. Do not attempt to open the mains Don’t allow electrical equipment to be adaptor. -
Page 24: Guarantee
Guarantee This Digital Radio is guaranteed for twelve months from the date of original purchase. If any defect due to faulty materials or workmanship, contact the Goodmans Helpline. Have your receipt of purchase on hand. The guarantee is subject to the following provisions: • It is only valid within the boundaries of the country of purchase. - Page 26 0871 230 1777 GSR1885DAB-130712-Rev0...
Need help?
Do you have a question about the GSR1885DAB and is the answer not in the manual?
Questions and answers