Advertisement
OWNER & OPERATOR
INSTRUCTION MANUAL
Model No.
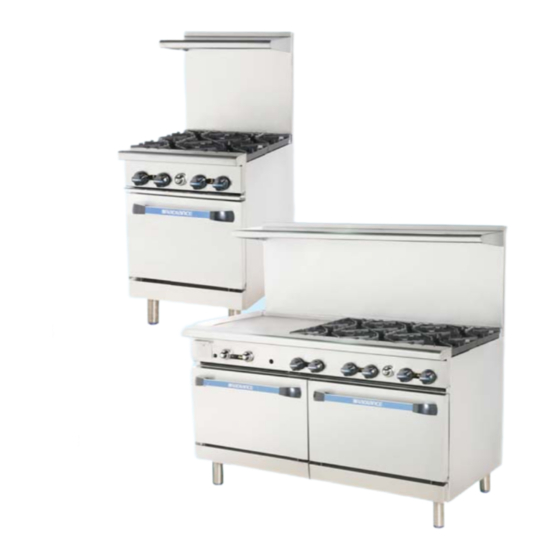
TAR-4 / TAR-24G / TAR-24RB
TAR-6 / TAR-36G / TAR-36RB
TARG-4B12G / TARG-12G4B
TARG-2B24G / TARG-24G2B
TAR-8
TARG-6B12G / TARG-12G6B
TARG-4B24G / TARG-24G4B
TARG-2B36G / TARG-36G2B
TAR-10
TARG-8B12G / TARG-12G8B
TARG-6B24G / TARG-24G6B
TARG-4B36G / TARG-36G4B
TARG-2B48G / TARG-48G2B
TARG-6B24RG / TARG-24RG6B
THIS MANUAL HAS BEEN PREPARED FOR PERSONNEL QUALIFIED TO INSTALL GAS EQUIPMENT, WHO SHOULD
PERFORM THE INITIAL FIELD START-UP AND ADJUSTMENTS OF THE EQUIPMENT COVERED BY THIS MANUAL.
POST IN A PROMINENT LOCATION THE INSTRUCTIONS TO BE FOLLOWED IN THE EVENT THE SMELL OF GAS IS
DETECTED. THIS INFORMATION CAN BE OBTAINED FROM THE LOCAL GAS SUPPLIER.
IMPORTANT
In the event a gas odor is detected, shut down units at main shutoff valve and contact the local gas company or gas supplier for service.
FOR YOUR SAFETY
Do not store or use gasoline or other flammable vapors or liquids in the vicinity of this or any other appliance.
WARNING
Improper installation, adjustment, alteration, service or maintenance can cause property damage, injury or death. Read the installation,
operating and maintenance instructions thoroughly before installing or servicing this equipment.
IMPORTANT SAFETY NOTICE
www.turboairinc.com
For service contact:
German Knife Inc.
1-800-500-3519
www.turboairinc.com
Advertisement
Table of Contents


Need help?
Do you have a question about the TAR-4 and is the answer not in the manual?
Questions and answers