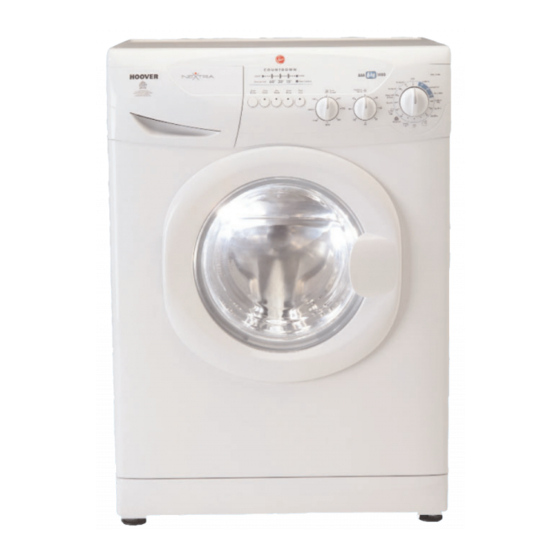
Hoover nextra Troubleshooting Manual
Front loading
Hide thumbs
Also See for nextra:
- Instruction book (232 pages) ,
- Instruction book (35 pages) ,
- Instruction book (32 pages)
Advertisement
HOOVER "NEXTRA" FRONT LOADING WASHING MACHINES:
A)
Starting the Auto -test Sequence:
•
Push and hold the 1
• Turn the Knob of the
• As soon as the LED of the 1
• All
LEDs of Control Panel
lighted together (see Picture 2):
• After 3 seconds and within 5
seconds,
push again the Option's
Button n. 1
(see Picture 2).
•
Once the Auto -test is correctly
initialized, the two rows of the
LEDs of Residual Time and of the Option's Buttons start flashing alternatively.
moment onward, the Auto-test Checking Routine sequence is carried out automatically,
as it's next described:
B)
Description of the Sequence of Auto -test:
B1)
Water load to the basic level (through detergent compartment n. 1 (Pre-wash),
through the Cold Water Solenoid Valve (and Hot Water Valve too, when present.
present, it's fed the Recycle Pump.
B2) 1 second pause.
B3) It's fed for
16 seconds the Water Heating Element
distribution cam moves the
(Wash).
B4) Are simultaneously fed the
present),
the Recycle Pump
55 rpm in counterclockwise sense,
B5)
Motor is paused
B6) Are simultaneously fed the
present),
the Recycle Pump
55 rpm in clockwise
pushed (see Picture 2), the Drum's speed of revolution can be reduced from 55 to 35
rpm.
B7) It's fed the
Drain
condition.
B8) It's carried out a short
speed available. End of the Auto-test routine.
st
Option's Button
Program's Selector 2 steps in clockwise sense.
st
Option's Button comes up lighted,
are
Water Spray Nozzle over the detergent compartment n. 2
Solenoid Valve for Cold Water
(when present)
for 13 seconds.
for 15 seconds. Water load continues, as above described.
Solenoid Valve for Cold Water
(when present)
sense, for 13 seconds. In this phase, if the Option's Button n. 3 is
Pump, until the Pressure Switch is tripped to the "Empty Tank"
Spin Sequence, lasting 27 seconds,
©
2004
from left (Ref. 1 in Picture 1).
1
3
Picture 2
(9.10 A on digital ammeter); the water
and the main Motor, to tumble the Drum at
and the main Motor, to tumble the Drum at
release the button.
carried out
(and for Hot Water, when
(and for Hot Water, when
at the half of the maximum
Fro this
If
1
Advertisement
Table of Contents

Summary of Contents for Hoover nextra
- Page 1 HOOVER "NEXTRA" FRONT LOADING WASHING MACHINES: Starting the Auto -test Sequence: • Push and hold the 1 Option's Button from left (Ref. 1 in Picture 1). • Turn the Knob of the Program's Selector 2 steps in clockwise sense. • As soon as the LED of the 1 Option's Button comes up lighted, release the button.
- Page 2 C) TROUBLESHOOTING AND DISPLAYING OF THE ERROR CODES: All Washing Machines belonging to the new Figura 3 Hoover "Nextra" range, are supplied with a peculiar software, capable of recognizing and displaying the Error Codes corresponding to the most important troubles that may happen, both during the normal Washing Cycle than during the carrying out of the Auto-test routine.
- Page 3 Wiring. Ohmic values of Tacho's Coil as follows: Ohmic Value with Ceset Motor: 42 Ohm Error 8 Ohmic Value with Hoover Motor: 156 Ohm Ohmic Value with Sole Motor: 184 Ohm Short Circuited Motor's Triac on the "Core" Control Error 9 Board and/or defective "Core"...


Need help?
Do you have a question about the nextra and is the answer not in the manual?
Questions and answers