
Subscribe to Our Youtube Channel
Related Manuals for Accusplit AX602


Summary of Contents for Accusplit AX602
- Page 1 ACCUSPLIT, Inc. 7901 Stoneridge Drive, Suite 350 Pleasanton, CA 94588 USA 800-965-2008 925-290-1900 FAX 925-290-1930 www.ACCUSPLIT.com • support@ACCUSPLIT.com 167-1512...
- Page 2 ACCUSPLIT® e x c l u s i v e AX602 STOPWATCH OPERATING INSTRUCTIONS...
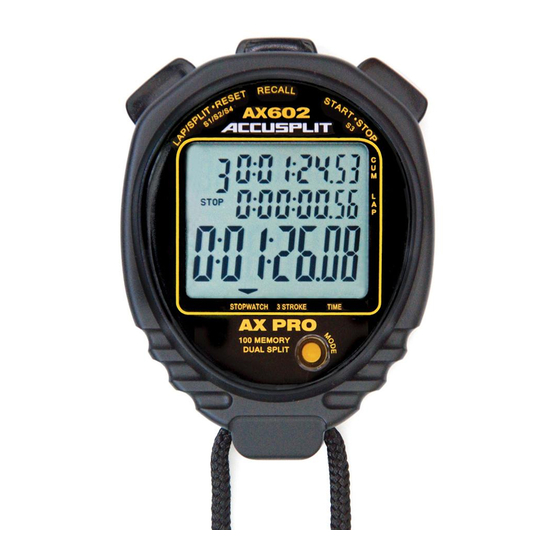
- Page 3 ACCUSPLIT® AX602 DIGITAL 100 MEMORY STOPWATCH WITH SPLIT AND LAP TIME MEASUREMENT AND STROKE/FREQUENCY MEASURING FUNCTIONS FEATURES The Quartz Stopwatch is a digital stopwatch featuring memory and stroke/frequency measuring func- tions. In addition, the stopwatch is water resistant. Therefore, it is suitable for aquatic sports or use in rainy weather.
- Page 4 • TIME/CALENDAR DISPLAY Year, month, date, hour, minutes, and seconds can be displayed while the stopwatch is not in use. • BATTERY Lithium battery CR2032 or equivalent is used. • ACCUSPLIT “X” CASE Exclusive professional case with no-fail buttons.
- Page 5 There are four buttons as indicated in the illustration. TIME/CALENDAR display STOPWATCH STROKE/FREQUENCY display MEASURING display STROKE/FREQUENCY MEASURING MODE STROKE/FREQUENCY MEASURING MODE...
- Page 6 TIME/CALENDAR SETTING ACCUSPLIT products use a common setting procedure known as S1-S2-S3-S4. S1 (2 sec) - Enter set function OR S1 (4 sec) - Enter set function & clear the current settings S2 – Select field to be set (selected field will flash) Year S3 –...
- Page 7 3. S2 – Press “B” repeatedly to select the digits (flashing) to be adjusted. With each press of “B,” the digits to be adjusted change over in the following order. seconds minutes hour year month date Note: The watch exits set mode automatically after setting date. 4.
- Page 8 STOPWATCH Press “D” in the TIME/CALENDAR display to show the STOPWATCH display. The STOPWATCH display mark will appear. The STOPWATCH can measure up to 10 hours in hours, minutes, seconds and 1/100 seconds. • Before using the stopwatch be sure to reset the digits to “0:00:00.00”. When the stopwatch is stopped, press ”B” to reset. When the stopwatch is counting, press “A”...
- Page 9 • “Split time” refers to an elapsed time required to cover a distance from the start to a given point. • “Lap time” refers to an elapsed time required to cover a given section of the whole distance. Lap time Start Split time 1. STANDARD MEASUREMENT START STOP RESET Hour Seconds Minutes 1/100 seconds...
- Page 10 2. ACCUMULATED ELAPSED TIME MEASUREMENT START STOP RESTART RESET STOP Restart and stop of the stopwatch can be repeated by pressing “A”.
- Page 11 SPLIT-LAP 2 3. SPLIT TIME/LAP TIME MEASUREMENT START SPLIT-LAP 1 Split time Lap time Accumulated elapsed time Split/lap number The split/lap time can be measured repeated by pressing “B”. RESET STOP SPLIT-LAP 8 Finish time Note: When the number of stored measurements exceeds 90, flashing “FULL” appears, and when it exceeds 100, a warning sound starts beeping.
- Page 12 4. HOW TO USE THE MEMORY FUNCTION The stopwatch can store up to 100 split times, 100 lap times and total elapsed time. They are automatically entered into the memory. • With each press of “C” , the time stored is recalled. The time can be recalled successively by keeping the button pressed. “RECALL” more Reset to “00” Finish time • To stop the recall of the stored data, press “A”, “B”, or “D”. The measurements when the stopwatch was stopped will be shown.
- Page 13 • The time stored in the memory can be recalled even while the stopwatch is measuring. With each press of “C” When the stopwatch is stopped Split time and lap time are recalled starting with the first ones. When the stopwatch is measuring The times are recalled starting with the last ones. • To measure the lap time and split time while the stored data are being recalled operate the buttons as follows.
- Page 14 STOKE/FREQUENCY MEASURING Press “D” to show the STROKE/FREQUENCY MEASURING display. Start the measurement by pressing “A” and stop the measurement by pressing “A” after the third stroke was made. The number of strokes per minute will be displayed. Start Stop Measuring Reset Start Stop...
- Page 15 Notes: 1. During 1 second after the measurement has been started by pressing “A”, flashing “180.0” is displayed. If the measurement is stopped by pressing “A” during this period, “Err” will appear. If the measurement is not stopped by pressing “A” after more than 18 seconds have elapsed, “Err” will automatically appear. Therefore, note that measurable number of strokes per minute is between 10 and 180. Error 2.
- Page 16 REGISTER NOW Please return Email (preferred) your AX602 Registration to the User Repair Center address in the warranty, and we will let you know about future products. 5-YEAR DUAL NO-PROOF-OF-PURCHASE OR PROOF OF PURCHASE LIMITED WARRANTY™ See label on back of unit for details, or check...
Need help?
Do you have a question about the AX602 and is the answer not in the manual?
Questions and answers