Table of Contents
Advertisement
http://www.ochimp.com
For More Info
Click Here ===>
http://www.ochimp.com
®
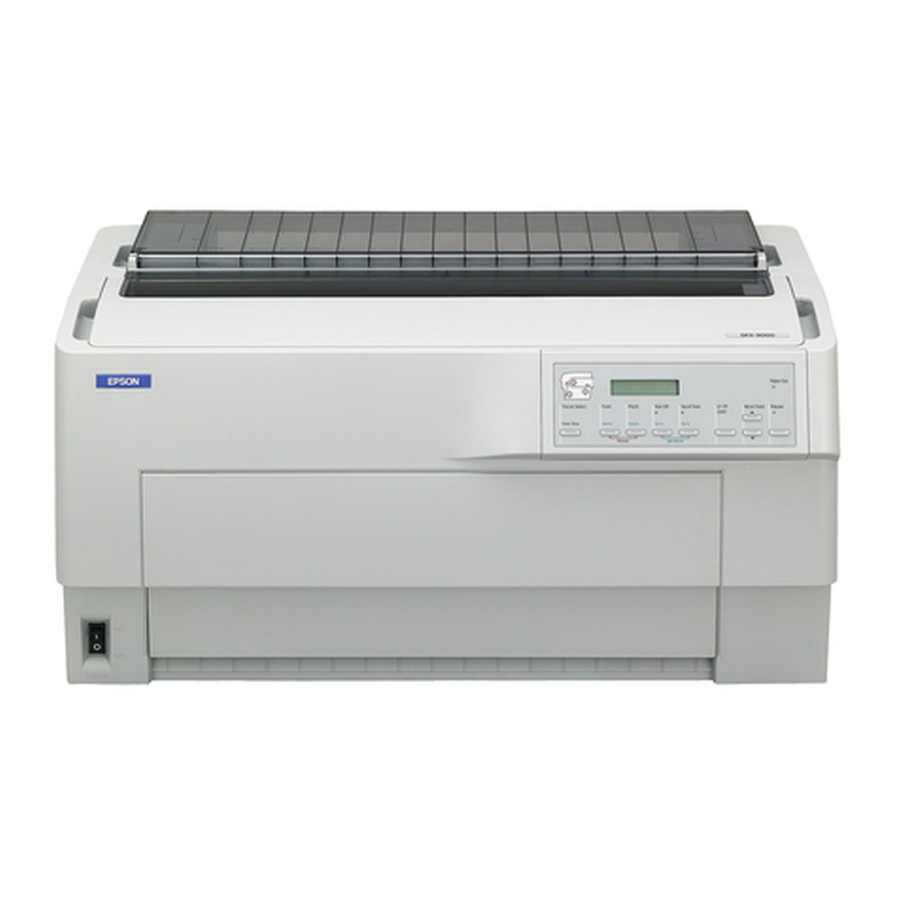
9-pin Dot Matrix Printer
User's Guide
This manual explains how to set up your printer and provides
basic product information.
For detailed information, see the on-screen Reference Guide
(which is installed when you install the printer software). It
describes all the printer's functions, optional products, printer
software, troubleshooting, and detailed technical specifications.
Advertisement
Table of Contents

Related Manuals for Epson DFX-9000


Summary of Contents for Epson DFX-9000
- Page 1 http://www.ochimp.com ® 9-pin Dot Matrix Printer User’s Guide For More Info Click Here ===> This manual explains how to set up your printer and provides basic product information. For detailed information, see the on-screen Reference Guide (which is installed when you install the printer software). It describes all the printer’s functions, optional products, printer software, troubleshooting, and detailed technical specifications.
-
Page 2: Table Of Contents
Loading Paper EPSON AMERICA, INC., LIMITED WARRANTY ....27 SUPPLEMENT TO THE LIMITED WARRANTY..... 28 Using the Two-Tractor System . -
Page 3: Chapter 1 - Setting Up The Printer
http://www.ochimp.com Chapter 1 Choosing a Place for the Printer Setting Up the Printer ❏ Place the printer on a flat, stable surface. The printer will not operate properly if it is tilted. If you use a printer stand, make sure it can support at least 75 lb (34 kg). Never use a stand that tilts the printer. -
Page 4: Installing The Ribbon Cartridge
http://www.ochimp.com Holding the sides of the cartridge, place the notch on each end onto the Installing the Ribbon Cartridge metal posts inside the printer. Then tilt the cartridge down into the printer until it clicks into place. Make sure the printer is turned off. (The switch should be in the position.) Open the top cover and slide the print head to the position shown, marked by the... - Page 5 http://www.ochimp.com Lift up the black plastic ribbon guide and slide it down behind the print Slide the print head back and forth to make sure it moves freely. If not, lift head until it clicks into place. Do not twist or crease the ribbon. up the ribbon guide and try again.
-
Page 6: Connecting The Power Cord
http://www.ochimp.com Use the appropriate cable to connect the printer to your computer. Connecting the Power Cord Make sure the printer is turned off. Then plug the power cord into the AC inlet on the back of the printer and connect the other end to a properly grounded electrical outlet. -
Page 7: Installing The Printer Software
DFX-9000 Reference Guide To view the Reference Guide, double-click the icon DFX-9000 Reference Guide or click Start > Programs All Programs > EPSON > DFX-9000 Reference Guide > Reference Guide For More Info Click Here ===> Installing the Printer Software 7 http://www.ochimp.com... -
Page 8: Installing And Using The Remote Configuration Manager
Installing and Using the Remote Configuration Manager The Epson Remote Configuration Manager provides an easy way to change your printer’s default settings in Windows. Follow these steps to install it: Select on the Installation Install EPSON Remote Configuration Manager... -
Page 9: Chapter 2 - Loading Paper
http://www.ochimp.com Chapter 2 You can print on continuous paper from 3 inches (76.2 mm) to 16.5 inches (419.1 mm) wide. Your printer senses the paper width automatically. Loading Paper The printer automatically adjusts to the thickness of the paper loaded when the platen gap setting is set to in SelecType mode. - Page 10 http://www.ochimp.com Position the left sprocket so the pins are to the left of the arrow mark on the Open both sprocket covers. scale. Push up the sprocket lock lever to lock it in place. arrow mark sprocket cover Be sure your paper has a clean, straight edge and that the printable side of the paper is facing up.
- Page 11 http://www.ochimp.com Pull the printer’s front cover out slightly, then close it. 11. If the front tractor arrow light is red, press the button to load LF/FF Load the paper. rear front Caution: Do not just push down the front cover; always pull it out slightly before closing it.
-
Page 12: Loading Paper On The Rear Tractor
http://www.ochimp.com Position the right sprocket so the pins are to the right of the arrow mark on Loading Paper On the Rear Tractor the scale. Push up the sprocket lock lever to lock it in place. Open the printer’s back cover as shown below. arrow mark Open the flap at the back. - Page 13 http://www.ochimp.com Make sure your paper has a clean, straight edge and that the printable side Slide the left sprocket until the paper is straight. Lock the sprocket by of the paper is facing down. Feed it through the opening at the back. pushing up the lock lever.
-
Page 14: Switching Between Front And Rear Tractors
http://www.ochimp.com 11. Turn on the printer if it is off. You hear the print head move to the left and Switching Between Front and Rear Tractors appears on the LCD. Either the front or rear arrow Ready Tractor Select lights up to indicate the tractor that was selected last. You can easily switch between paper loaded on the front and rear tractors, and vice-versa. -
Page 15: Changing Paper
http://www.ochimp.com Open the front cover or the back cover and the back flap. Changing Paper Follow the steps here when you need to change the paper loaded on the front or rear tractor. To tear off any printed pages or excess paper, press the button and Tear Off tear off the pages at the perforation. - Page 16 http://www.ochimp.com For More Info Click Here ===> 16 Changing Paper http://www.ochimp.com...
-
Page 17: Chapter 3 - Using The Control Panel
http://www.ochimp.com Chapter 3 Button/Light Function Font (ItemU) Selects one of the fonts. See “Selecting a Font and Pitch” on Using the Control Panel button page 18. In SelecType mode and Default-setting mode, you can press the ItemU button to select the previous menu or option. See page 19 or page 21 for details. -
Page 18: Selecting A Font And Pitch
Flashes when the print head overheats. ❏ Using the Epson Remote Configuration Manager on the printer software Paper Out light On when the printer is out of paper. - Page 19 http://www.ochimp.com Setting Options (default in bold) Setting Options (default in bold) ® Software ESC/P, IBM PPDS Subnet mask 000.000.000.000 to 255.255.255.255 0 slash Off, On Default gateway 000.000.000.000 to 255.255.255.255 I/F (Interface) mode Auto, Parallel, Serial, USB, Optional Save settings? Yes, No Auto I/F (Interface) wait time 10 seconds, 30 seconds...
-
Page 20: Default-Setting Mode
http://www.ochimp.com If you want to save the settings, select by pressing the Note: Tear Off You do not need to change these settings for printing label sheets of uniform thickness. button. If you don’t want to save the settings, select by pressing the ) button. -
Page 21: Locking The Control Panel Buttons
http://www.ochimp.com Follow these steps to enter Default-setting mode and change the settings: Locking the Control Panel Buttons Make sure paper is loaded and turn off the printer. You can restrict the use of buttons on the control panel by turning on Lock-out Caution: mode. - Page 22 http://www.ochimp.com For More Info Click Here ===> 22 Locking the Control Panel Buttons http://www.ochimp.com...
-
Page 23: Chapter 4 - Troubleshooting
http://www.ochimp.com Chapter 4 LCD message and Beep Problem panel light status pattern Solution Troubleshooting Error: Ribbon out ••• Ribbon is not installed. O Pause Install the ribbon cartridge and press the Pause button. See page 4 for instructions. This chapter explains the error indicators and describes how to clear paper jams. Error: Cover open •••... -
Page 24: Clearing Paper Jams
(800-463-7766). Or you can purchase online at www.epsonstore.com (U.S. sales) or www.epson.ca (Canada sales). Where To Get Help If your Epson printer is not operating properly and you cannot solve the problem using the troubleshooting information, see the support information below. -
Page 25: Chapter 5 - Product Information
(See the Reference Guide for more character) information.) You can purchase ribbon cartridges and other accessories from an Epson authorized reseller. To find the nearest reseller, call 800-GO-EPSON Acoustic noise: Approx. 58 dB (A) (ISO 7779 pattern) (800-463-7766). -
Page 26: Safety Instructions
http://www.ochimp.com ❏ Unplug the printer and refer servicing to qualified service personnel under Safety Instructions the following conditions: if the power cord or plug is damaged, if liquid has For More Info entered the printer, if the printer has been dropped or damaged, if it does not operate normally or exhibits a distinct change in performance. -
Page 27: Declaration Of Conformity
In order Computers: to provide on-site service, the technician must have full access to your Epson printer, as well as to working space, electricity and a local telephone line. -
Page 28: Supplement To The Limited Warranty
In order to provide on-site service, the technician must have full access to your Epson printer, as well as without the prior written permission of Seiko Epson Corporation. The information contained herein is to working space, electricity and a local telephone line.
Need help?
Do you have a question about the DFX-9000 and is the answer not in the manual?
Questions and answers