Hotpoint WDL 520 P Instructions For Use Manual
Hide thumbs
Also See for WDL 520 P:
- Instructions for use manual (16 pages) ,
- Instructions for use manual (16 pages) ,
- Instructions for use manual (16 pages)
Table of Contents
Advertisement
Instructions for use
GB
English, 1
WDL 520 P/G/A/K
!
This symbol reminds you to read this booklet.
Contents
Installation, 2-3-4-5
Connecting the electricity and water supplies
Cutting off the water or electricity supply
Starting a wash cycle
Wash cycles, 10
Personalisation, 11
Detergent dispenser drawer
Troubleshooting, 13-14
Assistance, 15-16
WASHER-DRYER
1
GB
Advertisement
Table of Contents

Subscribe to Our Youtube Channel
Related Manuals for Hotpoint WDL 520 P


Summary of Contents for Hotpoint WDL 520 P
-
Page 1: Table Of Contents
Caring for the door and drum of your appliance Cleaning the pump Checking the water inlet hose Precautions and tips, 7 General safety WDL 520 P/G/A/K Disposal Description of the Washer-dryer and starting a wash cycle, 8-9 Control panel Indicator lights... -
Page 2: Unpacking And Levelling
Installation ! Keep this instruction manual in a safe place for 2. If the floor is not perfectly level, com- pensate for any unevenness by tightening future reference. Should the appliance be sold, or loosening the adjustable front feet (see transferred or moved, make sure the instruction figure);... - Page 3 • the supply voltage is included within the Connecting the drain hose values indicated on the Technical Data Plate Connect the drain fixed on the machine. hose, without ben- • the socket is compatible with the washing ding it, to a draining machine’s plug.
-
Page 4: The First Wash Cycle
As the colours of the wires in the lead may not ! The power supply cable must only be repla- correspond with the coloured markings iden- ced by an authorised serviceman. tifying the terminals in your plug, proceed as follows: Warning! The company denies all liability if and Connect Green &... -
Page 5: Technical Data
Technical data Model WDL 520 P/G/A/K width 59.5 cm Dimensions height 85 cm depth 53.5 cm from 1 to 7 kg for the wash programme Capacity from 1 to 5 kg for the drying programme Electrical please refer to the technical... -
Page 6: Care And Maintenance
Care and maintenance Cutting off the water and electricity To access the pre-chamber: supplies 1. using a screwdri- • Turn off the water tap after every wash ver, remove the cover panel on the cycle. This will limit wear on the hydraulic lower front part of system inside the washer dryer and help to the washing machine... -
Page 7: Precautions And Tips
Precautions and tips • ! This washer-dryer was designed and constructed in Always keep children well away from the appliance accordance with international safety regulations. The while it is operating. • following information is provided for safety reasons and The door can become quite hot during the wash cycle. •... -
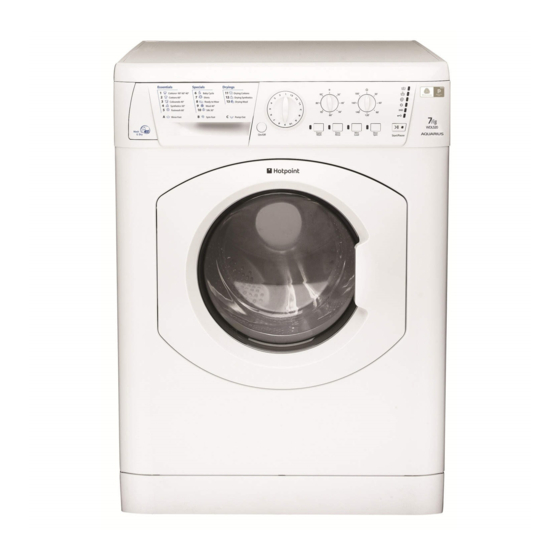
Page 8: Description Of The Washer-Dryer And Starting A Wash Cycle
Description of the Washer-dryer and starting a wash cycle Control panel WASH CYCLE PROGRESS indicator lights DRYING knob ON/OFF button DOOR TEMPERATURE LOCKED knob indicator light START/PAUSE Detergent dispenser drawer button with FUNCTION indicator light buttons with WASH CYCLE indicator lights knob Detergent dispenser drawer: used to dispense de- START/PAUSE button with indicator light: starts or... - Page 9 Indicator lights Door locked indicator light If this indicator light is on, the appliance door is locked to prevent it from being opened accidentally; to avoid any The indicator lights provide important information. damage, wait for the indicator light to switch off before you This is what they can tell you: open the appliance door (wait approximately 3 minutes).
-
Page 10: Wash Cycles
Wash cycles Table of wash cycles Cycle Max. Detergents duration Max. Max. load Description of the wash cycle temp. speed (kg) (°C) (rpm) Fabric Mini Wash Normal softener Load Essentials cycles 1 Cottons: extremely soiled whites. 90° 1200 ... -
Page 11: Personalisation
Personalisation Setting the temperature Turn the TEMPERATURE knob to set the wash temperature (see Table of wash cycles). The temperature may be lowered, or even set to a cold wash ( ). The Washer-dryer will automatically prevent you from selecting a temperature which is higher than the maximum value set for each wash cycle. -
Page 12: Detergents And Laundry
Detergents and laundry Detergent dispenser drawer Shirts: use special wash cycle 7 to wash shirts in various fabrics and colours. Good washing results also depend on the correct dose It guarantees maximum care is taken of the garments of detergent: adding too much detergent will not neces- and minimises the formation of creases. -
Page 13: Troubleshooting
Troubleshooting Your Washer-dryer could fail to work. Before contacting the Technical Assistance Centre (see “Assistance”), make sure that the problem cannot be solved easily using the following list. Problem: Possible causes / Solutions: The machine does not switch on. • The appliance is not plugged into the socket fully, or not enough to make contact. •... - Page 14 The machine leaks from the • The dispenser drawer is blocked with detergent and requires cleaning. dispenser. • The water pressure is too high and requires turning down - turn down the tap on the water supply pipe slightly and try again. •...
-
Page 15: Assistance
DOMESTIC PREMISES. 5 Year Parts Guarantee Hotpoint also offers you a free 5 year parts guarantee. This additional guarantee is conditional on you registering your appliance with us and the parts being fitted by one of our authorised engineers. There will be a charge for our engineer’s time. -
Page 16: After Sales Service
195127820.00 09/2014 - Xerox Fabriano After Sales Service No one is better placed to care for your Hotpoint appliance during the course of its working life than us - the manufacturer. Essential Contact Information Hotpoint Service We are the largest service team in Europe offering you access to 400 skilled telephone advisors and 1000 fully qualified engineers on call to ensure you receive fast, reliable, local service.
Need help?
Do you have a question about the WDL 520 P and is the answer not in the manual?
Questions and answers