Advertisement
Table of Contents
- 1 Verifying the Accessories
- 2 Safety Precautions
- 3 Table of Contents
- 4 Names of Parts and Functions
- 5 Grip Belt Adjustment
- 6 Charging the Battery Pack
- 7 Inserting an SD Card
- 8 Clock Setting
- 9 Video Quality
- 10 Video Recording
- 11 Playback
- 12 Playing Back/Deleting Files on this Unit
- 13 Troubleshooting/Cautions
- 14 Recordable Time/Specifications
- Download this manual
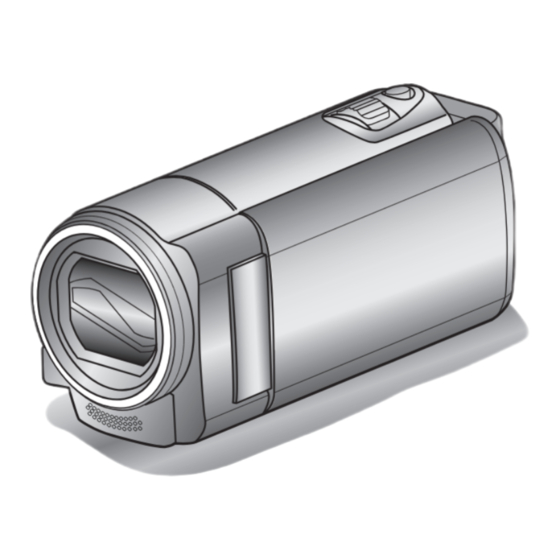
Basic User Guide
CAMCORDER
GZ-E105BEK
GZ-E105REK
Detailed User Guide
For more details on operating this
product, please refer to the "Detailed
User Guide" at the following website.
http://manual3.jvckenwood.com/
o
index.html/
Verifying the Accessories
AC Adapter
AC-V10M
USB Cable
(Type A - Mini Type B)
.
Please consult your JVC dealer or the nearest JVC service center when
purchasing a new AV cable.
Dear Customers
Thank you for purchasing this JVC product.
Before use, please read the Safety Precautions
and Cautions on p. 2 and p. 10 to ensure
safe use of this product.
Mobile User Guide
.
When you are outside, refer
to the "Mobile User Guide".
http://manual3.jvckenwood.com/mobile/
o
eu/
Power Cord
AV Cable
QAM1322-001
LYT2508-001A-M
EN
Battery Pack
BN-VG108E
Basic User Guide
(this manual)
Advertisement
Table of Contents


Need help?
Do you have a question about the Everio GZ-E105BEK and is the answer not in the manual?
Questions and answers