Lorex Vantage LH010 ECO BLACKBOX SERIES Manuals
Manuals and User Guides for Lorex Vantage LH010 ECO BLACKBOX SERIES. We have 3 Lorex Vantage LH010 ECO BLACKBOX SERIES manuals available for free PDF download: Instruction Manual, Quick Setup Manual
Lorex Vantage LH010 ECO BLACKBOX SERIES Instruction Manual (142 pages)
DIGITAL VIDEO SURVEILLANCE RECORDER
Table of Contents
Advertisement
Lorex Vantage LH010 ECO BLACKBOX SERIES Instruction Manual (128 pages)
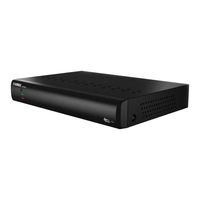
DIGITAL VIDEO SURVEILLANCE RECORDER
Table of Contents

Lorex Vantage LH010 ECO BLACKBOX SERIES Quick Setup Manual (2 pages)
Digital Video Surveillance Recorder
Advertisement
Advertisement