Table of Contents
Advertisement
Advertisement
Table of Contents

Related Manuals for Samson RSX M10a


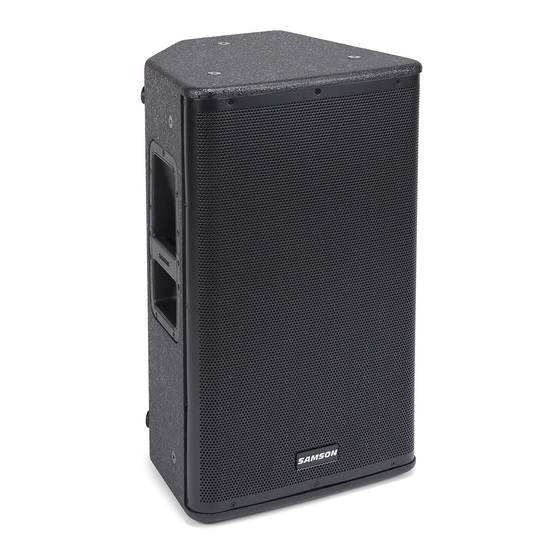
Summary of Contents for Samson RSX M10a
- Page 1 OWNER'S MANUAL...
- Page 2 Copyright 2015 - Samson Technologies Corp. V1.3 Samson Technologies Corp. 45 Gilpin Avenue Hauppauge, New York 11788-8816 Phone: 1-800-3-SAMSON (1-800-372-6766) Fax: 631-784-2201 www.samsontech.com...
-
Page 3: Important Safety Information
Important Safety Information This lightning flash with arrowhead symbol within an equilateral triangle is intended to alert the user to the presence of non- insulated “dangerous voltage” within the product’s enclosure that may be of sufficient magnitude to constitute a risk of electric shock. - Page 4 Important Safety Information FCC Notice 1. This device complies with Part 15 of the FCC Rules. Operation is subject to the following two conditions: (1) This device may not cause harmful interference. (2) This device must accept any interference received, including interference that may cause undesired operation. 2.
-
Page 5: Table Of Contents
Contents Introduction ..... . . 6 Features ......7 Quick Start . -
Page 6: Introduction
Samson products. Also, be sure to check out our website (www.samsontech.com) for complete information about our full product line. -
Page 7: Features
• RSX115A: 15” low frequency driver • 1.75” PETP Celestion compression driver • Time aligned speakers for an ultra-wide, flat frequency response • Samson’s R.A.M.P. DSP technology • 3-position EQ switch • Front Panel LED switch • Two XLR-¼” combo input channels •... -
Page 8: Quick Start
Quick Start Turn the Volume controls on the rear panel fully counterclockwise. Set the EQ switch to the Flat positions. Turn the Power switch OFF. Connect either a line level signal from your mixer (or other audio source) or a microphone to the Input 1 jack or a line level signal to the Input 2 jack on the RSX112a/RSX115a rear panel. - Page 9 Quick Start Turn the Volume controls on the rear panel fully counterclockwise. If using as floor monitors set the MONITOR/FOH switch to the MONITOR positions. Turn the Power switch OFF. Connect the Monitor output from your mixer to the Input jack on the RSXM10a/RSXM12a rear panel.
-
Page 10: Rsx112A & Rsx115A Rear Panel Layout
RSX112a & RSX115a Rear Panel Layout XLR and ¼” Input Connector (Input 1) - This combo XLR and ¼” connector accepts either a balanced or unbalanced microphone or line level signal. The ¼” phone input accepts TS or TRS type connectors. - Page 11 RSX112a & RSX115a Rear Panel Layout 10. MIX Output - Male XLR connector used to link multiple speaker cabinets. NOTE: When connecting a loudspeaker to the Line Output of the RSX loudspeaker, it is important to power on the RSX loudspeaker first, then power on the linked speaker. When powering down the system, it is recommended to turn off all linked speakers, then power off the RSX loudspeaker.
-
Page 12: Rsxm10A & Rsxm12A Rear Panel Layout
RSXM10a & RSXM12a Rear Panel Layout XLR and ¼” INPUT Connector - This combo XLR and ¼” connector accepts either a balanced or unbalanced line level signal. The ¼” phone input accepts TS or TRS type connectors. LINE Output - Male XLR connector used to link multiple speaker cabinets. -
Page 13: Positioning Rsx Loudspeakers
Positioning RSX Loudspeakers Speaker Placement The RSX Active Loudspeakers feature standard 1 ∕ " pole mount receptacles, which enable the speaker to be mounted on a standard tripod stand or subwoofer satellite pole. For best results, raise the speakers above the heads of the listening audience. When mounting a speaker onto any stand, always ensure that the stand is on a flat, level surface, with the legs fully extended. -
Page 14: Avoiding Feedback
Positioning RSX Loudspeakers Positioning the RSXM10a/RSXM12a Floor Monitors The RSXM10a/RSXM12a speakers are ideal solutions for stage monitoring thanks to its unique compact, low-profile design. In a large stage monitor system, several speakers can be daisy-chained together using the Line Output. When positioning the monitor, be mindful of the placement of your microphones to help reduce feedback problems. -
Page 15: Rsx Series System Setup
RSX Series System Setup This example shows a typical PA system using a mixer with a pair of RSX Speakers for the main left and right mix. The left RSX Speaker is connected to an active subwoofer A separate signal from the mixer’s AUX/MONITOR bus is sent to two additional RSXM series monitors. -
Page 16: Permanent Installation
Permanent Installation The RSX112a and RSX115a loudspeakers are perfect solutions for many fixed installations such as live sound venues, discos, schools, houses of worship, convention centers and airport terminals. The two- way speaker enclosures are extremely versatile for installation as they can be suspended in several different positions by using the twelve fly points. -
Page 17: Cables And Connectors
Cables and Connectors The RSX Active Loudspeakers features balanced inputs and outputs, so connecting balanced and unbalanced signals is acceptable. Whenever possible, use balanced connections to other equipment to suppress interference. Unbalanced 1/4” Connector Balanced TRS 1/4” Connector XLR to XLR Balanced Unbalanced 1/4”... -
Page 18: Specifications
Specifications RSX112A RSX115A Output Power RMS Power 650W Low Frequency Peak Power 1300W RMS Power 150W High Frequency Peak Power 300W Transducers Low Frequency 12” (304 mm) woofer with 15” (380 mm) woofer with 2.5” (64 mm) voice-coil 3” (76 mm) voice-coil High Frequency 1.75”... - Page 19 393 mm L x 391 mm W x 356.4 mm H Weight 27.66 31.81 12.55 14.43 Mounting Mounting Method ∕ Integral 1 ” Pole Mount Receptacle At Samson, we are continually improving our products, therefore specifications and images are subject to change without notice. RSX Active Loudspeakers...
- Page 20 Samson Technologies Corp. 45 Gilpin Avenue Hauppauge, New York 11788-8816 Phone: 1-800-3-SAMSON (1-800-372-6766) Fax: 631-784-2201 samsontech.com...