ResMed AirSense 10 Series User Manual
Hide thumbs
Also See for AirSense 10 Series:
- User manual (260 pages) ,
- Start manual (20 pages) ,
- Reprocessing manual (7 pages)
Table of Contents
Advertisement
Advertisement
Table of Contents

Related Manuals for ResMed AirSense 10 Series


Summary of Contents for ResMed AirSense 10 Series
- Page 1 User guide English...
-
Page 2: Indications For Use
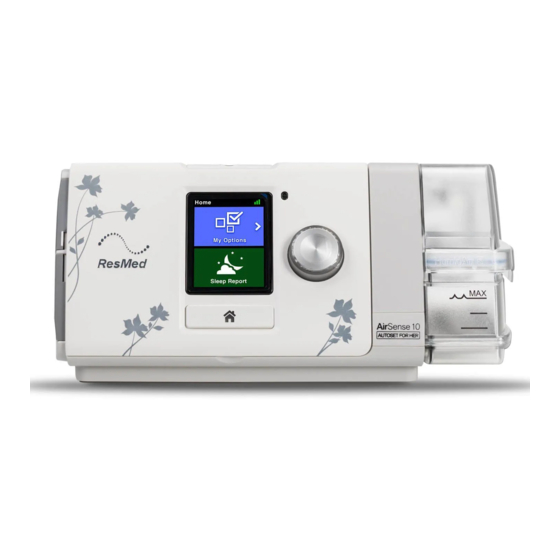
ENGLISH Welcome ™ ™ The AirSense 10 AutoSet and the AirSense 10 Elite are premium Automatic Positive Airway Pressure (APAP) and Continuous Positive Airway Pressure (CPAP) devices and come with the ™ HumidAir humidifier. They are designed to provide you with optimal therapy and maximum comfort. - Page 3 At a glance The AirSense 10 includes the following: Device HumidAir humidifier Air tubing Power supply unit Travel bag SD card (already inserted). Contact your care provider for a range of accessories available for use with the device including: ...
-
Page 4: About The Control Panel
About the control panel Press to start/stop therapy. Start/Stop button Press and hold for three seconds to enter power save mode. Turn to navigate the menu and press to select an option. Dial Turn to adjust a selected option and press to save your change. - Page 5 6. Connect the free end of the air tubing firmly onto the assembled mask. See the mask user guide for detailed information. Recommended masks are available on www.resmed.com. Recommended water type (France only) The following water types are recommended for use in the humidifier: ...
- Page 6 Distilled water Bottled water (with a low mineral content). Note: Do not use non-sterile demineralised water for domestic use. Starting therapy 1. Fit your mask. 2. Press Start/Stop or breathe normally if SmartStart is enabled. You will know that therapy is on when the Sleep Report screen is displayed. The current treatment pressure is shown in green.
- Page 7 Power save mode Your AirSense 10 device records your therapy data. In order to allow it to transmit the data to your care provider, you should not unplug the device. However, you can put it into power save mode to save electricity.
- Page 8 Humidity Level The humidifier moistens the air and is designed to make therapy more comfortable. If you are getting a dry nose or mouth, turn up the humidity. If you are getting any moisture in your mask, turn down the humidity. You can set the Humidity Level to Off or between 1 and 8, where 1 is the lowest humidity setting and 8 is the highest humidity setting.
- Page 9 Caring for your device It is important that you regularly clean your AirSense 10 device to make sure you receive optimal therapy. The following sections will help you with disassembling, cleaning, checking and reassembling your device. Disassembling 1. Hold the humidifier at the top and bottom, press it gently and pull it away from the device. 2.
- Page 10 Checking You should regularly check the humidifier, air tubing and the air filter for any damage. 1. Check the humidifier: Replace it if it is leaking or has become cracked, cloudy or pitted. Replace it if the seal is cracked or torn. ...
- Page 11 Therapy data Your AirSense 10 device records your therapy data for you and your care provider so they can view and make changes to your therapy if required. The data is recorded and then transferred to your care provider wirelessly or via an SD card. Data transmission Your AirSense 10 device has the capability of wireless communication so that your therapy data can be transmitted to your care provider to improve the quality of your treatment.
-
Page 12: Troubleshooting
Troubleshooting If you have any problems, have a look at the following troubleshooting topics. If you are not able to fix the problem, contact your care provider or ResMed. Do not try to open the device. General troubleshooting Problem/possible cause... - Page 13 Problem/possible cause Solution I am getting a dry or blocked nose Humidity level may be set too low. Adjust the Humidity Level. If you have ClimateLineAir heated air tubing, see the ClimateLineAir user guide. I am getting droplets of water on my nose, in the mask and air tubing Humidity level may be set too high.
- Page 14 Problem/possible cause Solution Make sure that the device is placed where there is coverage The No wireless connection icon is displayed on the (ie, on your bedside table, not in a drawer or on the floor). top right of the screen. No wireless network available. If instructed to do so, send the SD card to your care provider.
-
Page 15: General Warnings And Cautions
If you notice any unexplained changes in the performance of the device, if it is making unusual sounds, if the device or the power supply are dropped or mishandled, or if the enclosure is broken, discontinue use and contact your care provider or your ResMed Service Centre. -
Page 16: Technical Specifications
Do not perform any maintenance tasks while the device is in operation. CAUTION Use only ResMed parts and accessories with the device. Non-ResMed parts may reduce the effectiveness of the treatment and/or damage the device. Use only vented masks recommended by ResMed or by the prescribing doctor with this device. - Page 17 2:2007, for residential, commercial and light industry environments. It is recommended that mobile communication devices are kept at least 1 m away from the device. Information regarding the electromagnetic emissions and immunity of this ResMed device can be found on www.resmed.com, on the Products page under Service and Support.
- Page 18 Wireless module Technology used: 2G GSM It is recommended that the device is a minimum distance of 20 cm from the body during operation. Operating pressure range AutoSet, CPAP: 4 to 20 cm H O (4 to 20 hPa) Supplemental oxygen Maximum flow: 4 L/min Pneumatic flow path...
- Page 19 Displayed values Value Range Display resolution Pressure sensor at air outlet: Mask pressure 4–20 cm H 0 (4–20 hPa) 0.1 cm H 0 (0.1 hPa) Flow derived values: Leak 0–120 L/min 1 L/min Value Accuracy Pressure measurement Mask pressure ±[0.5 cm H 0 (0.5 hPa) ±...
-
Page 20: Limited Warranty
ResMed. ResMed recommends that the AirSense 10 device be inspected and serviced by an authorised ResMed Service Centre if there is any sign of wear or concern with device function. Otherwise, service and inspection of the products generally should not be required during their design life. - Page 21 Portable diagnostic/screening devices This warranty is only available to the initial consumer. It is not transferable. If the product fails under conditions of normal use, ResMed will repair or replace, at its option, the defective product or any of its components.
- Page 22 See www.resmed.com for other ResMed locations worldwide. For patent information, see www.resmed.com/ip. Air10, AirSense, AutoSet, ClimateLine, HumidAir and SlimLine are trademarks of ResMed Ltd. AutoSet, SlimLine and ClimateLine are registered in U.S. Patent and Trademark Office. SD Logo is a trademark of SD-3C, LLC. © 2014 ResMed Ltd. 378116/1 2014-05 ResMed.com...