Advertisement
Quick Links
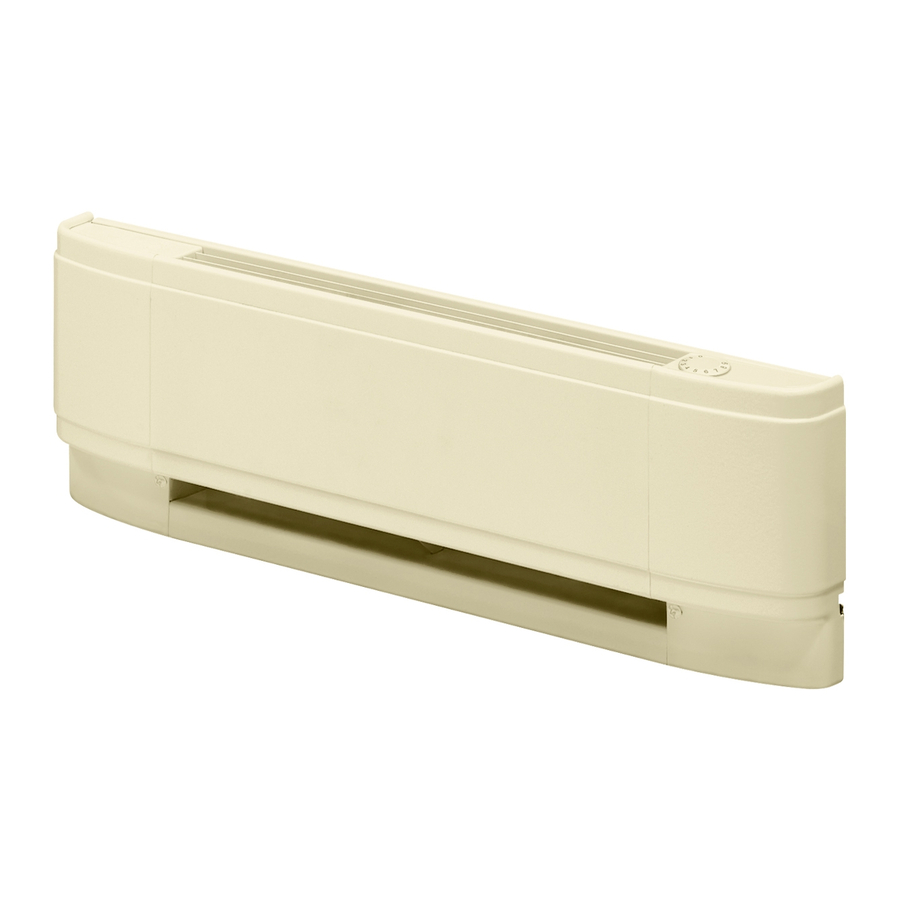
Linear Convector
LC Series
imPOrTanT inSTrUCTiOnS
When using electrical appliances, basic precautions should always be followed to
reduce the risk of fire, electric shock and injury to person, including the following:
1.
Read all instructions before using this linear convector.
2.
A linear convector has hot and arcing or sparking parts inside. Do not use it
in areas where gasoline, paint or flammable liquids are used or stored.
3.
This linear convector is hot when in use. To avoid burns, do not let bare skin
touch hot surfaces. If provided, use handles when moving this linear convec-
tor. Keep combustible materials such as: furniture, pillows, bedding, papers,
clothes and curtains away from linear convector.
4.
To prevent a possible fire, do not block air intakes or exhaust in any manner.
Do not use on soft surfaces like a bed where openings may become blocked.
5.
Do not insert or allow foreign objects to enter any ventilation or exhaust
opening as this may cause an electric shock or fire, or damage the linear
convector.
6.
Do not install these linear convectors against combustible, low density cel-
lulose fibre surfaces.
7.
Do no locate these linear convectors below any electrical convenience
receptacles.
8.
Do not store gasoline or flammable solvents in the vicinity of these linear
convectors.
9.
Check linear convector nameplate ratings to be sure linear convector voltage
is the same as the service supply. (The nameplate is located below the right
side of the heating element.)
10.
HigH TemPerATUreS
: Keep electrical cords, furniture, draperies or any
other blocking material away from the linear convector.
Save TheSe inSTrUCTiOnS
installation instructions
Warning: Linear convectors and controls should be installed by a qualified
contractor.
Warning: Wiring procedures and connections should be in accordance
with the National Electric Code (CEC & NEC) and local codes.
CaUTiOn: Disconnect power supply before installation to prevent electric
shock.
CaUTiOn: Connect linear convectors to a branch circuit used only for
permanently installed linear convectors and protected by overcurrent devices
rated or set at not more than 30 amperes.
CaUTiOn: The total connected load should not be more then 80% of the
rating of the overcurrent devices.
PLaCemenT Of The Linear COnveCTOr
Linear convectors may only be surface mounted on plaster, wood or concrete walls
and oriented horizontally with the grille topside up. (See Figure 6)
reCOmmenDaTiOnS fOr LOCaTing DraPeS anD fUrniTUre
near Linear COnveCTOrS (figUre 7)
CAUTION: For objects located at specified distance (see below) from the
heater, the material should not discolor, nor distort dimensionally (stretch or shrink)
upon extended exposure (1000 hrs.) to a temperature of 200º F (93º C).
For most satisfactory operation of the heaters and minimum effect on drapes,
furniture and objects in close proximity, the following recommendations should be
observed:
1.
Full Length Drapes:
Hang drapes so there is at least 1.5" (3.8 cm) between
the top of the drapes and the ceiling, at least 1.5" (3.8cm) between the bottom
of the drapes and the finished floor covering (such as carpet, if used) AND at
least 3" (7.6 cm) between the front vertical surface of the heater and the near-
est fold of the drapes (opened drape). (Figure 7A)
2.
Shorter Length Drapes:
Hang drapes so there is at least 1.5" (3.8 cm) be-
tween the top of the drapes and the ceiling, and at least 6" (15.2 cm), preferably
more, between the bottom of the drapes and the top horizontal surface of the
heater. (Figure 7B)
3.
Furniture:
Place furniture no closer than 3" (7.62 cm) from the front of the
Linear Convector. (Figure 7C)
4.
Overhanging Solid Objects:
14" (35.6 cm) between the top of the heater and any solid object that obstructs
or redirects the vertical air flow out of the top of the unit. (Figure 7D)
CAUTION: This high efficiency linear convector is designed to operate at
higher air outlet temperatures than conventional baseboard heaters. Some vinyl
blinds and vinyl window trims may deform if installed within 20" above this unit.
!
nOTe: Ensure that when 2 Linear Proportional Convectors are installed near
the same corner they are both a minimum of 6" from the corner.
faCTOrY Wiring Of The Linear COnveCTOr
All linear convectors have provisions for connection to either end of the linear
convector. The lead wires at either end are factory spliced with wire nuts as a
closed circuit. The circuit may be opened at either wire nut connection to make
connections to the power supply and/or to the desired controls. (See Wiring
Diagrams)
COnTrOLS (not included)
A thermostat control (wall mounted or built-in) is required to operate this unit.
Typical Dimplex controls:
•
Built-in thermostat kits: DTK-SP, DTK-DP, DTKT-SP or DTKT-DP
•
External line voltage thermostats: TSxx or TDxx
•
Built-in low voltage relay: BLLVCxx or BLLVD
INSTALLATION WITH NON METALLIC CABLE TYPE NMD
1.
Place linear convector on floor face up. Use packaging to protect it if required.
Remove front cover as shown at the end to be connected. Remove wire nut and
separate the baseboard leads. (Figure 1 & 3)
2.
Insert wire through hit-lock connector, as shown, and connect to linear convector
lead wires. Additional wire nut is required. Connect grounding wire to ground-
ing method provided. Place wires in linear convector and replace front cover.
(Figure 2 & 4)
3.
Push cable back into wall as linear convector is being positioned against wall.
Linear convector is approved for installation with 3/4" carpeting. For thicker floor
covering, raise linear convector accordingly. (Figure 5)
4.
With linear convector in position, run screws through pre-selected mounting holes.
Screw should be backed off 1/2 turn from snug position to allow free expansion
and contraction of housing and to insure quiet operation. (Figure 6)
INSTALLATION WITH RIGID, E.M.T. CONDUIT OR BX CABLE
1.
Remove screw holding the end cover and remove the cover. (Figure 1)
2.
Use suitable knockout for cable/conduit entrance. Secure in place on plate.
(Figure 1)
3.
Make electrical connections in the connection box. Replace covers and secure
baseboard in position. (Figure 6)
COnneCTing mULTiPLe Linear COnveCTOrS TOgeTher
The linear convectors can be connected end to end to form a continuous length
of linear convector section. When units are installed end to end, join the linear
convectors to ensure ground continuity between.
Operation
1.
This linear convector must be properly installed before it is used.
2.
Prior to energization remove all construction dirt (plaster, sawdust, etc.) from
interior and exterior of linear convector.
Dimplex linear convectors are designed and tested for safe and trouble-free
operation. All Dimplex linear convectors are protected against overheating by a
built-in thermal cutout. Free airflow throughout the linear convector is extremely
important for the most efficient operation of the linear convector. restricted airflow
may cause the thermal overload protector to cycle the linear convector "ON and
OFF". A cycling linear convector will not supply sufficient heat to the room.
Avoid direct contact of paper, fabric, or furniture with linear convector.
Position Linear Convector so there is at least
7210940100R06
Advertisement

Related Manuals for Dimplex LC Series


Summary of Contents for Dimplex LC Series
-
Page 1: Important Instructions
CAUTION: For objects located at specified distance (see below) from the Dimplex linear convectors are designed and tested for safe and trouble-free heater, the material should not discolor, nor distort dimensionally (stretch or shrink) upon extended exposure (1000 hrs.) to a temperature of 200º... - Page 2 Warranty the Manufacturer will repair or replace without The LC series contain no moving parts. Since the appliance contains no moving charge, in its factory or in the field as it alone may decide, any parts which in its parts little maintenance is required beyond vacuum cleaning.
-
Page 3: Wiring Instructions
CONNECTING MULTIPLE LINEAR CONvECTORS TOGETHER L2 or N 1367 Industrial Road Cambridge ON Canada N1R 7G8 1-888-346-7539 www.dimplex.com In keeping with our policy of continuous product improvement, we reserve the right to make changes without notice. © 2011 Dimplex North America Limited...