Table of Contents
Advertisement
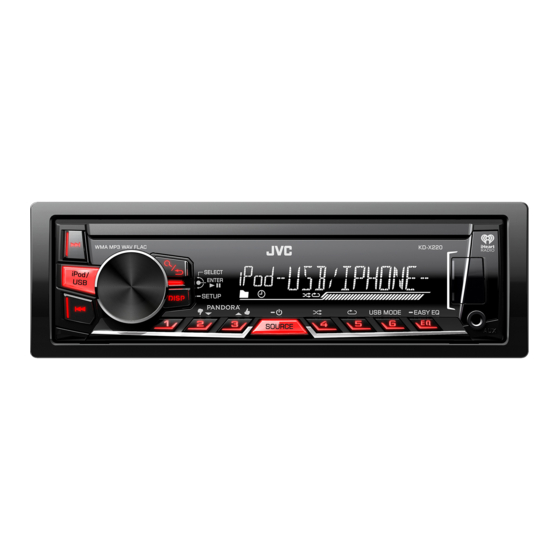
KD-X220
DIGITAL MEDIA RECEIVER
INSTRUCTION MANUAL
RÉCEPTEUR MULTIMÉDIA NUMÉRIQUE
MANUEL D'INSTRUCTIONS
RECEPTOR DE MEDIOS DIGITALES
MANUAL DE INSTRUCCIONES
JS_JVC_KD_X220_J_C.indd 1
Please read all instructions carefully before
operation to obtain the best possible performance
from the unit.
Veuillez lires les instructions attentivement avant
d'utiliser l'appareil afin d'obtenir les meilleures
performances possibles de l'appareil.
Por favor lea detenidamente este manual para
comprender a fondo todas las instrucciones y
obtener un máximo disfrute de esta unidad.
For customer Use:
Enter below the Model No. and Serial No. which are
located on the top or bottom of the cabinet. Retain this
information for future reference.
Model No.
Serial No.
ENGLISH
FRANÇAIS
ESPAÑOL
B5A-0115-00 [J]
24/9/2014 4:48:45 PM
Advertisement
Table of Contents

Related Manuals for JVC KD-X220


Summary of Contents for JVC KD-X220
-
Page 1: Instruction Manual
ENGLISH FRANÇAIS ESPAÑOL KD-X220 DIGITAL MEDIA RECEIVER Please read all instructions carefully before INSTRUCTION MANUAL operation to obtain the best possible performance from the unit. RÉCEPTEUR MULTIMÉDIA NUMÉRIQUE MANUEL D’INSTRUCTIONS Veuillez lires les instructions attentivement avant d’utiliser l’appareil afin d’obtenir les meilleures RECEPTOR DE MEDIOS DIGITALES performances possibles de l’appareil. -
Page 2: Before Use
CONTENTS BEFORE USE BEFORE USE Warning Do not operate any function that takes your attention away from safe driving. BASICS Caution GETTING STARTED Volume setting: USB / iPod / ANDROID • Adjust the volume so that you can hear sounds outside the car to prevent accidents. •... -
Page 3: Basics
BASICS Faceplate Remote control (RM-RK52) Attach Remote sensor (Do not expose to bright sunlight.) Volume knob (turn/press) Display window Detach Pull out the insulation sheet when using for the first time. How to reset How to replace the battery Detach button Your preset adjustments will also be erased. -
Page 4: Getting Started
Turn the volume knob to select [CLOCK SET], then press the knob. For details on how to update the firmware, see: Turn the volume knob to make the settings, then press the knob. <http://www.jvc.net/cs/car/>. Day Hour Minute CLOCK Turn the volume knob to select [24H/ 12H], then press the knob. -
Page 5: Usb / Ipod / Android
(commercially available) When connecting an Android device, “Press [VIEW] to install JVC MUSIC PLAY APP” is shown. Follow the instructions to install the application. You can also install the latest version of JVC MUSIC PLAY application on your Android device before connecting. - Page 6 Quick Search repeatedly. If you have many files, you can search through them quickly. AUTO MODE: Control from the unit (using JVC MUSIC For MP3/WMA/WAV/FLAC or JPC / JMC file: PLAY application). Turn the volume knob quickly. AUDIO MODE: Control other media player applications...
-
Page 7: Radio
RADIO Other settings Press and hold Turn the volume knob to select [TUNER], then press the knob. Turn the volume knob to make a selection (see the following table), then press the knob. Repeat step until the desired item is selected/ “ST”... - Page 8 RADIO Default: XX Use a portable audio player SSM 01 – 06 / SSM 07 – 12 / SSM 13 – 18: Automatically presets up Connect a portable audio player (commercially available). to 18 stations for FM. “SSM” stops flashing when the first 6 stations are 3.5 mm (1/8") stereo mini plug with “L” shaped connector stored.
-
Page 9: Pandora
Pandora® Preparation: Create and save a new station Install the latest version of the Pandora application on your device Press (iPhone/ iPod touch), then create an account and log in to Pandora. Turn the volume knob to select [NEW STATION], then press the knob. •... -
Page 10: Iheartradio
Preparation: Search for a station Install the latest version of iHeart Link for JVC application on your device (iPhone/ iPod Press touch), then create an account and log in to iHeartRadio. Turn the volume knob to select a category, then •... -
Page 11: Audio Settings
AUDIO SETTINGS Default: XX On the faceplate EQ SETTING Select a preset Press repeatedly. equalizer EQ PRESET FLAT / HARD ROCK / JAZZ / POP / R&B / TALK / USER1 / USER2 / Press , then turn the volume knob VOCAL BOOST / BASS BOOST / CLASSICAL / DANCE: Selects a preset within 2 seconds. equalizer. Preset equalizer: FLAT (default), HARD ROCK, JAZZ, POP, R&B, TALK, USER1, USER2, VOCAL BOOST, BASS BOOST, EASY EQ... -
Page 12: Audio Settings
AUDIO SETTINGS AUDIO D.T.EXP ON: Creates realistic sound by compensating the high-frequency (Digital Track components and restoring the rise-time of the waveform that are lost in BASS BOOST +01 / +02: Selects your preferred bass boost level. ; OFF: Cancels. Expander) audio data compression. ; OFF: Cancels. LOUD 01 / 02: Boosts low or high frequencies to produce a well-balanced TEL MUTING *... -
Page 13: Display Settings
DISPLAY SETTINGS BRIGHTNESS Sets the button, display and USB input terminal brightness for day and night separately. 1 DAY / NIGHT: Select day or night. 2 Select a zone for setting. ( Illustration on left) 3 Set the brightness level (00 to 31). (Default: DAY: 31 ; NIGHT: 15) SCROLL * ONCE: Scrolls the display information once. ;... -
Page 14: More Information
Control. - iPod nano (3rd, 4th, 5th, 6th, and 7th generation) • When you play audio file with song data added using the JVC Playlist Creator or JVC Music - iPhone 3G, 3GS, 4, 4S, 5, 5S, 5C Control, you can search for audio file by Genres, Artists, Albums, Playlists, and Songs. -
Page 15: Troubleshooting
TROUBLESHOOTING MORE INFORMATION Change the display information Symptom Remedy Press repeatedly. Sound cannot be heard. • Adjust the volume to the optimum level. FM or AM Station name (PS)* Frequency Program type (PTY)* • Check the cords and connections. Title* Day/Clock (back to the beginning) “MISWIRING CHECK WIRING... - Page 16 ( 14) unavailable. Cannot playback at • Make sure JVC MUSIC PLAY APP is installed on the Android “CREATE ERR” Custom station name creation is unsuccessful. [AUTO MODE].
-
Page 17: Specifications
SPECIFICATIONS FM Frequency Range 87.9 MHz — 107.9 MHz (200 kHz step) Frequency Response (±3 dB) 20 Hz — 20 kHz 87.5 MHz — 108.0 MHz (50 kHz step) Input Maximum Voltage 1 000 mV Channel Space Selection 50 kHz/200 kHz Input Impedance 30 kΩ Usable Sensitivity (S/N = 26 dB) 8.2 dBf (0.71 μV/75 Ω) Maximum Output Power 50 W × 4 or Quieting Sensitivity (DIN S/N = 46 dB) 17.2 dBf (2.0 μV/75 Ω) 50 W × 2 + 50 W × 1 (Subwoofer = 4 Ω) Frequency Response (±3 dB) -
Page 18: Installation/Connection
Warning Installing the unit (in-dash mounting) • The unit can only be used with a 12 V DC power supply, negative ground. • Disconnect the battery’s negative terminal before wiring and mounting. • Do not connect Battery wire (yellow) and Ignition wire (red) to the car chassis or Ground wire (black) to prevent a short circuit. -
Page 19: Wiring Connection
Firmly connect the ground wire of the amplifier to the Wiring connection Part list for Signal cord (not supplied) car’s chassis to avoid damaging the unit. installation JVC Amplifier * (A) Faceplate Fuse (10 A) Rear/subwoofer output Antenna terminal Vehicle dashboard... - Page 20 This product contains a CR Coin Cell Lithium Battery which contains Perchlorate Material—special States and other countries. Such marks are used under license. handling may apply. See www.dtsc.ca.gov/hazardouswaste/perchlorate • Android is trademark of Google Inc. © 2014 JVC KENWOOD Corporation 1014DTSMDTJEIN JS_JVC_KD_X220_J_C.indd 2 11/9/2014 4:42:18 PM...