Table of Contents
Advertisement
Quick Links
Advertisement
Table of Contents

Related Manuals for Bradford White RTG 199HE


Summary of Contents for Bradford White RTG 199HE
- Page 1 Installation Instructions Models: RTG 199HE / RTG 199ME Outdoor kit Warning: This kit must be installed by a qualified installer in accordance with these instructions and all applicable codes and requirements of the authorities having jurisdiction.
-
Page 2: Key To Symbols And Safety Instructions
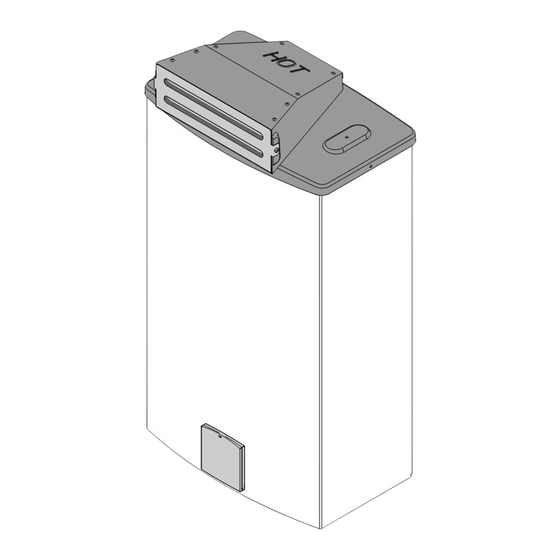
Key to symbols and safety instructions Outdoor Installation Warnings Key to symbols and safety instructions DANGER: Key to symbols The top of the outdoor kit will get very hot Warnings during operation. ▶ Keep away from children. Install heater Warnings in this document are identified by in a location where the top of the kit a warning triangle printed against a grey cannot be reached by small children. -
Page 3: Minimum Clearances
Selecting heater location ▶ Size the water and gas connections according to the DANGER: instructions in the water heater installation manual. Use The freeze prevention kit on the appliance is unions when connecting both water lines and gas supply designed to provide protection from line to the heater. - Page 4 Remove the exhaust seal from outdoor vent cap: For condensing appliances only: ▶ Remove inner seal, see Fig. 5. 6720645551-16.1V Fig. 3 Replace the control panel shield Fig. 5 Condensing appliances only (RTG 199HE) Outdoor kit – 6 720 811 755 (2014/05)
- Page 5 Installing outdoor kit ▶ 3. Attach the gasket provided with the kit as shown in Fig. ▶ Attach the outdoor vent cap to the appliance by fastening the two provided screws and washers, see Fig. 8. 6720645551-15.1V Fig. 6 ▶ 4. Install supplied Freeze Prevention Kit (separate packaging).
-
Page 6: Mounting Instructions
Mounting instructions Mounting instructions ▶ The water heater is approved for installation directly on an outside wall. Secure the wall mounting bracket provided with the water heater to a wall surface. See Fig. 9. ▶ The installation method of the mounting bracket will depend on the type of mounting surface. -
Page 7: Installations
Installations DANGER: ▶ Do not place or store any combustible material within 5 feet of the appliance. Maintain specified clearance to combustibles on the wall where the appliance is installed and any adjacent walls or overhang. Observe all clearances required in this manual. DANGER: ▶... - Page 8 Installations Installing outdoor vent cap on the appliance ▶ Attach the outdoor vent cap to the appliance by fastening the two provided screws and washers, see Fig. 15. WARNING: ▶ The control panel shield must always remain closed, except when making adjustments, to prevent damage to heater from weather.
- Page 9 Installations ▶ Place the protection grill in the Outdoor vent cap. ▶ Position the recess box cover as showed in Fig. 19. 6720645551-05.1V Fig. 17 ▶ Fix the frame and protection grill with two screws. 6720645551-07.1V Fig. 19 ▶ Fix the frame to the recess box cover with 4 screws, 4 metal washers and 4 silicone washers.
-
Page 10: Electrical Connections
Electrical connections ▶ Close the recess box cover with padlock (optional). The water heater requires an electrical power supply from a 120VAC / 60Hz circuit (with a dedicated outlet) and must be properly grounded. The heater is wired as shown in the wiring diagram of the water heater installation manual. - Page 11 Measuring carbon dioxide (CO2) Measuring carbon dioxide (CO Note: After installation of the outdoor vent cap, measuring CO for proper levels is recommended before operating the appliance. See water heater installation manual for details. WARNING: Outdoor vent cap will get very hot during operation.