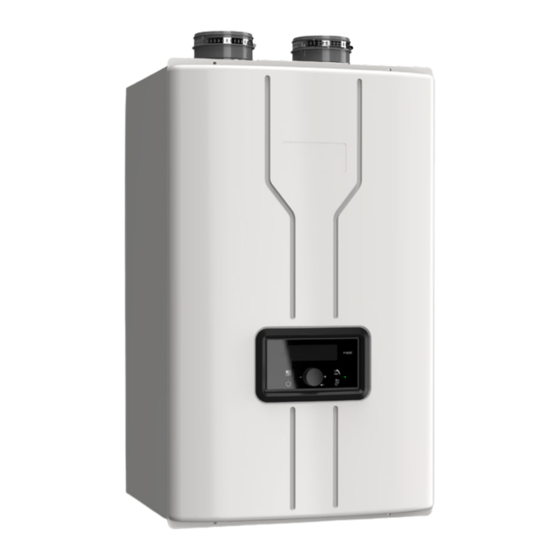
Bradford White LT199NXX1 Installation And Instruction Manual
Outdoor vent kit
Hide thumbs
Also See for LT199NXX1:
- Installation and instruction manual (8 pages) ,
- Installation and instruction manual (4 pages)
Advertisement
Quick Links
Outdoor Vent Kit Manual
FOR YOUR SAFETY: This product must be installed and serviced by a professional service technician,
qualified in hot water boiler and heater installation and maintenance. Improper installation and/or operation
could create carbon monoxide gas in flue gases which could cause serious injury, property damage, or
death. Improper installation and/or operation will void the warranty.
If the information in this manual is not
followed exactly, a fire or explosion may
result causing property damage, personal
injury or loss of life.
Do not store or use gasoline or other
flammable vapors and liquids in the vicinity of
this or any other appliance.
WHAT TO DO IF YOU SMELL GAS
• Do not try to light any appliance.
• Do not touch any electrical switch; do not
use any phone in your building.
• Immediately call your gas supplier from a
nearby phone. Follow the gas supplier's
instructions.
• If you cannot reach your gas supplier, call
the fire department.
Installation and service must be performed
by a qualified installer, service agency, or gas
supplier.
Installation and Instruction Manual
Outdoor Vent Kit
Model LT199NXX1 / LT199PXX1
WARNING
LT199NRX1 / LT199PRX1
RTGS199N1 / RTGS199X1
RTGR199N1 / RTGR199X1
AVERTISSEMENT
Assurez-vous de bien suivres les instructions
données dans cette notice pour réduire au
minimum le risque d'incendie ou d'explosion
ou pour éviter tout dommage matériel, toute
blessure ou la mort.
Ne pas entreposer ni utiliser d'essence ou ni
d'autres vapeurs ou liquides inflammables
dans le à proximité de cet appareil ou de tout
autre appareil.
QUE FAIRE SI VOUS SENTEZ UNE ODEUR DE
• Ne pas tenter d'allumer d'appareils.
• Ne touchez à aucun interrupteur. Ne pas vous
servir des téléphones dans le bâtiment où vous
vous trovez.
• Appelez immédiatement votre fournisseur
de gaz depuis un voisin. Suivez les
instructions du fournisseur.
• Si vous ne pouvez rejoindre le fournisseur
de gaz, appelez le sservice des incendies.
L'installation et l'entretien doivent être assurés
par un installateur ou un service d'entretien
ou par le fournisseur de gaz.
qualifié
S633100212 Rev 11/22
GAZ:
Advertisement

Related Manuals for Bradford White LT199NXX1


Summary of Contents for Bradford White LT199NXX1
- Page 1 Outdoor Vent Kit Manual S633100212 Rev 11/22 Installation and Instruction Manual Outdoor Vent Kit Model LT199NXX1 / LT199PXX1 LT199NRX1 / LT199PRX1 RTGS199N1 / RTGS199X1 RTGR199N1 / RTGR199X1 FOR YOUR SAFETY: This product must be installed and serviced by a professional service technician, qualified in hot water boiler and heater installation and maintenance.
-
Page 2: Included Items
Included Items Part Shape Q’ty Part Shape Q’ty Hexagon Head with Flange Outdoor Vent Cap Tapping Screw (M4 x12) ① ⑥ (w/ Plate and Packing) (Outdoor Vent Cap) Philips Head Tapping Exhaust Pipe Screw (M4 x16) ② ⑦ (Bird Screen) ③... - Page 3 Outdoor Installation Location WARNING Carefully consider installation when determining water heater location. Please read the entire installation manual and these instructions before attempting installation. Failure to properly take factors such as piping, condensate removal, venting, and wiring into account before installation could result in wasted time, money, and possible property damage, personal injury, or death.
-
Page 4: Installation Clearances
3. Check surroundings of water heater. Remove any combustible materials, gasoline, and other flammable liquids. WARNING Failure to keep the water heater area clear and free of combustible materials, liquids, and vapors can result in substantial property damage, severe personal injury, or death. 4. - Page 5 WARNING Do not locate the water heater where exposed to prevailing winds. Moisture will be produced by the exhaust vent. Take precautions when determining water heater location. Moisture may fall from the vent termination to the ground and turn to ice in freezing conditions. Moisture or ice can produce a hazardous condition.
-
Page 6: Freeze Protection
WARNING Ensure that the intake air will not contain any of the contaminants in Table 2. Contaminated air will damage the heater, resulting in possible substantial property damage, severe personal injury, or death. For example, do not pipe intake air near a swimming pool or laundry facilities. These areas always contain contaminants [ Table 2 ] Products to Avoid Areas Likely to Have Contaminants... - Page 7 Wall, floor, and ceiling temperatures; or a reference to the following footnote: “Clearance in accordance with local installation codes and the requirements of the gas supplier.” Figure 2-A ∆ (See Clauses 4.31.2 and E.1.) Direct vent terminal clearances Clearance Requirements from Vent Terminations to Building Openings Inside corner detail 15 ft...
- Page 8 Additional Clearance 12"(305mm) 4"(100mm) Descriptions Minimum Distances Clearance to ventilated or unventilated soffit or eve vent 36" (914 mm) Clearance between vertical vents 60"(1,520mm) Clearance to inside corner 12" (305 mm) Clearance between horizontal water heaters 4" (100 mm) Clearance under veranda, porch deck, or balcony. 12"...
- Page 9 Installing the Outdoor Enclosure 1. Remove the Existing Exhaust Adapter by removing 3. Insert the Exhaust Pipe into the VCK Exhaust the 4 screws and pulling up on the adapter. Adapter. Exhaust Pipe Phillips Existing Exhaust Adapter 2. Insert the VCK Exhaust Adapter and secure the 4.
- Page 10 5. Use a Phillips screwdriver to loosen front 2 hex 7. Insert the Bird Screen into the Exhaust Pipe and head screws and to remove back 2 hex head secure with 2 screws [⑦ Philips Head Tap ping screws on side of the unit. Place the Outdoor Vent Screw (M4 x16)] to the Outdoor Vent Cap.
-
Page 11: Part List
Part List ① ⑥ ⑤ ⑦ ⑥ ③ ② ④ Description Part Number Description Part Number Outdoor Vent Cap Bird Screen with Finishing ① ⑤ (w/ Plate and Packing) Hexagon Head with Flange Exhaust Pipe ② ⑥ Tapping Screw (M4 x12) Philips Head Tapping Screw Exhaust Pipe Retainer ③... - Page 12 Notes: Dimensions and specifications subject to change without notice in accordance with our policy of continuous product improvement.