Table of Contents
Advertisement
Available languages
Available languages
Quick Links
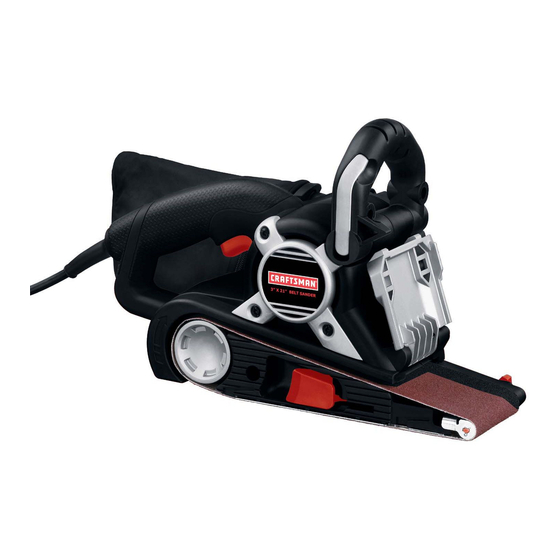
Instruction Manual
3" X 21"
BELT SANDER
Model 900.11722
WARNING:
Before using this product,
read this manual and follow
all its Safety Rules and
Operating Instructions.
Sears, Roebuck and Co., Hoffman Estates, IL 60179 USA
www.sears.com/craftsman
Form No. 90519290
• Safety
• Operation
• Maintenance
• Parts List
• Español Pág. 11
APR-07
Printed in China
Advertisement
Table of Contents

Related Manuals for Craftsman 900.11722


Summary of Contents for Craftsman 900.11722
-
Page 1: Belt Sander
Instruction Manual 3” X 21” BELT SANDER Model 900.11722 • Safety WARNING: • Operation Before using this product, • Maintenance read this manual and follow • Parts List all its Safety Rules and • Español Pág. 11 Operating Instructions. Sears, Roebuck and Co., Hoffman Estates, IL 60179 USA www.sears.com/craftsman... -
Page 2: General Safety Rules
SEARS WARRANTY ONE YEAR FULL WARRANTY ON CRAFTSMAN TOOL If this Craftsman tool fails to give complete satisfaction within one year from date of purchase, RETURN IT TO THE NEAREST SEARS STORE IN THE UNITED STATES, and Sears will replace it, free of charge. - Page 3 CAUTION: Wear appropriate hearing for this tool that are sold by Sears or a protection during use. Under some Craftsman outlet. Use of any conditions and duration of use, noise from accessories purchased elsewhere may this product may contribute to hearing be hazardous, and will also void your loss.
- Page 4 Lower voltage will cause loss of power The filter should be replaced daily or and can result in over-heating. All whenever the wearer has difficulty Craftsman tools are factory-tested; if this breathing. tool does not operate, check the power NOTE: Only those dust masks suitable supply.
- Page 5 Extension Cords in the uppermost position, this cover can be raised as shown in Figure 2 Make sure the extension cord is in good (Arrow 1) and locked in place to: condition before using. Always use the proper size extension cord with the tool – a.) Improve accessibility to narrow areas.
- Page 6 sanding belt runs outward, turn the tracking adjustment knob clockwise to correct. If belt runs inward turn adjustment knob counterclockwise. Belt life will be greatly increased by keeping the tracking adjustment set properly. To prevent the sanding belt from rubbing against the sander housing, keep the edge of the belt about 7/64”...
- Page 7 Variable Speed Switch - Figure 11 OPERATION The variable speed feature of your belt sander allows you to increase or Operating Position- Figure 8 Always hold belt sander firmly with both decrease the speed of the belt by turning the speed wheel as shown in Figure 11. hands while sanding as shown in Figure 8.
- Page 8 Accessories Use only 3” x 21” (76 x 533mm) sanding belts. Use only Craftsman accessories with your tool. These accessories are available at extra cost from your local Sears store or Sears Parts and Repair Center.
- Page 9 PARTS PAGE & DIAGRAM...
- Page 10 PARTS PAGE & DIAGRAM...
- Page 11 Manual de instrucciones LIJADORA DE BANDA DE 76 X 533 MM (3” 21”) Modelo 900.11722 ADVERTENCIA: • Seguridad Antes de utilizar el producto, • Operación lea este manual y cumpla • Mantenimiento con todas sus normas de • Lista de piezas seguridad e instrucciones de operación.
-
Page 12: Normas Generales De Seguridad
DEVUÉLVALA A LA SUCURSAL DE SEARS MÁS CERCANA EN ESTADOS UNIDOS, y Sears la reemplazará sin cargo. Si esta herramienta Craftsman se utiliza con fines comerciales o de alquiler, esta garantía se aplica sólo por 90 días a partir de la fecha de compra. - Page 13 Uso y cuidados de la herramienta sucursal de Sears o de Craftsman. El • Utilice abrazaderas u otra forma uso de cualquier accesorio adquirido en práctica para asegurar y sostener la...
- Page 14 Normas de seguridad específicas min ....minutos ....corriente alterna ADVERTENCIA: Algunas partículas ....corriente continua originadas al lijar, aserrar, amolar, n o ....velocidad sin carga taladrar y realizar otras actividades de ....Construcción Clase II construcción contienen productos químicos que producen cáncer, defectos ....
- Page 15 CA o CC. Esta información está impresa en la placa. Un voltaje menor producirá pérdida de potencia y puede provocar sobrecalentamiento. Todas las herramientas Craftsman son probadas en fábrica; si esta herramienta no funciona, controle el suministro eléctrico. Cables prolongadotes Asegúrese de que el cable prolongador...
- Page 16 Ajuste de la banda de lijado – Figura 4 Cubierta de la banda de 2 posiciones – Invierta la máquina (Figura 4), sosténgala Figuras 2 y 3 firmemente con una mano, encienda el La lijadora de banda posee al frente una motor y suelte el interruptor cubierta de la banda de lijado fabricada en inmediatamente luego de observar el...
- Page 17 ADVERTENCIA: Riesgo de incendio. El polvo acumulado que se produce al lijar los revestimientos de las superficies (poliuretano, aceite de lino, etc.) puede iniciar una combustión espontánea dentro de la bolsa colectora de la lijadora o en algún otro lugar y ocasionar un incendio.
- Page 18 Requerimientos de operación Interruptor de • Siempre encienda la lijadora de banda Encendido/Apagado antes de ponerla en contacto con la superficie de trabajo y no la apague hasta haberla levantado de la misma. • Sostenga siempre la lijadora de banda con ambas manos.
- Page 19 Accesorios Utilice sólo bandas de lijado de 76 mm x 533 mm (3” x 21”). Utilice sólo accesorios Craftsman con su herramienta. Estos accesorios están disponibles a un costo adicional en la sucursal o Centro de Repuestos y Reparaciones Sears local.
- Page 20 Get it fixed, at your home or ours! Your Home For repair – in your home – of all major brand appliances, lawn and garden equipment, or heating and cooling systems, no matter who made it, no matter who sold it! For the replacement parts, accessories and owner’s manuals that you need to do-it-yourself.