
Related Manuals for Pentair Pool Products Mako Shark


Summary of Contents for Pentair Pool Products Mako Shark
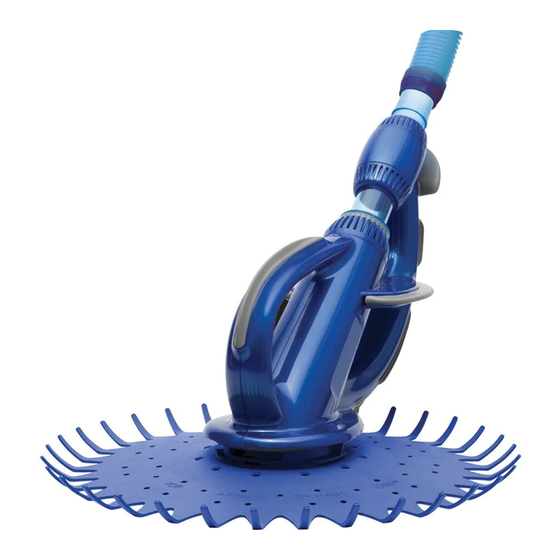
- Page 1 Installation and User’s Guide Mako Shark The All-in-One Pool Cleaner Inground Suction Pool Cleaner Important safety instructions Read and follow all instructions Save these instructions...
-
Page 2: Table Of Contents
Table of Contents Page Safety Information Component Checklist Easy Steps In-Ground Installation Guide Maintenance Trouble Shooting Replacement Parts Warranty Safety Information WARNINGS Please read the following before installing your new automatic pool cleaner! • Hazardous suction can cause injury and drowning. Do not play with cleaner or hose or apply to body. -
Page 3: Component Checklist
Component Checklist External Body - (1) Suction Seal - (1) Swivel & Nut Assembly - (1) Threaded Adaptor (1) Skimmer Adaptor Cuff - (1) Adjustable Regulator Valve - (1) 90 Degree Elbow - (1) Flow Gauge - (1) Hose Weight - (2) 10 - Hose - 1m Sections “colour: Translucent with Blue Stripes”... -
Page 4: Easy Steps In-Ground Installation Guide
“Easy Steps” In-Ground Installation Guide Step 1: Pool Preparation Vacuum your pool manually to remove all debris and algae before installation. Clean your fi lter system, skimmer basket, and pump strainer basket. Step 2: Defl ector Wheel Installation Vacuum your pool manually to remove all debris and algae before installation. Clean your fi... - Page 5 “Easy Steps” In-Ground Installation Guide Step 4: Skimmer Connection Waterco Skimmer Box Poolrite Skimmer Box Quiptron Skimmer Box Screw in the threaded Screw in the threaded Screw in the threaded adaptor from the top of adaptor from the bottom adaptor from the top of the skimmer plate of the skimmer plate the skimmer plate...
- Page 6 “Easy Steps” In-Ground Installation Guide plus one Hose must equal longest stretch Step 5: Hose Assembly length Connect together as many hose sections as needed to reach from the vacuum source to the farthest point of the pool, plus one section. The soft leader hose needs to be the very fi...
-
Page 7: Easy Steps In-Ground Installation Guide
“Easy Steps” In-Ground Installation Guide Step 8: Leader Hose & Hose Weight Placement Soft leader hose needs to be the very fi rst hose attached to the pool cleaner. Note: soft leader hose is a solid dark blue colour. Hose weight is not required for most pools. -
Page 8: Maintenance
Maintenance Your MakoShark Pool Cleaner requires very little maintenance. Check the following from time to time. It is quick and easy to open up the Oscillator’s chamber. First stop the pump. Unscrew the pipe and nut swivel and slide internal housing out of the external body. Push the sliding lock up into open position and remove the lid. -
Page 9: Maintenance
Maintenance • Check the Vacuum Seal for wear. If it becomes thin and too fl oppy, it will impair the correct random movement of the Cleaner and should be replaced. • Inspect the Regulator Valve and fl ush away any debris build up. •... -
Page 10: Troubleshooting
Troubleshooting Problem: Cleaner is sluggish or has stopped operating. Solution: • Check Cleaner for blockage inside the Oscillator chamber. Refer to Maintenance on page 8. • Clean your fi lter system, empty pump basket and empty skimmer basket. Refer (Step 1). •... -
Page 11: Replacement Parts
Replacement Parts 1 - External Body 2 - Internal Housing 3 - Foot Pad 4 - Suction Seal 5 - Oscillator/Flapper Valve 6 - Lid & Lock 7 - Vertical Bumper 8 - Horizontal Bumper 9 - Swivel & Nut Assembly 10 - Fastening Nuts 11 - Skimmer Adaptor Cuff 12 - Adjustable Regulator Valve... -
Page 12: Warranty
Warranty We warrant your new pool cleaner machine unit to be free from defects in material and workmanship for 3 Years from date of purchase, subject to our standard conditions of sale. Please return the attached reply card to ensure your warranty is recorded. Standard Conditions of Sale.