Advertisement
Advertisement
Table of Contents

Related Manuals for DigiTech Polara


Summary of Contents for DigiTech Polara
- Page 1 OWNER’S MANUAL...
-
Page 2: Technical Support And Service
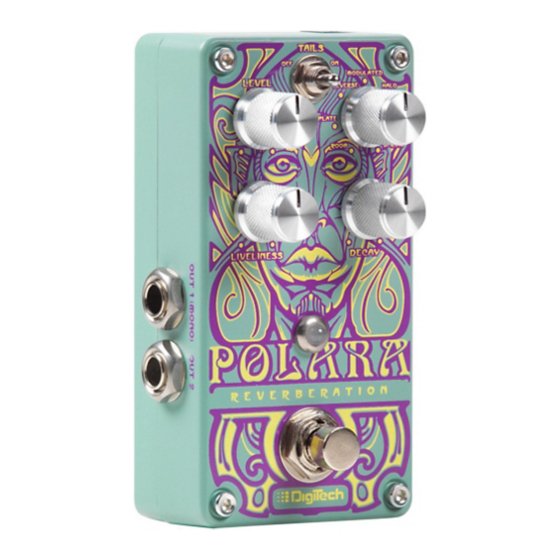
The foregoing is in lieu of all other warranties, expressed or implied, and DigiTech neither assumes nor authorizes any person to assume any obligation or liability in connection with the sale of this product. In no event shall DigiTech or its dealers be liable for special or consequential damages or from any delay in the performance of this warranty due to causes beyond their control. - Page 3 • HALL • SPRING To use the Polara pedal, enable the effect with the Footswitch (the LED will light when the effect is enabled). Adjust the LEVEL control to mix in the amount of reverb effect. Select the desired reverb type with the REVERB TYPE selector control.
-
Page 4: User Interface
USER INTERFACE TAILS TAILS MODULATED MODULATED LEVEL LEVEL REVERSE REVERSE HALO HALO PLATE PLATE HALL HALL ROOM ROOM SPRING SPRING LIVELINESS LIVELINESS DECAY DECAY 1. Tails Switch When this switch is set to the on position, reverb tails will decay naturally when the effect is switched to bypass. - Page 5 4. Decay Knob Controls the length of time it takes for the reverb to fade out. 5. Input 1 (Mono) Connect your instrument, the output of a pedal, or an amp effects send to this jack. Signals are heard at both outputs when only the Input 1 (Mono) jack is used. 6.
-
Page 6: Connection Diagrams
CONNECTION DIAGRAMS Mono/Stereo Amplifier Setup Amp 1 Harman Power Supply TAILS TAILS MODULATED MODULATED LEVEL LEVEL REVERSE REVERSE HALO HALO PLATE PLATE HALL HALL ROOM ROOM SPRING SPRING MONO/1 OUT LIVELINESS LIVELINESS DECAY DECAY MONO/1 IN 2 IN 2 OUT Amp 2 Other Effects Use only unbalanced TS instrument cables for audio connections. -
Page 7: Example Settings
Ambient EXAMPLE SETTINGS Surf Shimmer Try these settings to get started. Spring Surf Spring Ambient Shimmer LEVEL MODULATED LEVEL MODULATED REVERSE HALO REVERSE HALO PLATE HALL PLATE HALL ROOM SPRING ROOM SPRING LIVELINESS DECAY LIVELINESS DECAY Bright Plate Jazz Hall Bright Plate Big Jazz Hall LEVEL... - Page 8 STOMPLOCK™ The included StompLock lets you lock your settings in place, while the open-top design lets you see your settings. To place the StompLock over the pedal knobs: 1. Set the knobs to your preferred settings. 2. Orient the StompLock so that it lines up with the knobs and gently push it over the top of the knobs.
-
Page 9: Specifications
SPECIFICATIONS Interface Controls: Level, Liveliness, Decay, Type, On/Off Tails, On/Off Jacks: Input 1 (Mono), Input 2, Output 1 (Mono), Output 2 Inputs Input Impedance: Effect on: >1 MΩ (stereo), >500 kΩ (mono) Effect off: True hardwire bypass Outputs Output Impedance: Effect on: 1 kΩ... - Page 10 PHONE: (801) 566-8800 WEB: digitech.com SUPPORT: digitech.com/en-US/support Polara Owner's Manual Rev A © 2014 Harman. All rights reserved. DigiTech is a registered trademark of Harman.