
Related Manuals for Logik L55DAB10


Summary of Contents for Logik L55DAB10
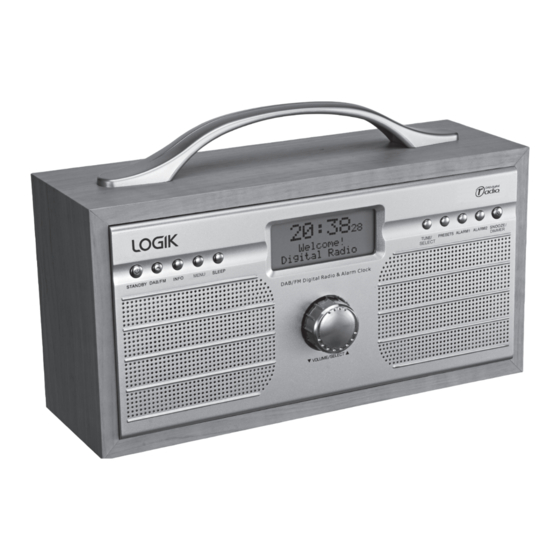
- Page 1 DAB Radio Instruction Manual L55DAB10 L55DAB10_IB_110810_Zell.indd 1 10/08/2011 10:44 AM...
- Page 2 L55DAB10_IB_110810_Zell.indd 2 10/08/2011 10:44 AM...
-
Page 3: Table Of Contents
Contents Unpacking ..........................5 Product Overview ........................6 Top View ................................6 Rear View ................................6 Power Source ..........................7 Battery Power ..............................7 Battery Life (Approx. Hours) ........................... 7 Knowing When to Replace the Batteries ....................7 Mains Power ................................ 8 Connections ..........................8 Connecting to the Earphones Socket ...................... - Page 4 Maintenance ..........................17 Hints and Tips ..........................17 Specification ..........................17 Safety Warnings ........................18 L55DAB10_IB_110810_Zell.indd 4 10/08/2011 10:44 AM...
-
Page 5: Unpacking
Thank you for purchasing your new Logik DAB Radio. We recommend that you spend some time reading this instruction manual in order that you fully understand all the operational features it offers. You will also find some hints and tips to help you resolve any issues. -
Page 6: Product Overview
Product Overview Top View Handle STANDBY Button DAB/FM Button INFO Button MENU Button SLEEP Button Speaker VOLUME/SELECT Control LCD Display 10. TUNE/SELECT Button 11. PRESETS Button 12. ALARM1 Button 13. ALARM2 Button 14. SNOOZE/DIMMER Button Rear View 15. Earphones Socket 16. -
Page 7: Power Source
Power Source Battery Power Insert 4 X 1.5V AA battery (not included) into the battery compartment located at the bottom of the unit. Alarm and sleep function are not available under battery power. Battery Life (Approx. Hours) Battery Type Alkaline (Size AA) Knowing When to Replace the Batteries • When the batteries lose power, the sound becomes weak and distorted. -
Page 8: Mains Power
Mains Power Before using, connect the supplied power cable to the mains cable socket at the rear of the unit and to the mains socket. Connections Connecting to the Earphones Socket Connect earphones (3.5mm stereo mini plug) to the earphones socket. Adjust the volume control to obtain the desired volume level. -
Page 9: Basic Operation
Basic Operation Powering ON/OFF STANDBY button to switch the unit on. • Press and hold the • Press and hold the STANDBY button to switch the unit back to standby mode. • Disconnect the mains plug from the mains socket if you want to switch the unit off completely. -
Page 10: Activating The Alarm Function
Activating the Alarm Function To activate the alarm function, repeatedly press the ALARM1 or ALARM2 button, the alarm wake-up modes will be displayed and change in the below sequence on every press: Alarm Off DAB Preset # FM Preset # Buzzer Tone # When the display shows your desired alarm wake-up mode, release the button, the alarm function is now activated and an alarm icon will be displayed. -
Page 11: Sleep Function (Ac Operation Only)
Sleep Function (AC Operation Only) This function allows you to program the unit to switch off by itself after a set period of time. To activate the sleep function, press the SLEEP button repeatedly until the “Sleep Timer” shows on the display. The time will change in the below sequence on every press: When your desired sleep time appears in the display, release the button and the sleep function will be activated in two seconds. -
Page 12: Dab Operation
DAB Operation If the unit is connected to the mains power and then switched on from standby for the first time, the unit will automatically enter into the DAB mode and perform auto scan function. During the scan the display will show “Scanning ...”... -
Page 13: Secondary Services
Secondary Services You may see a “>” symbol after the name of the station, this indicates that there are secondary services available to that station. These secondary services contain extra services that are related to the primary station. e.g. a sports station may want to add extra commentaries. The secondary services are inserted directly after the primary station in the station list. -
Page 14: Dab Display Modes
DAB Display Modes Every time you press the INFO button, the display will cycle through the following display modes: Ensemble/Multiplex (Group name), Time/Date, Frequency, Audio Bit Rate, Signal Strength, DLS, Programme Type. The information is displayed on the lower segment of the display. Multiplex Name Ensemble/Multiplex A multiplex is a collection of radio stations that... -
Page 15: Fm Operation
FM Operation Switching from DAB to FM Mode To switch the unit from DAB to FM mode, press the DAB/FM button once. The display will show FM and the frequency. Auto Scan To search for an FM station, press and hold the TUNE/SELECT button to start the auto scan. The display will show “Searching ... -
Page 16: Recalling A Stored Station
Recalling a Stored Station Once you have saved a station to one of the preset buttons, you can recall it by pressing the PRESETS button. Turn the VOLUME/SELECT control to select your desired preset station number. Press the TUNE/SELECT button to confirm the selection. If you choose a preset that hasn’t been allocated a station, “Empty preset #“... -
Page 17: Maintenance
Maintenance Ensure to unplug the unit from the mains socket before cleaning. • To clean the unit, wipe the case with a slightly moist, lint-free cloth. • Do not use any cleaning fluids containing alcohol, ammonia or abrasives. • Do not spray an aerosol at or near the unit. Hints and Tips Problem Solution... -
Page 18: Safety Warnings
Safety Warnings Ventilation • Read all the instructions carefully before using the unit and keep them for future • To prevent the risk of electric shock or fire reference. hazard due to overheating, ensure that • Retain the manual. If you pass the unit curtains and other materials do not obstruct onto a third party make sure to include this the ventilation vents. - Page 19 Supervision Service • Children should be supervised to ensure • To reduce the risk of electric shock, do not that they do not play with the unit and the remove screws. The unit does not contain remote control. any user-serviceable parts. Please leave all maintenance work to qualified personnel.
- Page 20 EU. For more information, please contact the local authority or your retailer where you purchased the product. All trademarks are the property of their respective owners and all rights are acknowledged. DSG Retail Ltd • Maylands Avenue • Hemel Hempstead Herts • HP2 7TG • England (P.N.: L55DAB10-002) L55DAB10_IB_110810_Zell.indd 20 10/08/2011 10:44 AM...
- Page 21 L55DAB10_IB_110810_Zell.indd 21 10/08/2011 10:44 AM...
- Page 22 L55DAB10_IB_110810_Zell.indd 22 10/08/2011 10:44 AM...
- Page 23 L55DAB10_IB_110810_Zell.indd 23 10/08/2011 10:44 AM...
- Page 24 L55DAB10_IB_110810_Zell.indd 24 10/08/2011 10:44 AM...