Whirlpool WHELJ1 Installation And Operation Manual
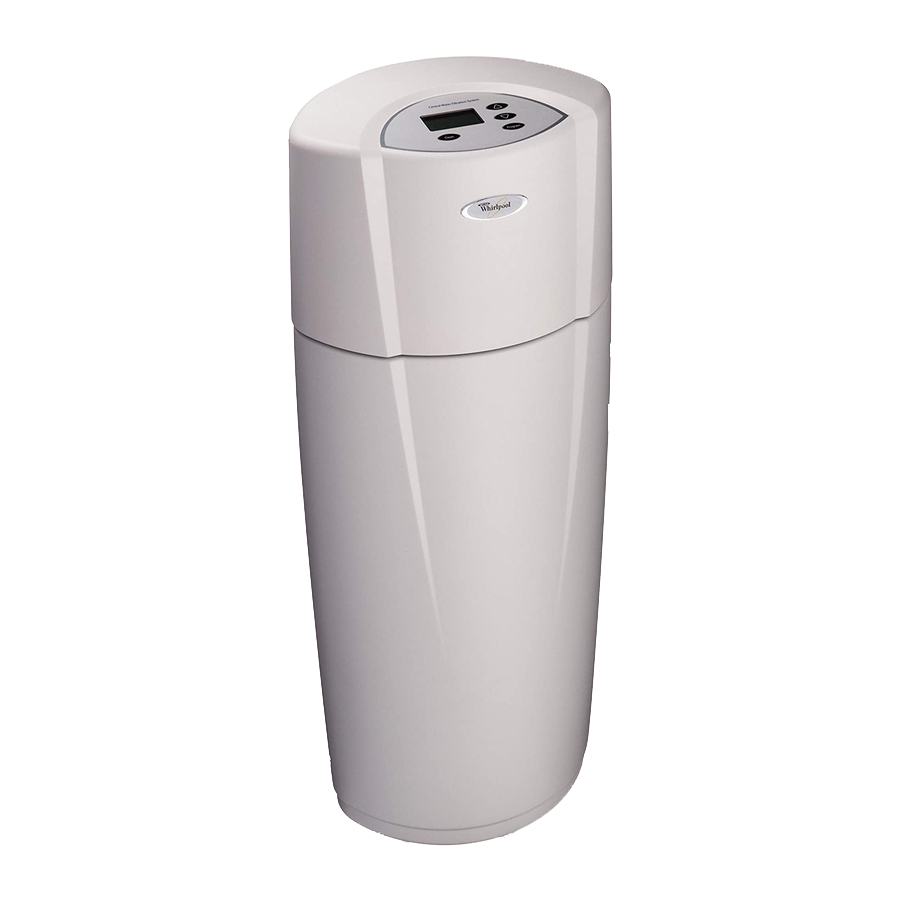
Whirlpool central water filtration system
Hide thumbs
Also See for WHELJ1:
- Installation instructions manual (28 pages) ,
- Installation and operation manual (27 pages) ,
- Installating and operation manual (25 pages)
Table of Contents
Advertisement
Model WHELJ1
Whirlpool Central
Water Filtration System
How to install, operate
and maintain your Central
Water Filtration System
Do not return unit to store
If you have any questions or concerns when
installing, operating or maintaining your Central
Water Filtration System, call our toll free number:
1-866-986-3223
Monday - Friday, 8 AM - 7 PM EST or visit
www.whirlpoolwatersofteners.com
When you call, please be prepared to provide
the model and serial number of your product,
located on the rating decal on back of the cover.
System tested and certified by NSF International
against NSF/ANSI Standard 42
for the reduction of chlorine taste and odor,
and certified to NSF/ANSI Standard 372.
System tested and certified by the Water Quality
Association against CSA B483.1.
Manufactured and warranted by
Ecodyne Water Systems
1890 Woodlane Drive
Woodbury, MN 55125
7339997 (Rev. D 7/22/14)
Advertisement
Table of Contents

Related Manuals for Whirlpool WHELJ1


Summary of Contents for Whirlpool WHELJ1
- Page 1 Model WHELJ1 Whirlpool Central Water Filtration System How to install, operate and maintain your Central Water Filtration System Do not return unit to store If you have any questions or concerns when installing, operating or maintaining your Central Water Filtration System, call our toll free number:...
-
Page 2: Table Of Contents
TABLE OF CONTENTS Page Specifications & Performance Claims ............3 Central Water Filtration System Safety . -
Page 3: Specifications & Performance Claims
NSF/ANSI 42. While testing was performed under standard laboratory conditions, actual performance of the system may vary based on local water conditions. SPECIFICATIONS Model WHELJ1 Rated Service Flow Rate 6.0 gpm (22.7 L/min.) Pressure Drop at Rated Service Flow 10 psig (68.9 kPa) -
Page 4: Central Water Filtration System Safety
Central Water Filtration System Safety Your safety and the safety of others are very important. We have provided many safety messages in this manual and on your appliance. Always read and obey all safety messages. This is the safety alert symbol. This symbol alerts you to potential hazards that can kill or hurt you and others. -
Page 5: Inspect Shipment
Inspect Shipment The parts required to assemble and install the Central Remove and discard (or recycle) all packing materials. Water Filtration System are included with the unit. To avoid loss of small parts, we suggest you keep the Thoroughly check the Central Water Filtration System small parts in the parts bag until you are ready to use for possible shipping damage and parts loss. -
Page 6: Installation Requirements
Installation Requirements LOCATION REQUIREMENTS Consider the following when selecting an installation tub, sump, standpipe, or other options (check your location for the Central Water Filtration System. local codes). See "Air Gap Requirements" and "Valve Drain Requirements" sections. If a drain is Do not operate the Central Water Filtration System not available, it is still possible to operate the where freezing temperatures occur. - Page 7 Installation Requirements PLUMBING CODES VALVE DRAIN REQUIREMENTS All plumbing must be completed in accordance with Using the flexible drain hose (included), measure and national, state and local plumbing codes. cut to the length needed. Flexible drain hose is not allowed in all localities (check your plumbing codes). If local codes do not allow use of a flexible drain hose, a In the state of Massachusetts: The Commonwealth rigid valve drain run must be used.
-
Page 8: Connecting Plumbing To Valve
Installation Requirements INLET - OUTLET PLUMBING OPTIONS 3 VALVE BYPASS Always install either a single bypass valve (provided) to the contractor/plumber-supplied plumbing, as shown in Figure 7 OR if desired, a 3 valve bypass system (parts not included) can be installed, as shown in Figure 6. -
Page 9: Installation Instructions
Installation Instructions TURN OFF WATER SUPPLY LEVEL IF NECESSARY 1. Close the main water supply valve, near the well pump or water meter. 2. Open all faucets to drain water from the house pipes. NOTE: Be sure not to drain water from the water heater, as damage to the water heater ele- ments could result. - Page 10 Installation Instructions ASSEMBLE INLET AND OUTLET PLUMBING A ground clamp should be installed on the household Metal plumbing supply lines in accordance with the National Ground Pipes Electric Code. Clamp (2) Screw with locking nut Plastic Bypass Valve Electrical Shock Hazard Install metal ground clamp to metal house water supply pipe before beginning installation.
- Page 11 Installation Instructions INSTALL VALVE DRAIN HOSE SINGLE BYPASS VALVE 1. Measure, cut to needed length and connect the 3/8" Drain Line drain line (provided) to the Central Water Filtration Connection System valve drain fitting (See Figure 11). Use a hose clamp to hold the hose in place. Pull handle OUT for normal NOTE: If codes require a rigid drain line see “Valve...
-
Page 12: Programming The Central Water Filtration System
Programming the Central Water Filtration System Display button DOWN button PROGRAM CLEAN button FIG. 12 button SET TIME OF DAY When the power supply is plugged into the electrical outlet, a model code and a test number (example: If the words “PRESENT TIME" do not show in the dis- J2.0), begin to flash in the faceplate display. -
Page 13: Start Up Procedure
Start Up Procedure IMPORTANT: Run the start up cycle immediately after completing installation, before using any water in the home. During the start up cycle: The filtration media in this Central Water Filtration Throughout the start up cycle you will hear the valve System contains a small number of harmless activated changing position and notice the flow of water to drain carbon particles generated during shipping that are... -
Page 14: Customizing Features / Options
Customizing Features / Options START A CLEAN RINSE CYCLE SET LENGTH OF CLEAN RINSE To manually start a Clean Rinse cycle, press and By default the Central Water Filtration System’s hold the CLEAN button for a few seconds, until Clean Rinse cycle will consist of a 2 minute back- “RECHARGE NOW”... -
Page 15: Manual Clean Rinse Mode
Customizing Features / Options OPERATING IN MANUAL CLEAN RINSE MODE RE-ENABLING AUTOMATIC CLEAN RINSE Clean Rinse cycles will run automatically, unless the automatic Clean Rinse function has been disabled. If To return the Central Water Filtration System to its this function has been disabled, it will be necessary to automatic Clean Rinse function: manually initiate any Clean Rinse cycles. -
Page 16: Care Of Your Central Water Filtration System
Care of Your Central Water Filtration System VACATIONS AND EXTENDED PERIODS OF PROTECT THE CENTRAL WATER FILTRA- NO WATER USE TION SYSTEM FROM FREEZING If the Central Water Filtration System is installed where If your Central Water Filtration System will not be used it could freeze (summer cabin, lake home, etc.), you for an extended period of time (several months), must drain all water from it to stop possible freeze... -
Page 17: Troubleshooting
Troubleshooting PROBLEM CAUSE CORRECTION Water has black or (NEW SYSTEM) Start up procedure Run start up procedure (See Page 13) or run gray color has not been completed consecutive Clean Rinse cycles (See Page 14) until water color returns to normal. (NOT A NEW SYSTEM) Normal abra- Manually initiate a Clean Rinse cycle (See Page 14). - Page 18 Troubleshooting Procedure for removing error code from display: 1. Unplug power supply from electrical outlet. 2. Correct problem. 3. Plug power supply back in. 4. Wait 8 minutes. The error code will return if the problem was not corrected. Assistance from customer service may be needed with the following: PROBLEM CAUSE CORRECTION...
- Page 19 Troubleshooting CLEANING THE SEDIMENT FILTER SCREEN This procedure is not required if the Central Water Filtration System is operating normally. It should be performed only if a problem with low water pressure at household faucets is encountered, as detailed in the troubleshooting table on Page 17.
-
Page 20: Exploded View & Parts List
Central Water Filtration System Exploded View Valve Assembly See Pages 22 & 23 for parts... - Page 21 Filter Sand, 5 lbs. Ù Gravel, 6 lbs. Ù 7290402 Faceplate Decal 7290119 Cover (order decal above and badge below) 7336915 Whirlpool Brand Badge 7290729 Repl. Electronic Control Board (PWA) 7290101 7296296 Outer Shroud Tank 7337482 Power Supply, 28V DC 7259927...
- Page 22 Valve Assembly Exploded View Wear Strip Seal Cross-section View...
- Page 23 Valve Parts List Key No. Part No. Description 7338111 Screw, #6-19 x 1-3/8” (2 req.) 7281291 Motor 7337474 Motor Mount 7284964 Cam & Gear 7030713 Switch – 7331274 Drain Hose Adaptor Kit (incl. Key Nos. 55-59) Clip, Drain Hose Clamp Adaptor, Drain Hose O-Ring, 5/8”...
-
Page 24: Warranty
This warranty applies to consumer-owned installations only. ® / TM © 2013 Whirlpool. All rights reserved. Manufactured under license by Ecodyne Water Systems, Woodbury, Minnesota.