Motorola XT460 Quick Start Manual
Display model
Hide thumbs
Also See for XT460:
- User manual (980 pages) ,
- Quick start manual (22 pages) ,
- Quick start manual (20 pages)
Table of Contents
Advertisement
Advertisement
Table of Contents

Related Manuals for Motorola XT460


Summary of Contents for Motorola XT460
- Page 1 Two-Way Radios Quick Start Guide XT460 Display model...
-
Page 2: Table Of Contents
Reset To Factory Defaults ....14 CONTENTS Programming Features ......15 Entering Programming Mode. -
Page 3: Safety
ATTENTION! This radio is restricted to occupational use only to satisfy ICNIRP/FCC RF energy exposure requirements. For a list of Motorola-approved antennas, batteries, and other accessories, visit the following website which lists approved accessories: http://www.motorolasolutions.com... -
Page 4: Batteries And Chargers Safety Information
Take it to a qualified Motorola service representative. BATTERIES AND Do not disassemble the charger; it is not repairable and CHARGERS SAFETY replacement parts are not available. Disassembly of the charger may result in risk of electrical shock or fire. -
Page 5: Radio Overview
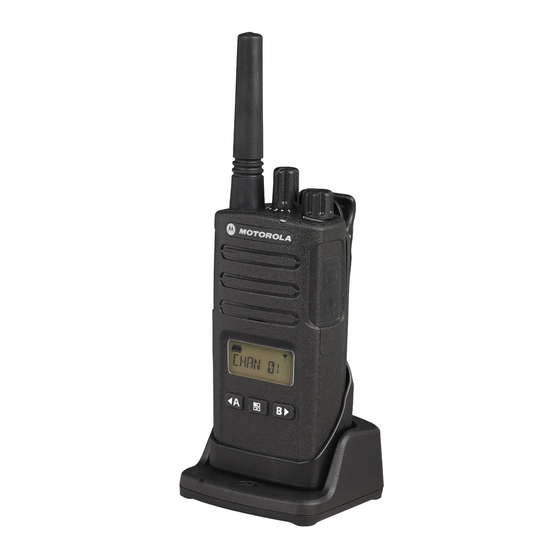
RADIO OVERVIEW PARTS OF THE RADIO Channel Selector Knob Antenna LED Indicator On/Off/ Volume Knob Microphone Audio Accessory 2 Pin Connector (Push-To-Talk) SB1 - Monitor Display SB2 - Scan/Nuisance Channel Delete Left Navigation Arrow/ Programmable Button A Menu Battery Right Navigation Arrow/ Programmable Button B English... -
Page 6: On/Off/Volume Knob
On/Off/Volume Knob Front Buttons Used to turn the radio ON or OFF and to adjust the radio’s volume. Microphone Speaks clearly into the microphone when sending a message. Antenna The radio’s antenna is non-removable. Accessory Connector Used to connect compatible audio accessories. Model Label Indicate the model of the radio. -
Page 7: Side Buttons
• Programmable Button Allows you to choose level or toggle options for features the Menu is on. Default set to Backlight Mode. Note: A short press of either Programmable Button (A or B) tunes the radio to the preset channel and the radio will play a good chirp. -
Page 8: Batteries And Chargers
Installing the Lithium-Ion (Li-Ion) Battery Pull the battery away from the radio. Detach Holster Press Latch Attach XT420 and XT460 will be coming with Holster instead of Press Until Click Belt Clip to improve the wearability. Tabs Slots Turn OFF the radio. -
Page 9: Power Supply, Adaptors And Drop-In Tray Charger
Power Supply, Adaptors and Drop-in Tray Adaptor Charger Adaptor Power Supply Drop-in Tray Charger Your radio comes with one Drop-in Tray Charger, one Power Supply (also known as Transformer) and a set of Power Supply Power Supply adaptors. Your Power Supply is capable of switching to suit any of the adaptors that comes with your radio package. -
Page 10: Charging With The Drop-In Tray Single Unit Charger
Charging a Standard Battery Charger The Drop-in Tray Single Unit Charger is designed to charge either the battery (with the radio or with radio and holster on) or a standalone battery. Table 1: Motorola Authorized Batteries Part Number Description Drop-in Tray Charger PMNN4434_R... -
Page 11: Drop-In Tray Single Unit Charger Led Indicators
Drop-in Tray Single Unit Charger LED Indicators Table 2: Charger LED Indicator Status LED Status Comments Power On Green for approx. 1 sec Charging Steady red Charge Complete Steady green Red fast flash Battery Fault (*) Amber slow flash Waiting to charge (**) Flash red 1 time Battery low Flash amber 2 times... -
Page 12: Getting Started
Note: The radio display shown here is for icon location only. GETTING STARTED Each radio display may appear different (channel and code) based on the pre-programmed radio defaults and features available in the model or region. Pressing any For the following explanations, refer to “Parts Of The button, except the PTT button, will turn on the backlight. -
Page 13: Talk Range
It is recommended that you do no use the radios closer than 1.5 meters apart, to avoid interference. XT460 coverage is 16.250 square meters, 13 floors and 9 KM in flat areas. -
Page 14: Radio Led Indicators
RADIO LED INDICATORS RADIO STATUS LED INDICATION Channel Alias Edit Red heartbeat Cloning Mode Two Orange Heartbeats Cloning In Progress Solid Orange Fatal Error at Power up One Green Blink, One Orange Blink, One Green Blink, then repeat for 4 seconds Low Battery Orange Hearbeat Low Battery Shutdown... -
Page 15: Reset To Factory Defaults
Reset To Factory Defaults Reset To Factory Defaults will set back all radio features to the original factory default settings. To do so, press the PTT, SB1 and SB2 button simultaneously while turning ON the radio until you hear a high tone chirp beep. English... -
Page 16: Programming Features
• To move along the different Programming Selection Mode PROGRAMMING without saving changes, short press the PTT Button or FEATURES Button. • To save changes, long press the PTT Button. The radio Entering Programming Mode returns to ‘Idle’ Programming Mode. •... - Page 17 CPS allows the user to program Frequencies, PL/DPL codes as well as other features such as Direct Frequency Input, Repeater/Talk Around, Select, Time-Out Timer, Power Select, Battery Type Select, Scan List, Call Tones, Scramble, Reverse Burst, etc. CPS is a very useful tool as it can lock the frontpanel radio programming or restrict any specific radio feature to be changed (to avoid preset radio values to be accidentally erased).
-
Page 18: Use And Care
USE AND CARE Use a soft damp cloth to clean Do not immerse in water Do not use alcohol or the exterior cleaning solutions If the radio is submerged in water... Turn radio OFF and Dry with soft cloth Do not use radio until remove batteries completely dry English...