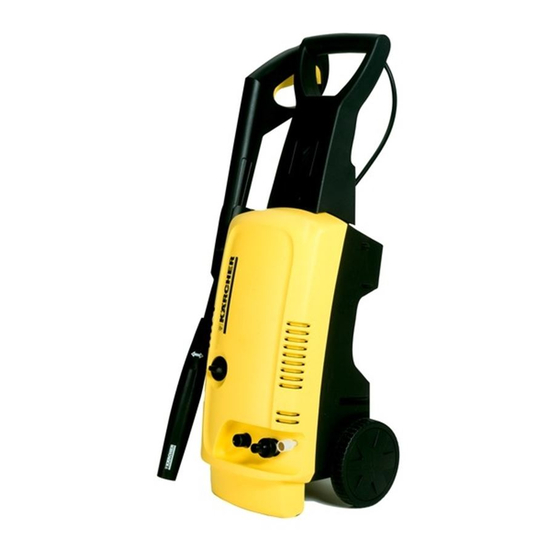
Kärcher K 3.99 M Operator's Manual
High pressure washer
Hide thumbs
Also See for K 3.99 M:
- Manual (228 pages) ,
- Operator's manual (60 pages) ,
- Operating instructions manual (20 pages)
Table of Contents
Advertisement
Advertisement
Table of Contents

Related Manuals for Kärcher K 3.99 M


Summary of Contents for Kärcher K 3.99 M
- Page 1 K 3.99 M English Español Français 5.961-620.0 05/05...
-
Page 2: Table Of Contents
1.6 GPM Amp draw 13 AMPS Voltage 120 V Part No. 1.423-235.0 Serial no. Kärcher Customer Support USA Call: 1-800-537-4129 for help or visit our website: www.karcher-usa.com/home Please take a moment to register your presure washer online at www.karcher-usa.com/warranty English... -
Page 3: Overview
MODEL OVERVIEW Item Description: 10 On/OFF switch 1 Power cord with Ground Fault Circuit 11 Vario Spray wand Interrupter (GFCI) 12 Dirtblaster® (Rotating spray wand) 2 Trigger gun 3 Trigger gun safety lock CAUTION 4 High pressure hose Follow the maintenance instructions 5 Water inlet with garden hose specified in the manual connector... -
Page 4: Important Safety Instructions
IMPORTANT SAFETY INSTRUCTIONS WARNING! irreversible damage to the machine. To reduce the risk of electrocution, When using this product basic keep all connections dry and off the precautions should always be followed, ground. Do not touch plug with wet including the following: hands. -
Page 5: Assembly Instructions
Water hose must be at least 5/8 inch GROUND FAULT CIRCUIT IN- in diameter. TERRUPTER PROTECTION Flow rate of water supply must not This product is supplied with a Ground fall below 2 GPM (gallons per minu- Fault Circuit Interrupter (GFCI) built into te). -
Page 6: Operating Instructions
OPERATING INSTRUCTIONS STEP 1: Connect the high pressure STEP 4: Connect garden hose to the " " hose to the unit’s high pressure out- cold water source and turn water on let. completely. Plug the power cord into the power outlet. STEP 2: Insert the spray wand of "... -
Page 7: Gfci Instructions
GFCI INSTRUCTIONS STEP 1: Plug the Ground Fault Cir- " cuit Interrupter (GFCI) into a working outlet. STEP 2: Press ’’TEST’’, then press " ’’RESET’’ to assure proper connec- tion to power. Note: The actual appearance of the GFCI may be different from this illu- stration. -
Page 8: Working With Detergents
For Kärcher Detergents, check your retailer or visit our website: www.karcher-usa.com/home The following Kärcher detergents are available: One Gallon ready to use All Purpose & Vehicle Cleaner Deck &... -
Page 9: Shut Down & Clean Up
TAKING A BREAK ..five minutes or more STEP 1: Release trigger and engage " gun safety lock. STEP 2: Turn pressure washer to off " (O) position. SHUTTING DOWN & CLEAN-UP STEP 1: Remove detergent suction STEP 4: Disconnect the garden "... -
Page 10: Winterizing And Long-Term Storage10
WINTERIZING AND LONG-TERM STORAGE 1: Disconnect all water connections. of heat as it may dry out the pump " seals. 2: Turn on the machine for a few se- " conds, until the water which had CAUTION remained in the pump exits, turn off Failure to follow the above directions immediately. -
Page 11: Cleaning Tips
CLEANING TIPS Deck Cleaning Cement Patios, Brick and Stone (with or without detergent). Pre-rinse (with or without detergent). Pre-rinse cleaning surface with fresh water. If deck and surrounding area with fresh using Kärcher Pressure Wash or De- water. If using Kärcher Deck Wash, ap- greaser, apply to surface at low pressu- ply to surface at low pressure. - Page 12 Kärcher Pressure Wash or De- For additional cleaning tips, visit our greaser, apply detergent at low pressu- website at www.karcher-usa.com/ re. Allow Pressure Wash to remain on home surface 1-3 minutes.Do not allow deter- gent to dry on surface.
-
Page 13: Optional Cleaning Accessories
Excellent for as a barrel or bucket. Fits most Karcher the application of detergent. A must- pressure washers up to 2300 PSI. - Page 14 For example, insert Karcher's T-Racer. It saves time by cle- the cleaning nozzle in the base of a aning a 12" wide area gently as it ho-...
-
Page 15: Troubleshooting
Troubleshooting CAUTION Disconnect the machine from the power source before making any repair. Symptom Cause Solution Motor will not start On/Off switch is in the “OFF” Turn switch to the “ON” (I) (O) position. position Power cord is not plugged in. Plug in power cord. Electrical outlet does not Try a different outlet. - Page 16 Call Customer Support permissible). worn. Oil Drip. Oil seals are damaged or Call Customer Support worn. Kärcher Customer Support USA If you encounter any additional difficul- ties not listed, please call 1-800-537-4129 for help or visit our website: www.karcher-usa.com/home English...