NETGEAR Storage Central SC101 Installation Manual
Hide thumbs
Also See for Storage Central SC101:
- User manual (58 pages) ,
- Reference manual (54 pages) ,
- Revised troubleshooting manual (29 pages)
Advertisement
Quick Links
Storage Central SC101
Installation Overview
Estimated Completion Time: 30 minutes.
These instructions will guide you through these three steps:
A) I
,
NSTALL A HARD DISK
AND CONNECT THE
SC101
.
TO YOUR NETWORK
B) I
S
C
SC101
NSTALL THE
TORAGE
ENTRAL
C) A
SC101
LLOCATE
DISK SPACE FOR EACH
SC101.
THE
When you finish the installation, your network will resemble this illustration.
Note: You must have an IDE hard disk, an Ethernet network with an available
port, DHCP must be running in the network, and you need to have either Windows
XP (SP2) or Windows 2000 (SP4) PCs to access the SC101.
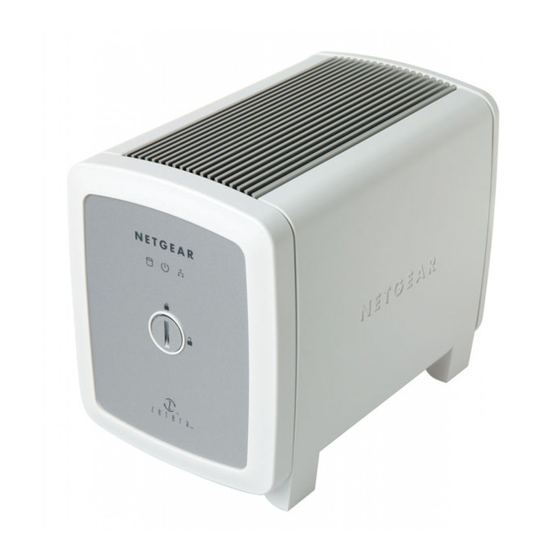
Unpack the unit, Ethernet cable, power adapter, and the NETGEAR CD. The CD
contains driver software, a setup wizard, and links to online resources. Familiarize
yourself with the Storage Central SC101 unit. The back panel of the SC101 has
information about the ports and the status lights located on the front panel.
Note: When you set up the unit, stand it on its feet, and be sure it has ample
ventilation. Avoid putting the unit in a location where it could be knocked over
easily. Do not place items on top of it.
A) Install a Disk and Connect
the SC101
The instructions below explain how to set up a single disk. Repeat these steps to
install a second disk.
Verify the Hard Disk Is Set to "Cable Select"
S
C
TORAGE
ENTRAL
1. L
OCATE THE HARD DISK JUMPERS
2. V
ERIFY THAT THE JUMPERS ARE SET TO
.
SOFTWARE
"
CABLE SELECT
PC
THAT WILL USE
The drive jumpers must be set for the "cable
select" option, marked "CS" on some drives.
Typically, this is the default setting.
Note: Be sure to consult the documentation provided by the hard disk
manufacturer or look on the hard disk to identify which setting is "cable select."
The setting for your drive may be different from what is illustrated above.
Install the Hard Disk
1. R
EMOVE THE FRONT COVER
a. Use a coin or screwdriver
to open the spring loaded
front cover lock by turning
it clockwise.
b. Remove the front cover.
Warning: Be sure to unplug
the power cord from the SC101
before adding or removing the
disks. Failure to observe this
precaution could render your
disks useless.
.
."
Jumper
.
2. I
.
NSERT THE HARD DISK
a. Position the hard disk so that the
D-shaped power socket is on the top
facing out.
b. Slide the disk into either slot.
3. C
.
ONNECT THE HARD DISK CABLES
Power Cable
Data Cable
a. Align and insert the disk power cable into the D-shaped power socket.
b. Align the key of the disk data cable with the slot on the data cable socket
and insert the cable. Neatly tuck the cables in so that they will not
interfere with attaching the cover.
4. A
.
TTACH THE FRONT COVER
a. Align the cover with the
unit.
b. Using a screwdriver or
coin to hold the spring
loaded cover lock open,
attach the cover, then
release the lock.
D-shaped
power socket
Advertisement

Related Manuals for NETGEAR Storage Central SC101


Summary of Contents for NETGEAR Storage Central SC101
-
Page 1: Installation Overview
Familiarize release the lock. yourself with the Storage Central SC101 unit. The back panel of the SC101 has Warning: Be sure to unplug information about the ports and the status lights located on the front panel. -
Page 2: Troubleshooting Tips
Go to http://kbserver.netgear.com for product updates and web support. Refer to the manual for instructions on how to use advanced features such as © 2005 by NETGEAR, Inc. All rights reserved. NETGEAR is a registered trademark of NETGEAR, Inc. in the mirroring.