Wolf WWD30 Installation Manual
Warming drawer
Hide thumbs
Also See for WWD30:
- Installation manual (20 pages) ,
- Installation instructions manual (20 pages) ,
- Use & care information manual (16 pages)
Advertisement
Quick Links
Advertisement

Related Manuals for Wolf WWD30


Summary of Contents for Wolf WWD30
-
Page 1: Warming Drawer
INSTALLATION GUIDE Warming Drawer... -
Page 2: Table Of Contents
Important Note Wolf Warming Drawer ......3 To ensure the safe and efficient use of Wolf equipment, please take note of the following types of highlighted Installation Considerations . -
Page 3: Wolf Warming Drawer
The homeowner should keep this installation guide for future reference. Any questions or problems regarding installation of the warming drawer should be directed to your Wolf dealer or Wolf Appliance, Inc. at 800-332-9513, or visit our website at wolfappliance.com. -
Page 4: Installation Considerations
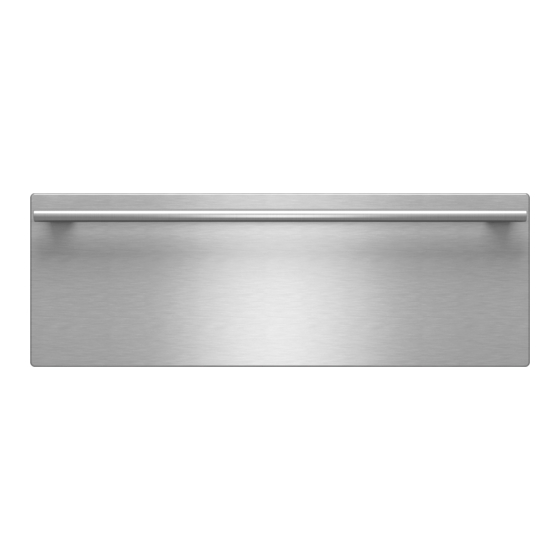
2" x 2" or 2" x 4" lumber for anti-tip block required to correct a faulty installation. • Power saw • Model WWD30 must be installed with a Wolf stainless steel or integrated drawer front. Make sure you have • Level the accessory drawer front called for in your installa- •... - Page 5 Installation Considerations MODEL WWD30 COMBINATION INSTALLATIONS • Model WWD30 must be installed with a Wolf stainless • Model WWD30 may be installed in combination with a steel or integrated drawer front. Specific installation Wolf built-in oven and/or microwave. Additional clear- instructions are included with the drawer front.
- Page 6 IMPORTANT NOTE: Model WWD30 must be installed with OVERALL DIMENSIONS a Wolf stainless steel or integrated drawer front. When installing a Wolf warming drawer in combination with an L Series built-in oven, Wolf recommends using the " 9" (264) (229) L Series drawer front with tubular handle.
-
Page 7: Warming Drawer Installation
Warming Drawer Installation wolfappliance.com WWD30 with L Series Drawer Front UNDERCOUNTER INSTALLATION 2" 2" (51) x (51) DIMENSION ANTI-TIP BLOCK WILL VARY* " (232) " " (727) OPENING HEIGHT (264) OPENING WIDTH " (22) PLATFORM 36" " (914) (597) STANDARD BOTTOM 33"... - Page 8 Warming Drawer Installation WWD30 with Integrated Drawer Front INSTALLATION WITH 36" (914) L SERIES OVEN AND MICROWAVE " " " (475) (505) (854) OPENING TRIM MICROWAVE HEIGHT HEIGHT OPENING WIDTH " (37) PLATFORM " " " (876) (611) (619) L SERIES OVEN...
- Page 9 Warming Drawer Installation wolfappliance.com WWD30 with 1-Inch Thick Drawer Front UNDERCOUNTER STANDARD INSTALLATION 2" 2" (51) x (51) DIMENSION ANTI-TIP BLOCK WILL VARY* " (232) " " (727) OPENING HEIGHT (264) OPENING WIDTH " (22) PLATFORM 36" " (914) (597)
- Page 10 Warming Drawer Installation WWD30 with 1-Inch Thick Drawer Front STANDARD INSTALLATION WITH E SERIES OVEN AND MICROWAVE " " " (699) (475) (505) MICROWAVE OPENING TRIM OPENING WIDTH HEIGHT HEIGHT " (37) PLATFORM " " " (724) (691) (708) E SERIES OVEN...
- Page 11 Warming Drawer Installation wolfappliance.com WWD30 with 1-Inch Thick Drawer Front FLUSH INSET INSTALLATION WITH E SERIES OVEN AND MICROWAVE TOP VIEW 25" min (635) FLUSH INSET DEPTH 1" (32) SIDE CLEATS " min (772) FLUSH INSET WIDTH " (14) TOP CLEAT "...
- Page 12 Warming Drawer Installation WWD30 with 2-Inch Thick Drawer Front INSTALLATION WITH SEALED BURNER RANGETOP COOKING SURFACE 36" (914) " RANGETOP OPENING WIDTH " " (19) (216) " PLATFORM (191) (19) PLATFORM " (727) " (232) " WARMING DRAWER OPENING HEIGHT...
-
Page 13: Electrical Requirements
Warming Drawer Installation wolfappliance.com Integrated Drawer Front INSTALL RECESSED CLEATS AND PLATFORM Integrated Drawer Front For an overlay or flush inset application, you will need to DRAWER FRONT Overlay Panel (min) " " " (746) (260) (19) install a recessed platform and cleats into the opening. Flush Inset Panel "... - Page 14 Warming Drawer Installation Anti-Tip Block Install the Warming Drawer Unpack the warming drawer on a flat surface. Remove all INSTALL ANTI-TIP BLOCKING packaging materials from inside the warming drawer. Do Install a 2" (51) x 2" (51) or 2" (51) x 4" (102) anti-tip block not discard the package containing the two wood screws against the rear cabinet wall.
-
Page 15: Service Information
The information and images in this guide are the copyright property of Wolf Appliance, Inc. Neither this guide nor any information or images contained herein may be copied or used in whole or in part without the express written permission of Wolf Appliance, Inc. ©Wolf Appliance, Inc. all rights reserved. - Page 16 WOLF APPLIANCE, INC. P. O. BOX 44848 MADISON, WI 53744 WOLFAPPLIANCE.COM 800.332.9513 812542 3/ 2009...