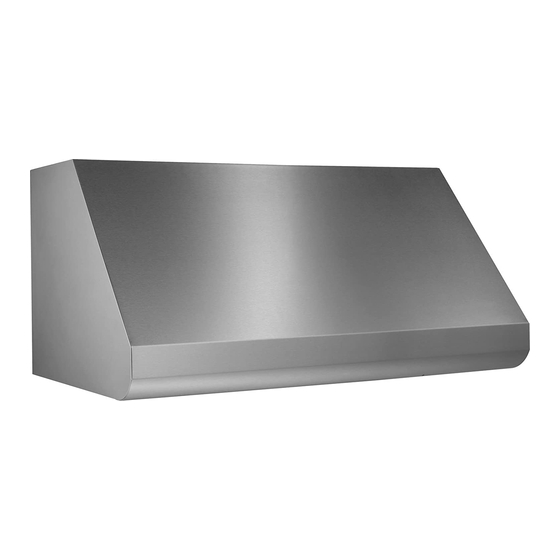
Broan E60000 SERIES Installation Instructions Manual
Hide thumbs
Also See for E60000 SERIES:
- Installation instructions manual (49 pages) ,
- Specification (2 pages) ,
- Specifications (1 page)
Table of Contents
Advertisement
Quick Links
INSTALLATION INSTRUCTIONS
HB0073
E60000 SERIES
!
INTENDED FOR DOMESTIC COOKING ONLY
!
READ AND SAVE THESE INSTRUCTIONS
INSTALLER: LEAVE THIS MANUAL WITH HOMEOWNER.
HOMEOWNER: USE AND CARE INFORMATION ON PAGES 13 & 14.
Broan-NuTone Canada Inc.; Mississauga, Ontario www.broan.ca
877-896-1119
REGISTER YOUR PRODUCT ONLINE AT: www.broan.ca
SV20342 rev. 03
Advertisement
Table of Contents

Summary of Contents for Broan E60000 SERIES
- Page 1 INTENDED FOR DOMESTIC COOKING ONLY READ AND SAVE THESE INSTRUCTIONS INSTALLER: LEAVE THIS MANUAL WITH HOMEOWNER. HOMEOWNER: USE AND CARE INFORMATION ON PAGES 13 & 14. Broan-NuTone Canada Inc.; Mississauga, Ontario www.broan.ca 877-896-1119 REGISTER YOUR PRODUCT ONLINE AT: www.broan.ca SV20342 rev. 03...
-
Page 2: To Reduce The Risk Of Fire, Electric Shock Or Injury To Persons, Observe The Following
Use an appropriate make-up air device or open a window close to or in the kitchen. 10. To reduce the risk of fire and electric shock, the Broan Elite E60E Series hood must be installed with one Broan exterior blower model 331H, 332H, 335 or 336;... -
Page 3: Range Hood System
FLUE AEE SERIES 4½" 18½" DAPTER SUPPLIED WITH DOUBLE BLOWER HOOD 3¼" 10" DAPTER AMPER SUPPLIED WITH SINGLE BLOWER HOOD E60000 SERIES HOOD (1200 LOWER RMP SERIES (600 INGLE LOWER 36", 42" 48" ONLY BACKSPLASH TAINLESS STEEL WALL COVERING WITH WARMING... - Page 4 ODEL BLOWERS LINE LOWER 8" 10" INCLUDES ONE ODEL ROUND TRANSITION (10" R OUND ECTIONS E60000 SERIES HOOD 332KR I LINE AND XTERIOR LOWER OUGH SUPPLIED WITH HOOD RMP SERIES BACKSPLASH TAINLESS STEEL WALL COVERING WITH WARMING SHELVES PTIONAL HL0100...
- Page 5 The Broan Elite E60000 Series range hood includes many configurations: Hoods with single or double internal blowers(included with the hood), or hoods using external blowers. For this last category, the Broan Elite E60000 Series must be installed with in-line blower models HLB3, HLB6, HLB9 or HLB11, or exterior blower model 331H, 332H, 335 or 336 only.
-
Page 6: Measure Installation
2. MEASURE INSTALLATION Dimensions for the most common installation are illustrated at right. Ceiling The minimum hood distance above cooktop must not be less than 24". Cabinet, soffit, Top of wood A maximum of 30" above cooktop is highly recommended for best capture decorative flue or mounting strip of cooking impurities. -
Page 7: Install Backsplash
3. PREPARE THE INSTALLATION ( CONT’D Cut-out the openings for duct (A) and power cable (B), in cabinet or wall, according to the direction of discharge chosen. See figures below. NOTE: For all internal blower hoods, the cut-out opening for house wiring can be made in cabinet bottom OR wall, no matter the discharge chosen (vertical or horizontal). -
Page 8: Vertical Discharge
5. CHOOSE THE OPENING(S) (INTERNAL BLOWER(S) HOOD ONLY) Remove the knockout(s) for the chosen opening(s) (horizontal at the back of the hood or vertical on top). See illustrations below. ERTICAL DISCHARGE ORIZONTAL DISCHARGE HR0021 Punch out the appropriate electrical knockout hole on top (A) or back (B) of the hood. -
Page 9: Horizontal Discharge Installation
8. HORIZONTAL DISCHARGE INSTALLATION (INTERNAL BLOWER(S) HOOD ONLY) All internal blower hoods are factory shipped with the blower(s) mounted for a vertical discharge configuration. For a horizontal discharge configuration, disassemble the blower(s) from the inner top of the hood and mount it (them) to the inner back panel of the hood. The procedure below applies for one or two blowers. -
Page 10: Install Wood Mounting Strip
9. INSTALL THE ADAPTER AND THE TRANSITION (IF NEED BE) (INTERNAL BLOWER(S) HOOD ONLY) Using standard 3/8" screws provided, secure the adapter to the top (or back) of the hood (2 screws for a 3¼" x 10" adapter/dam- per and 4 screws for a 4½" x 18½" adap- ter). -
Page 11: Install The Hood
12. INSTALL THE HOOD CAUTION Hold the hood until it is completely secured to the wood mounting strip. OUNTING SCREWS LOCATION NTERNAL BLOWER ONLY Run power cable to installation location. Remove the electrical compartment cover. Insert the cable in the hood and tighten the wire clamp to secure the cable. HD0264 LL INSTALLATIONS ALL ANCHORS LOCATION... -
Page 12: Install The Blower
15. INSTALL THE BLOWER (EXTERIOR OR IN-LINE BLOWER) Refer to instructions included with blower. Plug the 3-prong plug cord from rough-in plate to the 3-prong male connector inside the hood (A) and the 2-prong male connector cord from rough-in plate to the 2-prong plug inside the hood (B). -
Page 13: Operation
18. USE AND CARE Baffle Filters The baffle filters should be cleaned frequently. Use a warm detergent solution. Wash more often if your cooking style generates greater grease—like frying foods or wok cooking. Remove baffle filters by pushing them towards the back of hood and rotating filters downward. Baffle filters are dishwasher safe. Allow filters to dry completely before reinstalling them in the hood. -
Page 14: Warranty
WARRANTIES, EXPRESS OR IMPLIED, INCLUDING, BUT NOT LIMITED TO, IMPLIED WARRANTIES OR MERCHANTABILITY OR FITNESS FOR A PARTICULAR PURPOSE. During this one-year period, Broan-NuTone will, at its option, repair or replace, without charge, any product or part which is found to be defective under normal use and service. -
Page 15: Wiring Diagrams
21. WIRING DIAGRAMS Broan Elite E60000 Series Internal blower(s) hoods USE ONLY WITH APPROPRIATE NEON MAKE-UP AIR SYSTEM BLOWER MOTOR ORA ORA 9408 FAN SWITCH A A A A MAIN SWITCH THERMOSTAT LINE NEUTRAL GROUND LAMP SWITCH COLOR CODE BLACK... -
Page 16: Service Parts
REPLACEMENT PARTS AND REPAIRS In order to ensure your unit remains in good working condition, you must use Broan-NuTone genuine replacement parts only. Broan-NuTone genuine replacement parts are specially designed for each unit and are manufactured to comply with all the applicable certification standards and maintain a high standard of safety. Any third party replacement part used may cause serious damage and drastically...


