Advertisement
Table of Contents
Control
Volume
Button
Control
A-D
TONE
PRESENCE
E-H
ATTACK
DECAY/RLS
I-L
DYNAMIC 1
DYNAMIC 2
VOLUME
A/E
B/F
Headphone
Realtime
Jack
Control Knobs
Front Panel
Volume Control
Master Button
Edit Button
Control Button
Basic Operations
SHAPE
IMAGE
MOVEMENT
RATE
FX A
FX B
CO 1 A Vo l 1 27 Pan0 1
3
022
s t r : Ba r oqueQua t e t
C/G
D/H
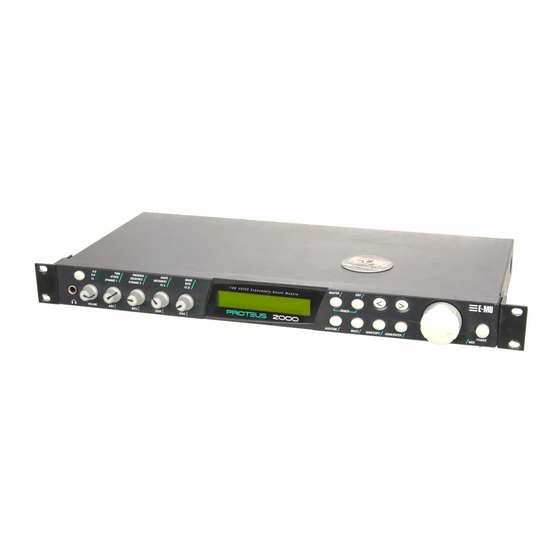
The Proteus 2000 front panel contains an LCD screen, nine buttons and
four real-time controllers. Functions are grouped logically and the controls
are arranged for ease of use. Precisely because Proteus is so simple to use,
you might be tempted to skip this section. If you just can't help yourself, at
least read the Real-time Controller information beginning page 23. There
are several "power user" features in the interface which make programming
even easier and we wouldn't want you to miss them.
This control is the master volume control for all audio outputs. The Volume
Control does not affect any editing or user interface operations.
The Master menu contains parameters that affect the entire machine, not
just certain presets. An illuminated LED to the right of the button indicates
that you are in the Master menu.
Use the Edit menu when you want to create or modify a preset. An illumi-
nated LED to the right of the button indicates that you are in the Edit
menu.
The Control button is used to change the function of the Controller knobs
(see the next section). Each time you press the Control button, the Control
Mode toggles to select only one of the three Control Rows. The currently
selected Control Row is indicated by one of the three LEDs to the right of
the row's label.
Master
Menu
MASTER
C
M
P
SR
R
r
AUDITION
Display
Audition
Multimode
Button
Edit
Cursor
Menu
Controls
EDIT
MULTI
SAVE/COPY
HOME/ENTER
Save/
Home/
Button
Copy
Enter
Proteus 2000 Operation Manual 21
Power
Switch
POWER
MIDI
Data
Entry
Advertisement
Table of Contents

Related Manuals for E-Mu proteus 2000


Summary of Contents for E-Mu proteus 2000
-
Page 1: Basic Operations
Enter Entry Front Panel The Proteus 2000 front panel contains an LCD screen, nine buttons and four real-time controllers. Functions are grouped logically and the controls are arranged for ease of use. Precisely because Proteus is so simple to use, you might be tempted to skip this section. - Page 2 The LED to the right of the button illuminates to indicate that you are in the Save/Copy menu. The LED also illuminates when any preset parameter has been changed in the Edit menu (or if the front panel knobs have been moved with Quick-Edit mode enabled). 22 E-mu Systems...
- Page 3 This section describes each of the three uses. Real-time Control The Real-time controller knobs provide direct control of the Proteus 2000’s synthesizer parameters. They are always active when on the Preset Select (main) screen. They can optionally be used to transmit MIDI controller messages to other MIDI devices.
- Page 4 Press the right cursor button to select the bottom row. Optional: Select a new preset location if you don’t want to overwrite the current preset, or if the current preset is a ROM preset. Press the Enter button to save the preset. 24 E-mu Systems...
-
Page 5: Knobs Deep Edit
(preset layers), press the left cursor to get to the layer field, then change layers with the Data Entry Control. • Use the Data Entry Control to move through menus (horizontally) or layers (vertically). • Use the Controller Knobs to change parameter values within each page. Proteus 2000 Operation Manual 25... -
Page 6: Main Screen
Main Screen Main Screen The Preset Select screen is Proteus 2000’s default screen (also called the main screen) and is active when you have not selected any of the other button-activated menus. From this screen you can change or examine the Preset, Volume, Pan Position and Preset Location for each of the 32 MIDI channels. -
Page 7: Channel Volume
128 User Presets 128 ROM Presets 128 ROM Presets The Bank numbers start at zero for each ROM sound set installed in Proteus 2000. Channel Volume Channel Volume sets the volume of the selected MIDI channel in relation to the other channels. This is the same parameter as MIDI volume control #7, and changes made over MIDI are shown in the display. - Page 8 Press either cursor key until the cursor is underneath the pan field. Rotate the Data Entry Control to select a pan value. 64 indicates a hard left pan, 63 indicates a hard right pan. With a setting of “00,” the sound is centered in the stereo field. 28 E-mu Systems...
- Page 9 Data Entry Control selects different instrument categories. The Name Field changes to show the first instrument in each category. Move the cursor back to the instrument number to select instruments in the selected category. INSTRUMENT Rom:ORCH 0322 bas: Buzz Bass Proteus 2000 Operation Manual 29...
- Page 10 Channel 16 Channel 16 Volume Volume Proteus 2000 has two MIDI inputs with 16 MIDI channels each. Each of the 32 MIDI channels can be assigned to play a specific preset with unique volume and pan settings. 30 E-mu Systems...