Table of Contents
Advertisement
Quick Links
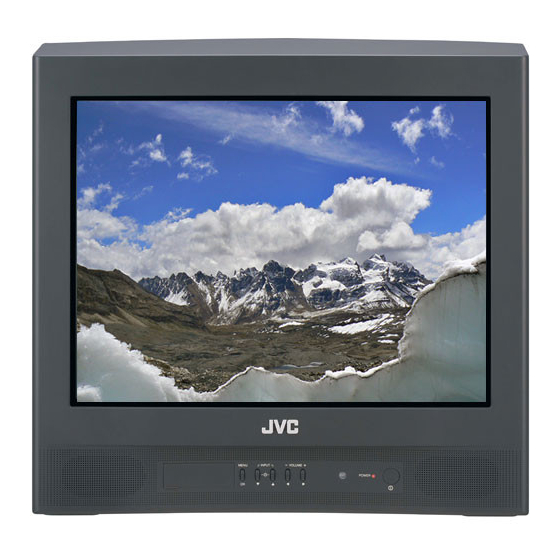
COLOR VIDEO MONITOR
TM-21A2U
INSTRUCTIONS
Contents
Important Safety Precautions ........ 2
-Remote control ....................... 5
-Main unit .................................. 6
How to operate menus .................... 7
Basic setting for picture ................. 8
Customized setting ......................... 9
Troubleshooting ............................. 10
Specifications ................................ 11
LCT2089-001A-H
Advertisement
Table of Contents

Summary of Contents for JVC Color Video Monitor Jvc TM21A2U
-
Page 1: Table Of Contents
COLOR VIDEO MONITOR TM-21A2U INSTRUCTIONS Contents Important Safety Precautions ... 2 Buttons and basic functions —Remote control ... 5 Buttons and basic functions —Main unit ... 6 How to operate menus ... 7 Basic setting for picture ... 8 Customized setting ... 9 Troubleshooting ... -
Page 2: Important Safety Precautions
5. In the event of trouble, unplug the unit and call a service technician. Do not attempt to repair it yourself or remove the rear cover. Changes or modifications not approved by JVC could void the warranty. • When you don’t use this monitor for a long period of time, be sure to disconnect the power plug from the AC outlet for your safety. -
Page 3: Important Safety Instructions
IMPORTANT SAFETY INSTRUCTIONS 1) Read these instructions. 2) Keep these instructions. 3) Heed all warnings. 4) Follow all instructions. 5) Do not use this apparatus near water. 6) Clean only with dry cloth. 7) Do not block any ventilation openings. Install in accordance with the manufacturer’s instructions. 8) Do not install near any heat sources such as radiators, heat registers, stoves, or other apparatus (including amplifiers) that produce heat. - Page 4 16) Avoid improper installation and never position the unit where good ventilation is impossible. When installing this monitor, distance recommendations must be maintained between this monitor and the wall, as well as inside a tightly enclosed area or piece of furniture. Keep to the minimum distance guidelines shown for safe operation.
-
Page 5: Buttons And Basic Functions-Remote Control
Buttons and basic functions—Remote control Inserting batteries into the remote control Insert two batteries by matching the ª and · polarities and inserting the · end first. CAUTION: Follow the cautions printed on the batteries. Notes: • Use AA/R6/UM-3 dry cell batteries. •... -
Page 6: Buttons And Basic Functions-Main Unit
Buttons and basic functions—Main unit Front Panel (in the door) Rear Panel No. Button/terminal Description Headphone jack. IN (VIDEO-2) Video and audio input jacks for VIDEO-2 mode. MENU / OK Press to display menu and confirm selected function. INPUT Press either button to select the desired input. Press either button to turn on the monitor from standby mode. -
Page 7: How To Operate Menus
How to operate menus To display the MENU, press the MENU/OK button. To select an item, press the 5/∞ buttons. To adjust the selected item, press the 2/3 buttons. MENU Screens MENU COLOR SYSTEM PICTURE FEATURES EXIT BACK *1 If you want to adjust PICTURE SETTING menu, set PICTURE MODE to USER. *2 To go back to MENU: –... -
Page 8: Basic Setting For Picture
Basic setting for picture COLOR SYSTEM You can select the appropriate color system when the picture is not clear or no color appears. Select COLOR SYSTEM, then choose the desired setting. ❇ MENU COLOR SYSTEM AUTO Color system changes automatically according to the current input. -
Page 9: Customized Setting
Customized setting You can reduce the noise. Select VNR in the PICTURE menu, then choose a desired setting. ❇ MENU PICTURE VNR is turned off. AUTO Effect of VNR is automatically controlled. Effect of VNR becomes minimum level. Effect of VNR becomes maximum level. -
Page 10: Troubleshooting
Troubleshooting Solutions to common problems related to your monitor are described here. If none of the solutions presented here solve the problem, unplug the monitor and consult a JVC-authorized dealer or service center for assistance. No picture Stripes appear on the picture... -
Page 11: Specifications
Specifications Model Type Picture Tube Effective Screen Size Scanning Frequency Input/Output Terminals Sound Output Speaker Compliant Video Signal Environmental Conditions Power Requirements Power Consumption Dimensions Weight *Illustrations and pictures used in this manual have been exaggerated, abbreviated or compounded for explanatory purposes only. - Page 12 Dimensions Unit : mm (inch) Front View Side View 502 (19 7/8") 471.6 (18 5/8") 416 (16 1/2")* Asterisks (*) are used to indicate front panel dimensions. © 2006 Victor Company of Japan, Limited 0306STH-MW-MT...


