Table of Contents
Advertisement
Quick Links
Owners &
Installation
LISTINGS AND CODE APPROVALS
These gas appliances have been tested in
accordance with AS4553-2000, NZS 5262
and have been certifi ed by the Australian Gas
Association for installation and operation as
described in these Installation and Operating
Instructions.
Your unit should be serviced annually by
an authorised service person.
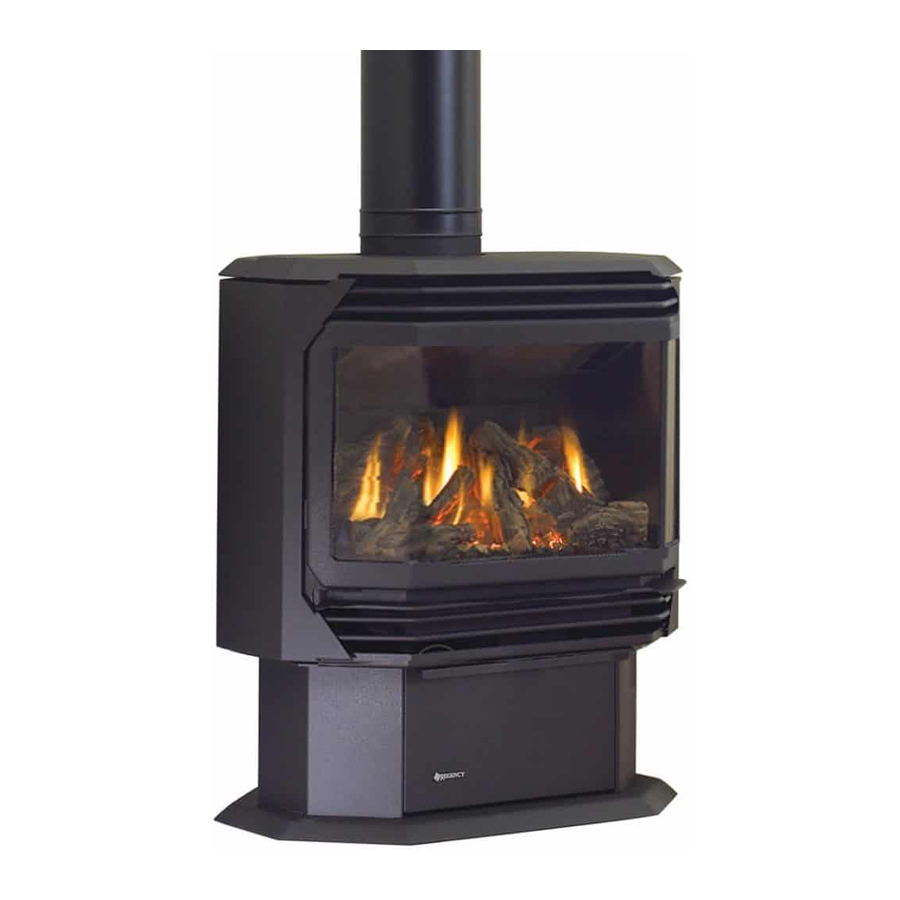
Freestanding Gas Stove
PLEASE KEEP THESE INSTRUCTIONS
FOR FUTURE REFERENCE
WARNING:
Improper installation, adjustment, altera-
tion, service or maintenance can cause
injury or property damage. Refer to this
manual. For assistance or additional in-
formation consult an authorized installer,
service agency or the gas supplier.
FOR YOUR SAFETY
Do not store or use gasoline or other fl am-
mable vapours and liquids in the vicinity of
this or any other appliance.
Installation and service must be performed
by an authorized installer, service agency or
the gas supplier.
918-243c
Models: FG38-NG
FG38-LPG
FOR YOUR SAFETY
What to do if you smell gas:
Do not try to light any appli-
ance
Do not touch any electri-
cal switch: do not use any
phone in your building.
Immediately call your gas
supplier from a neighbour's
phone. Follow the gas sup-
plier's instructions.
If you cannot reach your
gas supplier, call the fi re
department.
03/11/10
Advertisement
Table of Contents

Related Manuals for Regency FG38-LPG


Summary of Contents for Regency FG38-LPG
- Page 1 Owners & Installation Freestanding Gas Stove Models: FG38-NG FG38-LPG PLEASE KEEP THESE INSTRUCTIONS FOR FUTURE REFERENCE WARNING: FOR YOUR SAFETY Improper installation, adjustment, altera- What to do if you smell gas: tion, service or maintenance can cause Do not try to light any appli- injury or property damage.
-
Page 2: Specifi Cations
fl ick of a switch. The models FG38-NG, and FG38-LPG of this series has been approved by AGA for both safety and effi ciency. As it also bears our own mark, it promises to provide you with economy, comfort and security for many trouble free years to follow. -
Page 3: Table Of Contents
Front Door Installation ..........11 Test for Flue Spillage ...........11 Remote Control (optional) ..........12 Parts List Final Check..............12 Wiring Diagram ............12 Electronic Components ..........19 Main Assembly ............20 Burner & Log Assembly ..........21 Door Assembly ............22 Warranty Warranty ..............23 Regency FG38 FireGenie Freestanding Gas Stove... -
Page 4: Safety Label
SAFETY LABEL This is a copy of the label that accompanies NOTE: Regency units are constantly being each Freestanding Gas Stove. We have printed improved. Check the label on the unit and if a copy of the contents here for your review. The... -
Page 5: Installation
BE ALERTED TO THE HAZARDS should be done by an authorised service OF HIGH SURFACE TEMPERA- The Regency Freestanding Gas Heater can be person. An authorised service person should TURES, ESPECIALLY THE FIRE- installed in a wide variety of ways and will fi t be called to inspect this appliance annually. -
Page 6: Installation Checklist
Fasten but do not penetrate the inner sleeve ofthe fl ue when tightening the screw. The minimum fl ue required is 3.3m from fl oor level. Follow all fl ueing manufacturer’s requirements and local building codes or AS5601-2004. Regency FG38 FireGenie Freestanding Gas Stove... -
Page 7: Gas Connection
2) On-Off Solenoid Valve EV2 FG38-NG: For 0 to 610 meters altitude 3) Inlet Pressure Test Point FG38-LPG: For 0 to 610 meters altitude The gas connection at the valve is 1/2 male. 4) Outlet Pressure Test Point For minimum and maximum supply pressure 5) Connection for Pressure Regulator / Burner Inlet Orifi... -
Page 8: Conversion From Ng To Lpg
These instructions must be left 10) Carefully pull out the control box. with the appliance. NOTE: The outlet pressure must be set NOTE: The control box is held in place with to maximum 2.65 kPa. velcro. Regency FG38 FireGenie Freestanding Gas Stove... -
Page 9: Aeration Adjustment
fi rebox base. The "02" refer numbers (i.e. 02-65) are molded into the rear of each log. 5) Place Front Left Log C)02-44 onto the 2 front pins as shown. C)02-44 Embers Embers Regency FG38 FireGenie Freestanding Gas Stove... - Page 10 8) Place the lava rock in the area between the left and right logs, leaving a space in the middle for log (F) 02-47. Ensure that the lava rocks are not placed directly over the burner ports. A)02-65 B)02-56 E)02-45 C)02-44 Regency FG38 FireGenie Freestanding Gas Stove...
-
Page 11: Front Door Installation
3) Close the door. The latch plate must be centered around the alignment pin. See diagram 2. If the latch plate interferes with the corner of the stove you may want to angle the plate slightly so the door closes easier. Regency FG38 FireGenie Freestanding Gas Stove... -
Page 12: Remote Control (Optional)
INSTALLATION REMOTE CONTROL FINAL CHECK Use the Regency Remote Control Kit approved Before leaving this unit with the customer, the for this unit. Use of other systems may void installer must ensure that the appliance is fi ring your warranty. -
Page 13: Operating Instructions
Never operate the appliance with any of the glass removed or with the door open. 5) Verify that all fl ueing and the cap is unob- structed. 6) Verify log placement. Regency FG38 FireGenie Freestanding Gas Stove... -
Page 14: Flame Height Adjustment
fl ame plus (+) button once will Blower: increase the fl ame height to the next available Regency gas appliances use high tech blowers high setting. to push heated air farther into the room. It is not unusual for the fan to make a "whirring"... -
Page 15: Copy Of The Lighting Plate Instructions
You may shut off the pilot during prolonged non use periods to conserve fuel. 918-247b DO NOT REMOVE THIS INSTRUCTION PLATE WARNING: DO NOT SPRAY AEROSOLS IN THE VICINITY OF THIS APPLIANCE WHILE IN OPERATION. Regency FG38 FireGenie Freestanding Gas Stove... -
Page 16: Maintenance
REPLACEMENT SERVICING AN APPLIANCE MUST Any maintenance required accessing the BE REPLACED PRIOR TO Your Regency heater is supplied with high tem- glass door of the unit must be performed perature, 5mm Neoceram silica coated ceramic OPERATING THE APPLIANCE. by an authorized service person. -
Page 17: Fan Maintenance
Diagram 2 Replacing FG38 Fan: Reverse the above steps (1 to 4). If necessary install a new gasket before replacing the fan access panel. Make sure the fan wires and the ground wire are reattached. Regency FG38 FireGenie Freestanding Gas Stove... -
Page 18: Removing Valve
Valve wires consist of 2 orange, 1 yellow and door is open it doesn't scratch the paint. See 2 purple colored wires. diagram below. 12) To replace the burner tray assembly, simply reverse these instructions. 9 Pin Connector Regency FG38 FireGenie Freestanding Gas Stove... -
Page 19: Parts List
910-935 Manual Control Switch *Note: The Control Box Cable wires for the FG38 come separately: 910-502, 910-505, 910-506, 910-507, 910-509 The Control Box Cable wires for the IG35 come separately: 910-530, 910-504, 910-528 Regency FG38 FireGenie Freestanding Gas Stove... -
Page 20: Main Assembly
Pedestal Back 948-216 Logo Plate 918-243 Manual 19) 756-518 Side Panel Door Assy (Right Side) 20) 756-520 Side Panel Door Assy (Left Side) *Not available as a replacement part. 21) 560-031 Hinge for Side Panel Regency FG38 FireGenie Freestanding Gas Stove... -
Page 21: Burner & Log Assembly
Wire ECS Module Flame (Red) 910-086 Remote Control - ECS (optional) Rear Log Left Top Log Center Log Middle Right Log Middle Left Log Front Right Log Front Left Log *Not available as a replacement part. Regency FG38 FireGenie Freestanding Gas Stove... -
Page 22: Door Assembly
Black Wrap Door - Complete 101) 846-570 Door Gasket Kit 105) Ceramic Paper 107) 936-243 Glass Gasket 111) Door Frame Fibre Paper 208) 940-325/P Wrap Glass *Not available as a replacement part. WRAP DOOR Regency FG38 FireGenie Freestanding Gas Stove... -
Page 23: Warranty
Regency codes. Also, all service work must be carried out by an Fireplace Products. - Page 24 Printed in Canada © Copyright 2009, FPI Fireplace Products International Ltd. All rights reserved.