
Related Manuals for Minolta DYNAX 4


Summary of Contents for Minolta DYNAX 4
- Page 1 CUSTOM DETAILED CREATIVE SUBJECT / AUTOMATIC GETTING APPENDIX FUNCTIONS OPERATION EXPOSURE DRIVE OPERATION STARTED...
-
Page 2: Table Of Contents
TABLE OF CONTENTS FULLY-AUTOMATIC OPERATION The GETTING STARTED section describes how to prepare the camera for HANDLING THE CAMERA ..........28 use. The FULLY-AUTOMATIC OPERATION chapter shows how to take Pressing the Shutter-release Button ......28 photographs quickly and simply by using the camera’s automatic Holding the Camera ............ - Page 3 TABLE OF CONTENTS SETTING THE ISO MANUALLY ........84 CREATIVE EXPOSURE MODES EXPOSURE BRACKETING ..........85 APERTURE CONTROL ..........52 Continuous Advance Bracketing ........ 86 SHUTTER CONTROL ............ 53 Single Frame Advance Bracketing......86 EXPOSURE MODES ............54 Flash Notes ..............87 A MODE (APERTURE PRIORITY) ........
-
Page 4: For Proper And Safe Use
The information in this manual is relevant for products introduced before May, 2002. Contact the nearest authorized Minolta Service facility to obtain compatibility information for products released WARNING after this date. - Page 5 • If the product emits a strange odor, heat, or smoke, discontinue use. Immediately remove the batteries taking care not to burn yourself. The continued use of a damaged product or part may cause injuries. • Take the product to a Minolta Service Facility when repairs are required.
-
Page 6: Quick Operation
QUICK OPERATION Insert batteries. Set full-auto operation. • This camera uses two CR2 lithium •Press the program-reset button to set p.19 batteries. the camera to fully automatic p.30 operation. Center your subject in the Attach the lens. wide focus frame . -
Page 7: Names Of Parts
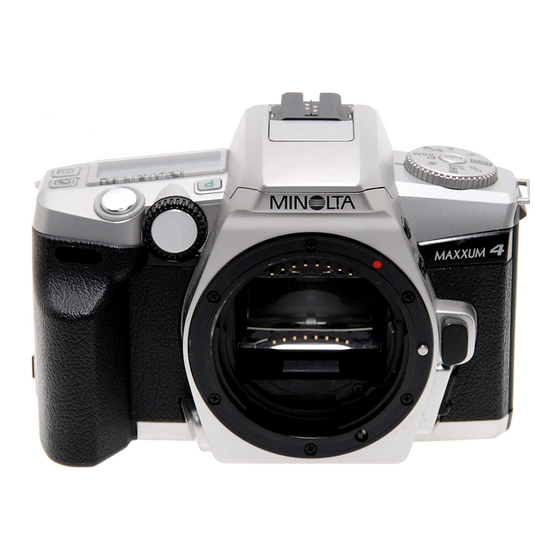
NAMES OF PARTS Body *This camera is a sophisticated optical instrument. Care should be taken to keep these surfaces clean. Please read the care and storage For information on specific parts, refer to the page shown in instructions in the back of this manual (p. 122). parentheses. -
Page 8: Data Panel
NAMES OF PARTS Data Panel Viewfinder Spot focus area (68) Manual-focus indicator (74) Shutter speed/ISO display Date indicator (100) Exposure-mode indicator (54-65) Subject-program icons (40-45) Exposure- Subject-program indicators bracketing Self-timer (40-45) indicator (46) indicator Aperture/Exposure-com- (85) pensation/Custom-func- Spot metering area (77) tion display (55/82/105) Wide focus frame Battery condition... -
Page 9: Getting Started
STRAP GETTING Attaching the Strap STARTED With the visible protrusions Holder Ring on the inside of the holder ring oriented as shown, pass the tip of the strap through the ring. Protru sions This section provides the information necessary to prepare the camera for use. -
Page 10: Using The Eyepiece Cap
BATTERIES STRAP Installing the Batteries Pass the tip of the strap Your camera uses two 3V CR2 lithium batteries to through the buckle and pull supply power for all camera operations. to tighten. • Leave some slack in the camera strap(A) so the tip may be threaded through the buckle easily. -
Page 11: Battery Condition Indicators
BATTERIES Battery Condition Indicators Changing the Batteries - Quartz-date Model Battery condition indicators shows the level of battery When the batteries have been removed, the camera’s built-in clock will power. stop. The following procedure stores the current time and date in case the clock and calendar reset when the batteries are removed. -
Page 12: Lens
FILM LENS Attaching the Lens Always load or remove the film under subdued light to reduce the chances of fogging. This camera uses interchangeable lenses. See page 114 for information on which lenses are compatible with this camera. Loading the Film The camera automatically sets the correct film Remove the body and rear speed (ISO) with DX-code film. -
Page 13: Film Chamber Lock
FILM Extend the leader between When the film is loaded correctly : • appears in the frame counter. The film the guide rails to the index speed (ISO) is displayed on the data panel for mark. 5 seconds. • Hold the film cartridge down so that •... -
Page 14: Rewinding The Film
FILM FULLY-AUTOMATIC Rewinding the Film After you have exposed the last frame, the camera will automatically OPERATION rewind the film. Wait until the film is completely rewound. • will appear and will blink on the data panel, indicating it is safe to Use full-auto when you are just starting out or when open the back-cover. -
Page 15: Handling The Camera
HANDLING THE CAMERA AUDIO SIGNAL Pressing the Shutter-release Button Audio signal is initially on. The camera will produce an audio tone when : • focus is confirmed. Press the shutter-release button partway down to activate the camera’s 2 short beeps autofocus and auto-exposure systems. -
Page 16: Taking Pictures In Full-Auto
TAKING PICTURES IN FULL-AUTO Full-auto is the camera’s standard operating mode and is suited for use Center your subject in the in almost any situation. When selected, the camera sets the focus and wide focus frame . If exposure automatically and fires the built-in flash when necessary. using a zoom lens, rotate the zooming ring to frame Slide the main switch to ON. -
Page 17: Focus
FOCUS Focus Signals Special Focus Situations The camera may not be able to focus in the situations described below. The following signals appear in the viewfinder to indicate the focus status. Use focus lock (p. 33) or manual focus (p.74). •... -
Page 18: Focus Lock
FOCUS LOCK USING THE BUILT-IN FLASH The focus-lock function is used when the In P-mode, the built-in-flash will pop-up automatically when the shutter- subject is off-center and outside the focus release button is pressed partway down. Once the flash is up, it will fire frame.